Installing Semi-flexible Solar Panels
--Blog post written by Bob
Spring is FINALLY here and it's about time to tackle a project that will provide a substantial benefit while cruising in the Bahamas!
Most cruising sailboats nowadays have solar panels. During my first winter in the Bahamas 20 years ago, we would simply run the engine 1 hour each day to charge the refrigeration and the batteries. Running the engine is noisy and it disrupts an otherwise serene anchorage. So, the addition of solar panels (working all day long without creating noise or needing maintenance) will be a nice improvement.
The reason I chose semi-flexible solar panels was to save the cost and undesirable appearance of a supporting structure and enable otherwise wasted space (on the top of the hard dodger and the bimini) to be used purposefully. One can barely see the installed solar panels--it's a nice, elegant solution!
The semi-flexible (Solbian-brand, Model #SP-100) solar panels and (Genasun-brand) voltage controllers were purchased from Coastal Climate Control in Bowie, MD. Each 100-watt solar panel measures 44 inches x 22 inches x about 1/8-inch total thickness and weighs about 3 pounds. These high-efficiency (22.5%) solar panels were manufactured in Italy and use mono crystalline silicon solar cells in a 4 x 8 array. (A higher efficiency panel has a smaller footprint than the same output lower efficiency panels--this is important only if you have space limitations or if you are trying to get the most wattage from a certain area.) The solar panels generate up to 24 volts and need to be coupled with a voltage controller for use with the boat's 12-volt battery bank.
The solar panels are removable. This is important for winter storage of the boat, for possible future repairs to the bimini, and in the event of hurricane force winds.
The Dodger-mounted Solar Panel
I mounted the first 100-watt solar panel to the hard dodger in November 2013 and it has been working great for several months now. (The hard dodger is a curved hard plastic roof over the companionway--the canvas-framed front window and side windows are mounted to the hard dodger via plastic tracks and to the cabin top with metal snaps.)
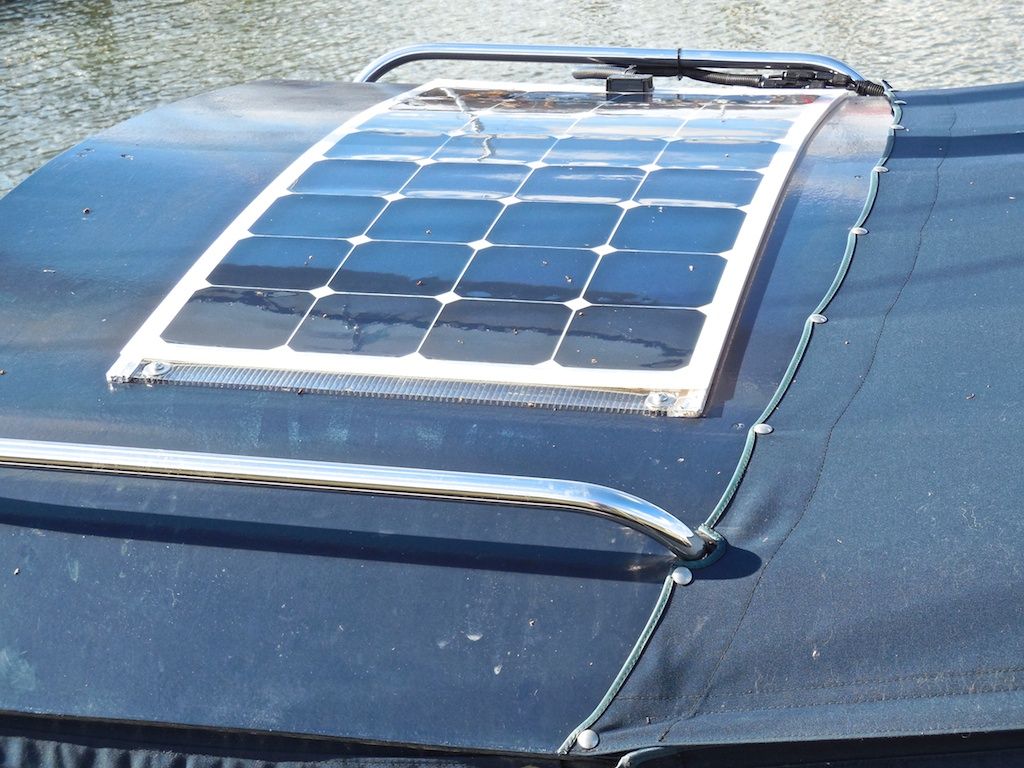 |
| The Dodger-Mounted Solar Panel |
The wiring from the solar panel was fed along one of the tubular frames that support the hard dodger and then through a watertight fitting in the cockpit coaming near the coach roof. I used the optional corrugated plastic sheet to keep the solar panel just above the plastic dodger roof and minimize the potential for over heating the solar panel. The solar panel is fastened to the corrugated plastic sheet with the 2-inch supplied double-sided tape tape. I inserted four stainless steel bolts with fender washers through the grommets in the corners of the corrugated plastic sheet to fasten it to the hard dodger.
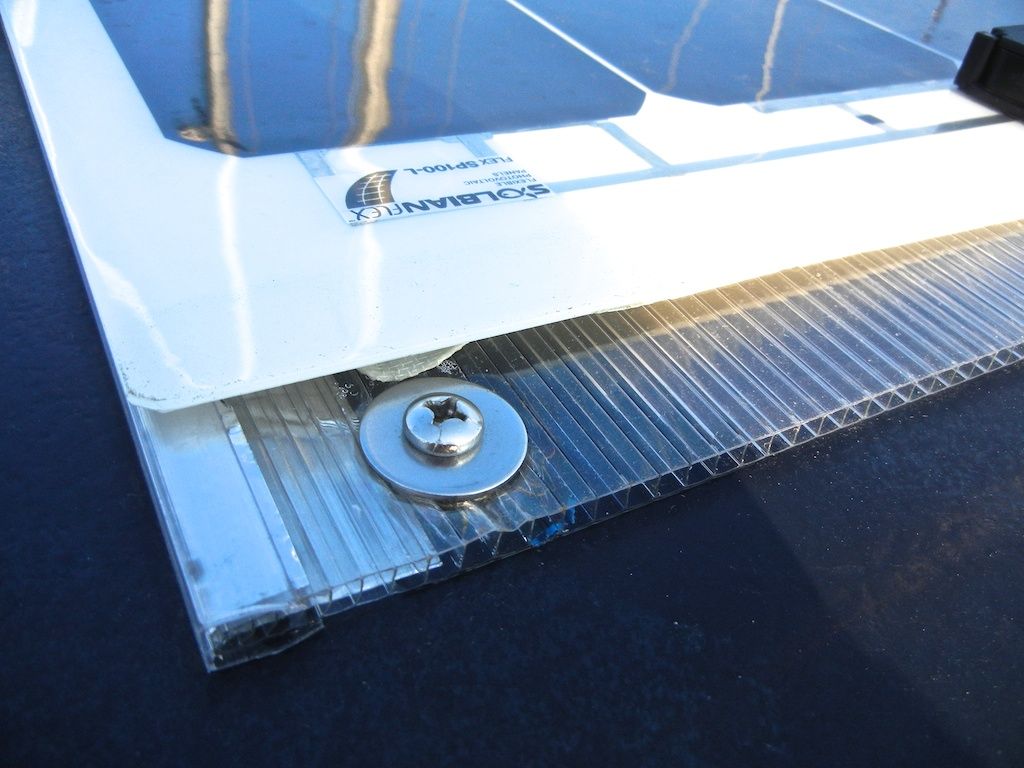 |
| Close Up View of Fastening of Dodger-Mounted Solar Panel |
To a very small degree, the boom creates a shadow on the centerline of the dodger-mounted solar panel. The boom is actually about 14 inches above the solar panel--this distance reduces the impact of a shadow and does not seem to reduce the panel's power generation.
The Bimini-mounted Solar Panel
The second 100-watt solar panel is mounted on the forward section of the bimini--the large canvas awning that provides shade over the cockpit. I decided to mount the solar panel in the center between the forward and middle mounting frames and, of course, centered athwart ship.
I decided to use six (90-degree) twist lock fasteners to mount the solar panel to the bimini. The four corner fasteners will be positioned diagonally while the two fasteners in the middle of the long span will be positioned parallel to the long side. To insure that all locations were made consistently, I made templates and printed them on adhesive backed label sheets.
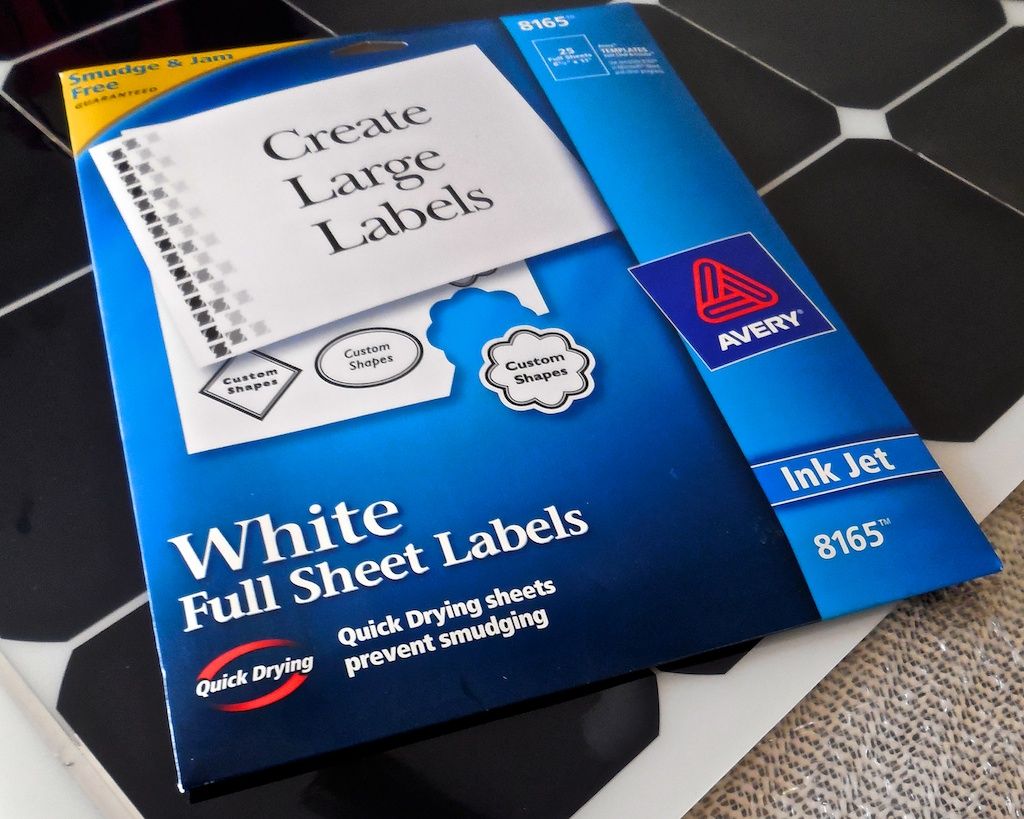 |
| Adhesive Backed Labels Used for Templates |
I cut the templates apart and removed the protective sheet from the adhesive backing for each template and carefully placed each template where holes had to be cut. I used a (Dremel-brand) rotary tool to carefully cut the holes in the panel's plastic backing--these were cut through the paper template--this task was very tedious and time-consuming.
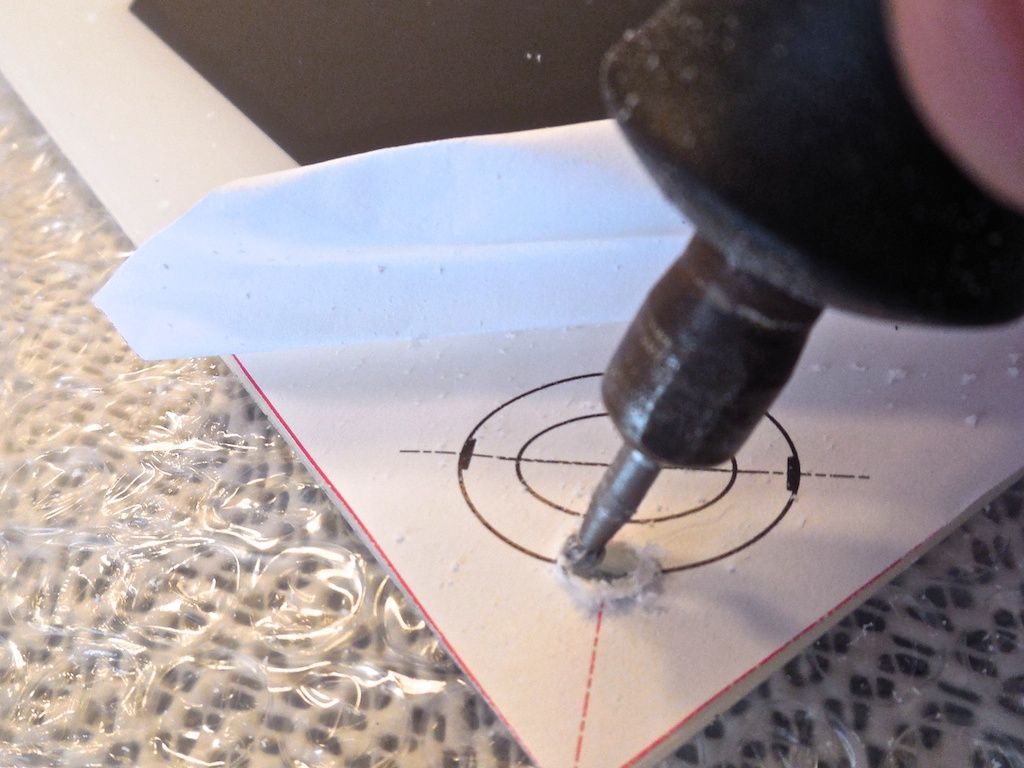 |
| Cutting Holes in Solar Panel Backing Using Rotary Tool |
After cutting, the fasteners prongs were inserted through the newly cut holes, the oval backer was put in position, and the prongs were bent over tightly with needle-nosed pliers. (It took about 2 hours to install 6 eyelets in the solar panel.)
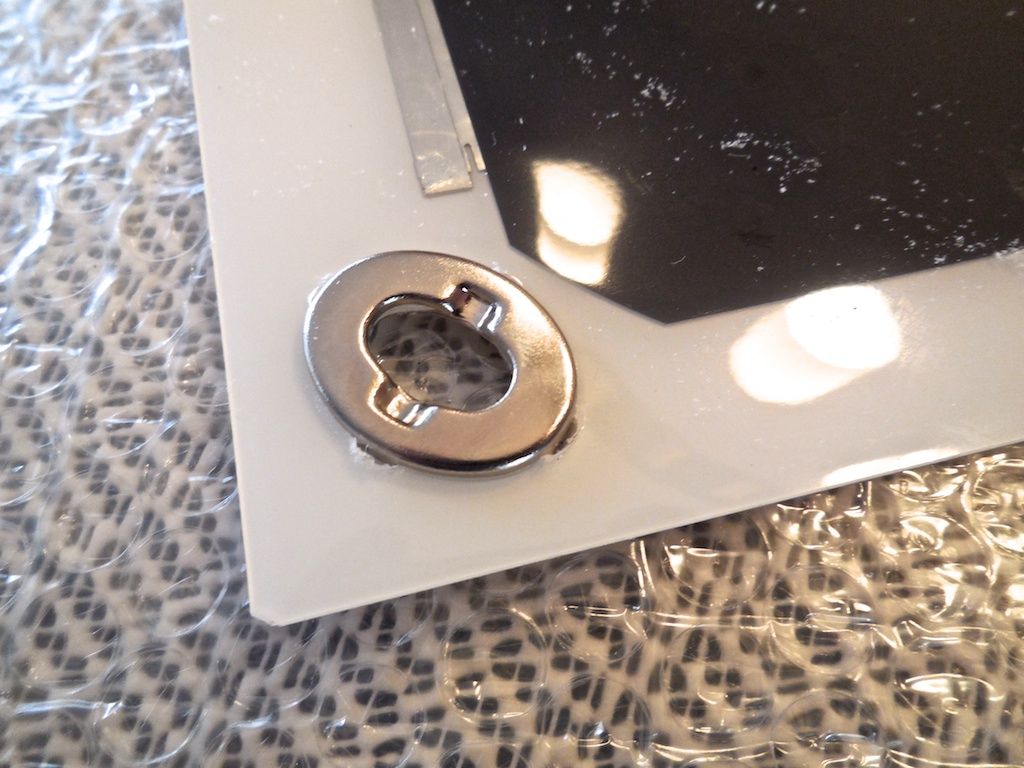 |
| Twist Lock Fastener Installed on Solar Panel Backing |
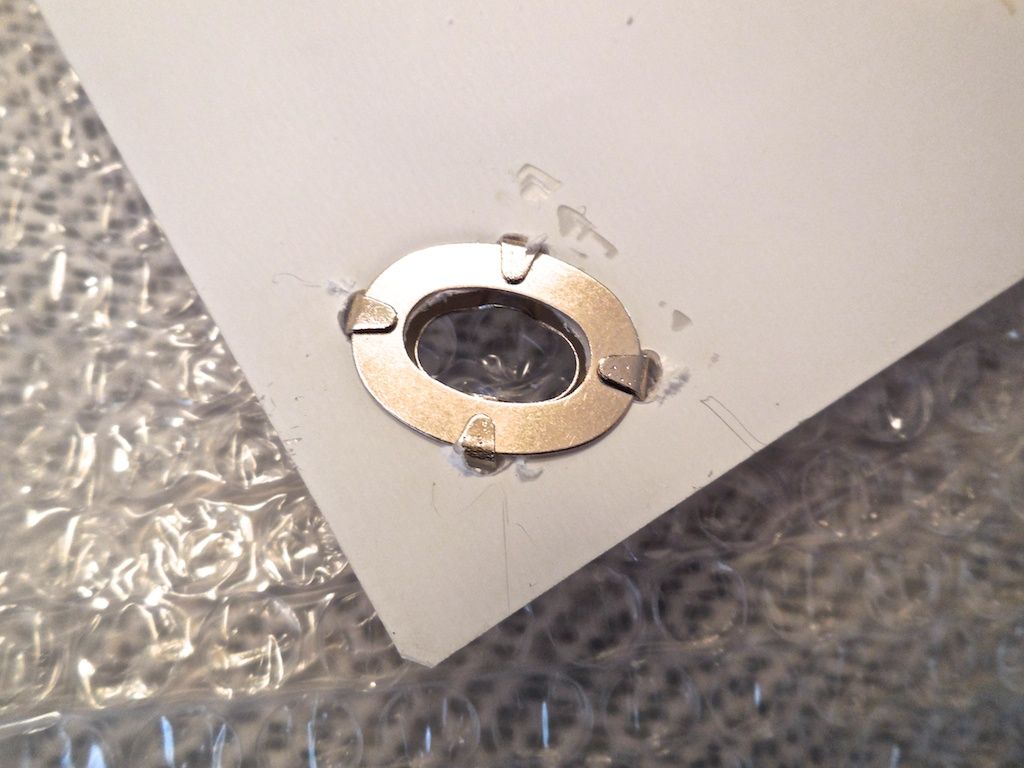 |
| Underside of Twist Lock Fastener on Solar Panel Backing |
Dan Oldale and Donna Millman of Annapolis Custom Yacht Canvas modified the bimini for us, including mounting the mating halves of the twist lock fasteners (using the solar panel with its eyelets as a template) and adding the chafe protection where the corners of the solar panel meet the bimini.
 |
| Reinforced Corner on Bimini for Chafe Protection |
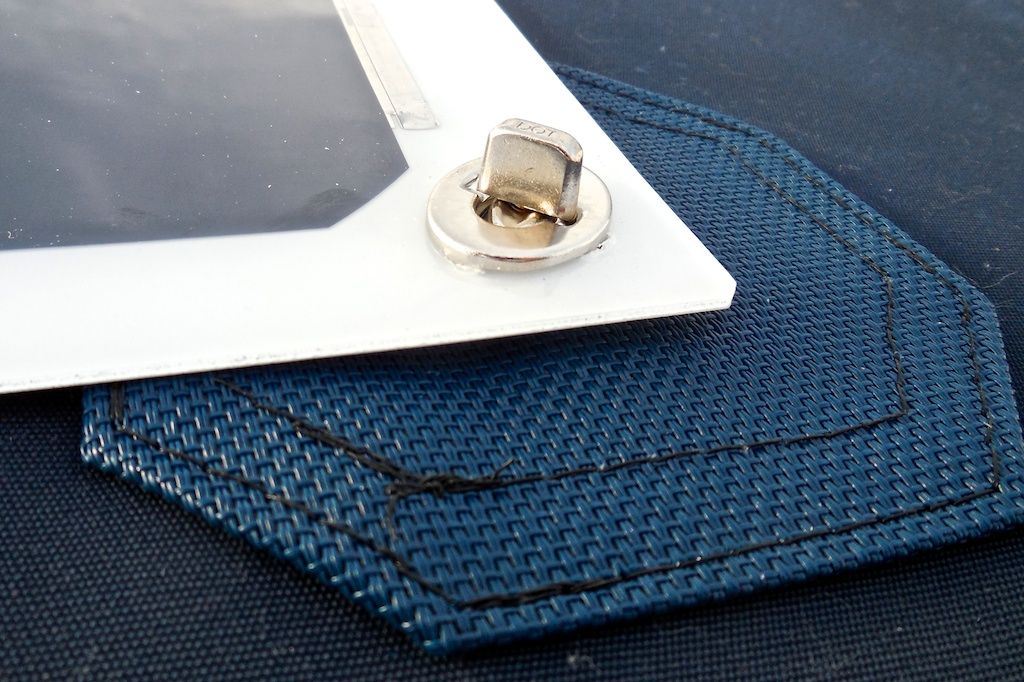
Prior to installing the solar panel on the bimini, it was common for us to tighten the dodger-to-bimini connecting piece by tightening the aft frame belts. During the process, the entire length of the bimini and connecting piece seemed to stretch something almost 3/4-inch. I was concerned about putting all this tensile load into the solar panel through the twist-lock fasteners. So, we incorporated a small tab on the three aft twist lock fasteners that would allow about 1/4-inch stretch in the bimini before any tensile load would go into the solar panel.
| This Tab Allows Bimini to be Tensioned Without Imparted Forces on the Solar Panel Fasteners |
The New Solar Panel System
The second solar panel installation brings the total generated power to 200 watts. All the generated solar energy feeds the battery bank. Assuming we can get 200 watts for 8 hours a day, we can generate 1600 watt-hours each day.
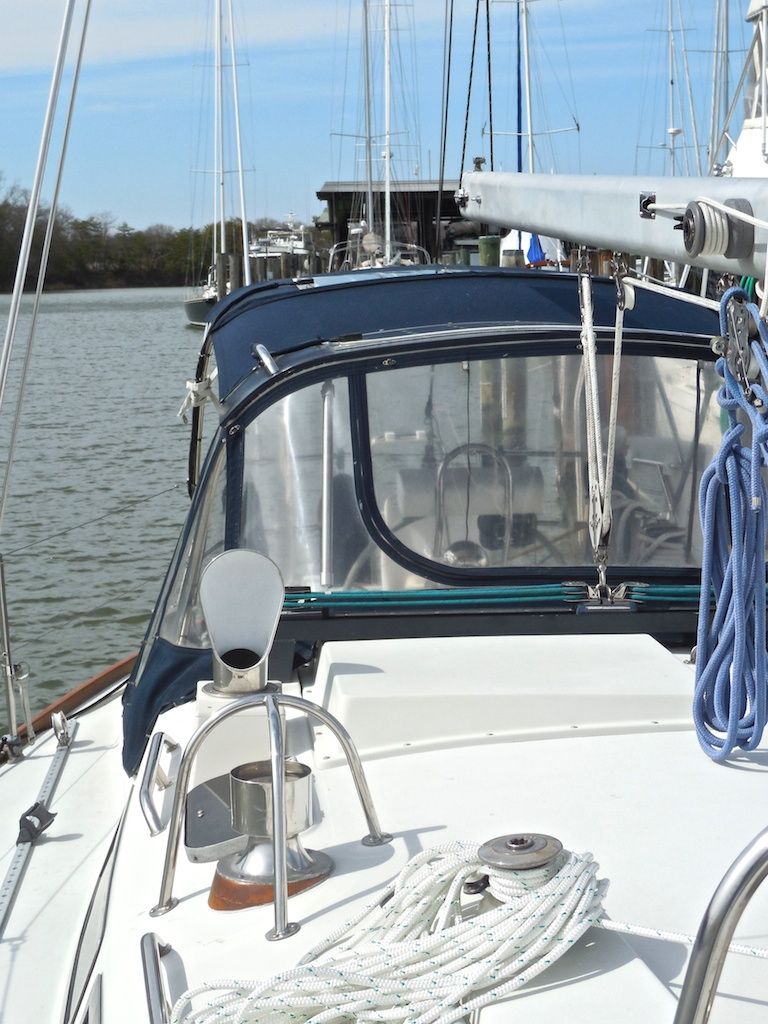 |
| You Can Barely See the Solar Panels in this Photograph! |
At this point in time we don't know our actual total energy needs but our refrigeration runs all day and all night and uses about 975 watt-hours each day (or 61% of the assumed daily solar panel energy generation). Energy consumption by house lighting, the boat's autopilot, instruments, charging various devices, and our stereo system are only used intermittently. If we consume more power than we can generate with the solar panels, we can run the engine with its 70-amp alternator--each hour of run time generates about 840 watt-hours (if the battery bank is capable of absorbing power that quickly) which is equal to approximately one half of the solar panel's daily generation. (I have enough space on the aft section of the bimini to mount two additional 50-watt solar panels if needed at a later date--this would give us a total of 300 watts. I am hoping that we can test whether we will need the additional panels this summer--I have a feeling that we will be needing them.)
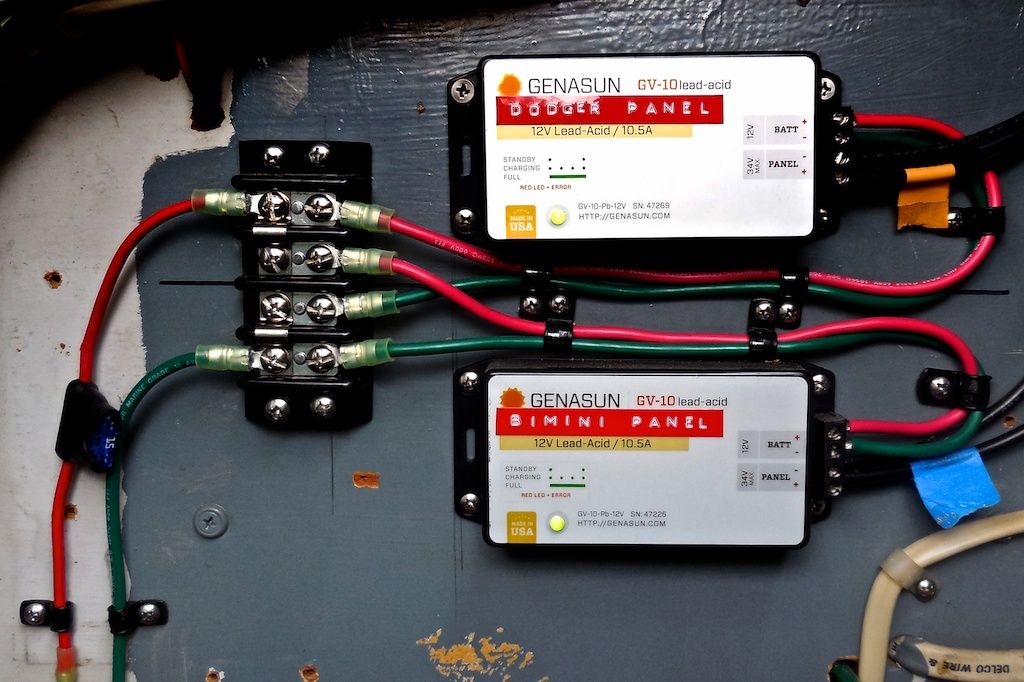 |
| Each Solar Panel Has its Own Genasun GV-10 Voltage Controller |
The total cost of this project was approximately $3,000--one of our most expensive recent boat projects. There are a lot of less expensive solar panels available--some whose generation degrades quicker over time, some that are more effected by shadows, some that require a support structure, and most not made to withstand the harsh marine environment. I hope the new solar panel system works as planned--if it does, it is worth the expense to me.
This was a big project and a long blog post. Thanks for following our blog!
What plastic did you mount the Bimini solar panel on?
ReplyDeleteThe Solbian panels come with a plastic backing that is approximately 1/16" thick. I didn't add anything else.
DeleteExcellent tips. Really useful stuff .Never had an idea about this, will look for more of such informative posts from your side.. Good job...Keep it up
ReplyDeletesolar power kits south africa
This comment has been removed by a blog administrator.
ReplyDeleteThis comment has been removed by a blog administrator.
ReplyDeleteThis comment has been removed by a blog administrator.
ReplyDeleteThis comment has been removed by a blog administrator.
ReplyDeleteThis comment has been removed by a blog administrator.
ReplyDeleteThis comment has been removed by a blog administrator.
ReplyDeleteThis comment has been removed by a blog administrator.
ReplyDeleteFantastic job Bob .You give very crucial idea related to the solar panel installation in a boat.If you know more about the solar installation visit :-http://www.bluesailenergy.ca/
ReplyDeleteThis comment has been removed by a blog administrator.
ReplyDeleteWhy did you remove so many comments?
ReplyDeleteThere have been several solar panel companies that have made comments trying to sell their solar panels, piggy backing on my blogpost. They don't add any value and they are hawking products that I have no knowledge about. Therefore, I deleted their comments. If one of these companies added some value to the blogpost, I would not delete them.
DeleteThanks for your valuable information it really gives me an insight on this topic, I will visit here again for more information visit : Colored Corrugated Cardboard Rolls
ReplyDeleteGreat pleasure reading your post.Its full of information, thanks for sharing.
ReplyDeleteHome Solar Panel Systems
Solar Albuquerque
I would like to thank you for the efforts you have made in writing this article. I am hoping the same best work from you in the future as well. Thanks...
ReplyDeletesolar panels
Hi
ReplyDeleteI wonder if the 200W are sufficient or if you plan to increase by adding more panels?
Thank you for your feed back
Regards Andre
Hey what a brilliant post I have come across and believe me I have been searching out for this similar kind of post for past a week and hardly came across this. Thank you very much and will look for more postings from you.
ReplyDeleteZonnepanelen
What a fantabulous post this has been. Never seen this kind of useful post. I am grateful to you and expect more number of posts like these. Thank you very much.
ReplyDeleteZonnepanelen
This comment has been removed by a blog administrator.
ReplyDeleteThis comment has been removed by a blog administrator.
ReplyDeleteI want to share with you all here on how I get my loan from Mr Benjamin who help me with loan of 400,000.00 Euro to improve my business, It was easy and swift when i apply for the loan when things was getting rough with my business Mr Benjamin grant me loan without delay. here is Mr Benjamin email/whatsapp contact: +1 989-394-3740, lfdsloans@outlook.com / lfdsloans@lemeridianfds.com.
ReplyDelete