Impeller Replacement Made Easier
--Blogpost written by Bob
It seems like every time that I've replaced my water pump impeller, it's always been at an inopportune time. I've always waited until they failed because the area where the pump is located is so hard to get into and I dread the task because of it. Well, this past weekend we noticed the lack of water spraying from the engine exhaust and Labor Day weekend is upon us and we hope to spend it sailing. So, in the middle of this week I tackled the task of replacing the water pump impeller for probably the seventh or eighth time in the 28 years that I've owned the boat.
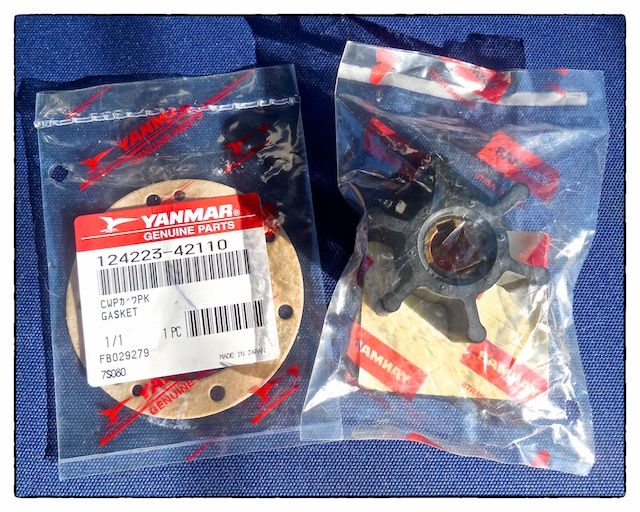 |
| A new rubber impeller and cover gasket are required to complete this task. |
Getting the raw water pump out of the engine compartment is the easiest part of this job. Once the pump was out and I removed the pump's cover, it was understandable why no water was coming out of the exhaust--all but one blade was worn off. At this point, removing the old impeller and installing the new impeller was easily accomplished.
 |
| Only one of the six rubber blades was fully in tact--one other was partially in tact. |
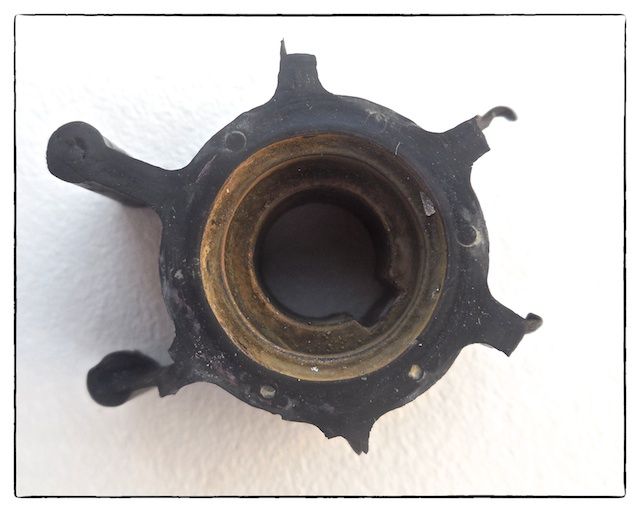 |
| This much damage had to have happened over some time period, like several months. |
I removed the pump's discharge hose--it goes to the heat exchanger of my fresh water cooled Yanmar 3HMF engine. The old hose was mounted very close to the engine and was supplied by Yanmar. I decided to replace this hose (because it was 30 years old and looking a little ratty from the oil exposure) and make it much longer so that it could be fastened to the pump's discharge much more easily. As I took the hose off the heat exchanger I noticed the accumulation of the black rubber blades from the damaged impeller--these had to be cleaned out or they would block the flow of water. So, I removed the inlet water box from the heat exchanger and cleaned out all the debris.
When installing the new (longer) pump discharge hose, I didn't route it close to the engine like the old one--instead, I made a big loop and fastened it (with large cable ties) near the raw water strainer. For future impeller replacements I can simply clip the cable ties and get the pump completely out of the engine compartment where I can change the impeller without even removing the 5/8-inch diameter hoses.
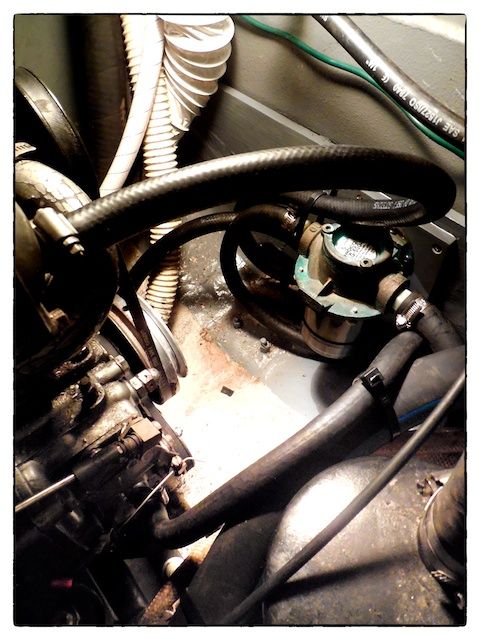 |
| This hose arrangement make look sloppy but it allows me to get the water pump completely out of the crowded engine compartment to change the impeller in the future--I don't even have to remove the hoses. |
In addition, it is time for me to deal with impeller replacement as a preventative replacement and not just wait until it fails. Based on my experience, I've been replacing the impellers (when they fail) about every 3-1/2 years. So, it seems practical to do a preventative replacement (before they fail) every 2 years and, when in full time cruising mode, every year. If I replace the impeller before the blades wear off, I can avoid taking the heat exchanger apart too. I've scheduled the future preventative replacements in my iPhone so I don't forget.
 |
| A perfect exhaust stream after all the work is done! |
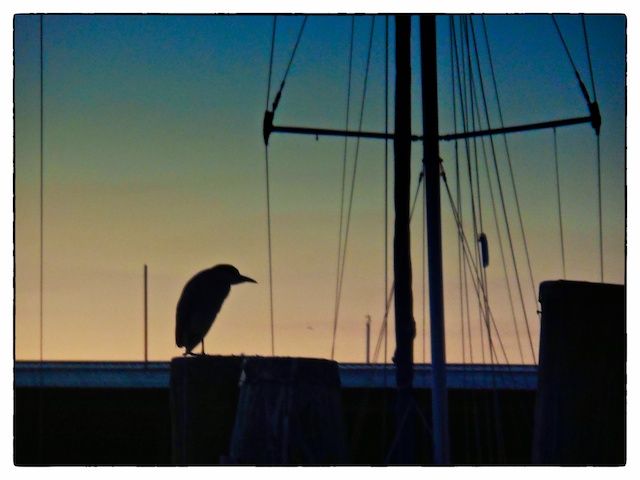 |
| A black-crowned night heron sits atop a piling in the marina after sunset. They are much shorter than the Great Blue Heron and have colors similar to a seagull (gray, white, and black). |
Thanks for following our blog!
Great writeup! I was just pondering today how I'm going to inspect the impeller in my LF38. Can't believe it's so hard to get to. If I had to replace an impeller at sea I can barely imagine how challenging that would be. Extending the hose lengths is a good idea.
ReplyDelete