Watt Wizard - Part 1
--Blogpost written by Bob
I have tried to use a couple small digital volt meters in an attempt to measure the performance of our solar panels--refer to our blogpost dated April 13, 2014. They measured voltage fine but really didn't provide any indication of how many amps-hours our solar panels were producing daily. Recently I ran into the Watt Wizard offered by Coastal Climate Control. I bought one at the recent Spring Sailboat Show in Annapolis. This blogpost is about the installation.

 |
| The Watt Wizard is used to measure solar panel performance and to determine how many amp-hours have been absorbed by the onboard battery bank. I bought the Watt Wizard at the Annapolis Spring Boat Show. |
Like almost all other boat projects, this installation didn't turn out to be easy, simply because of my mission creep. I decided to changeout the bilge pump switch (the black paint was peeling off the aluminum switch panel) while I was working on that electrical panel. Also, I didn't like the way my LinkLite was installed with a plastic cover plate on top of my nice aluminum electrical panels. So, making a completely new electrical panel from 1/8-inch aluminum plate became part of this project.
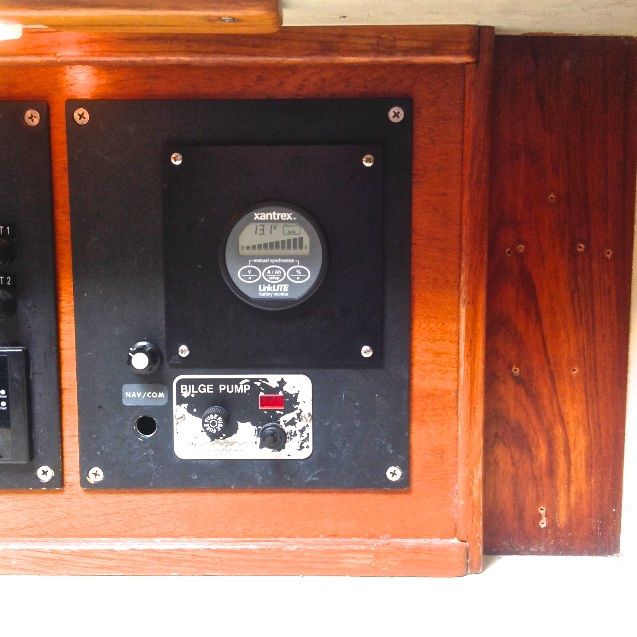 |
| This is the electrical panel in which I want to install the Watt Wizard. I never liked the way the LinkLITE gauge was installed on a plastic sheet that was used to cover an old (larger) hole from a previous piece of equipment. Also because the bilge pump switch was mounted very low on the panel, many times in the past we accidentally turned off the bilge pump. I decided to mount it higher on a new panel. |
Replacement Bilge Pump Switch Panel
As you can see on the above photograph, the black paint on the aluminum bilge pump switch panel was coming off (it probably wasn't primed properly by the manufacturer). So, I decided to order a new switch panel that was made completely from plastic so that I never had to deal with peeling paint again.
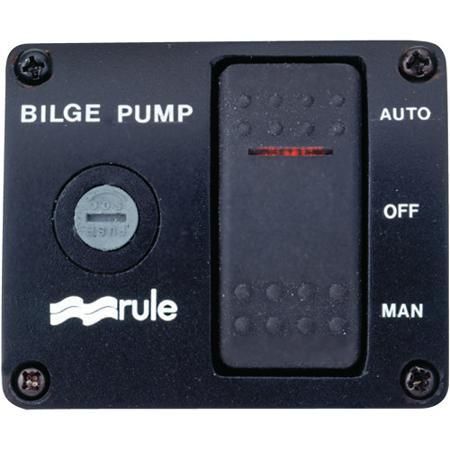 |
| The all-plastic construction of this bilge pump switch panel eliminates the problem of black paint peeling off over time. The rocker type switch has a built in red light to indicate when the bilge pump is operating. |
Making the New Electrical Panel
The electrical panel in which I wanted to install the Watt Wizard was on my mental list to remake the next time I added something but I didn't have a plan to do it so anytime soon. To start this project, I ordered a 12-inch x 12-inch x 1/8-inch thick piece of aluminum plate from onlinemetals.com.
The new (Rule-brand) bilge pump switch and the Watt Wizard required rectangular cutouts in the aluminum electrical panel. I made these by first drilling holes where the corners of the cutouts needed to be and then sawing the aluminum plate between the corner holes. The circular cutout for the LinkLite was made with a 2-inch diameter hole saw and then opened up a bit by sanding with a Dremel tool. The new bilge pump switch panel and the new Watt Wizard are held perfectly level by the flange hole pattern--not the rectangular cutouts.
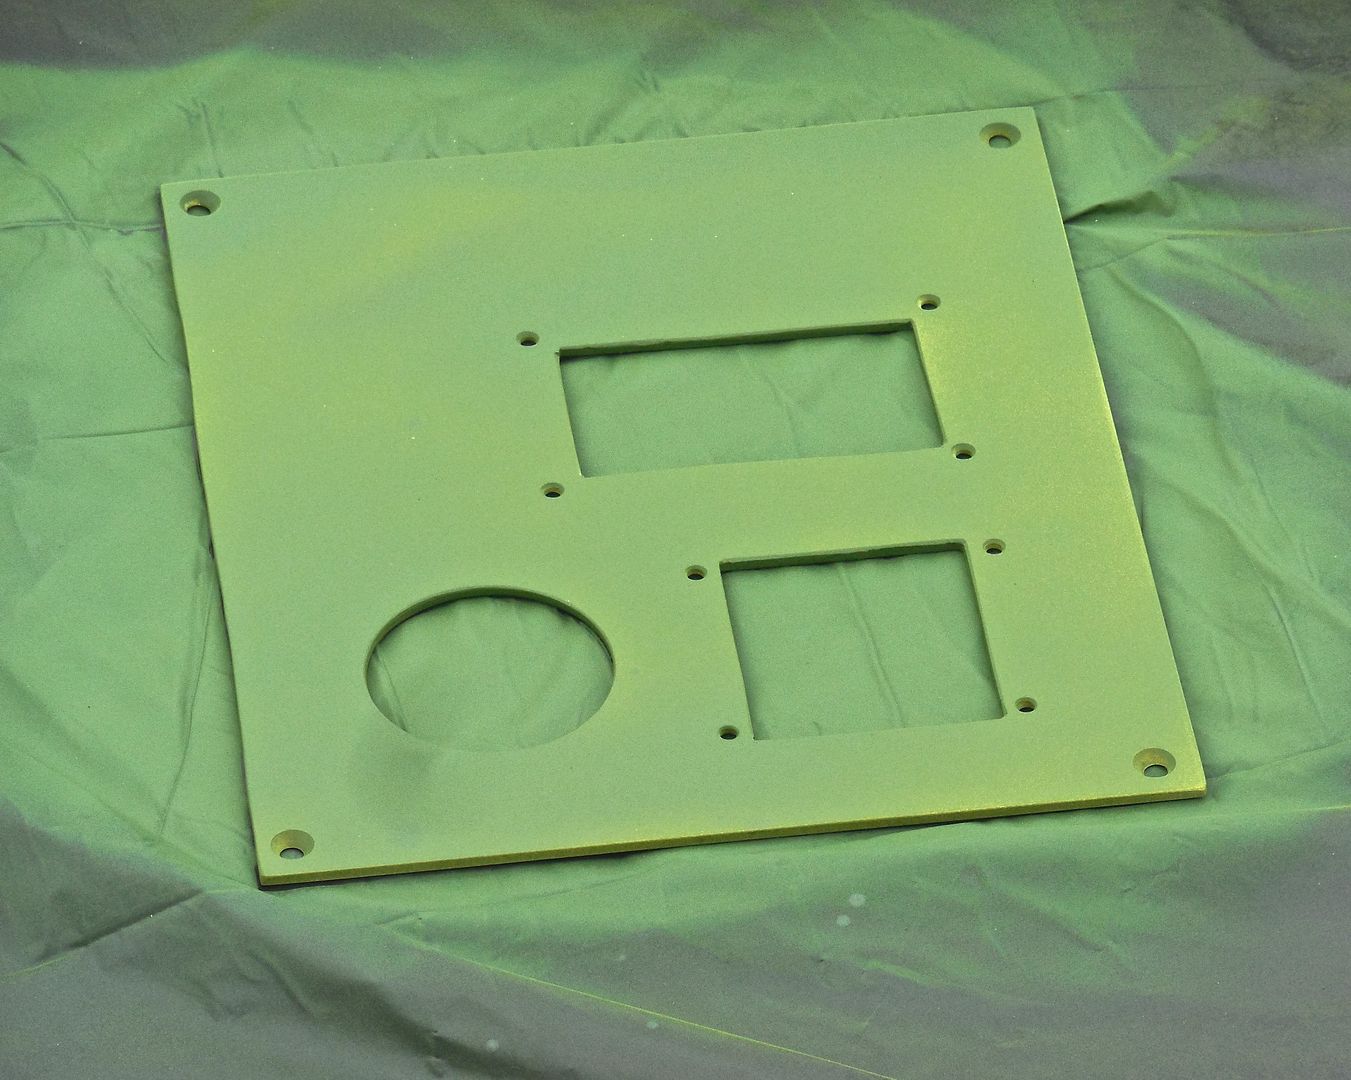 |
| I applied two coats of zinc phosphate primer on the new aluminum panel prior to painting it black to match the other electrical panels. |
Reinstalling the LinkLITE
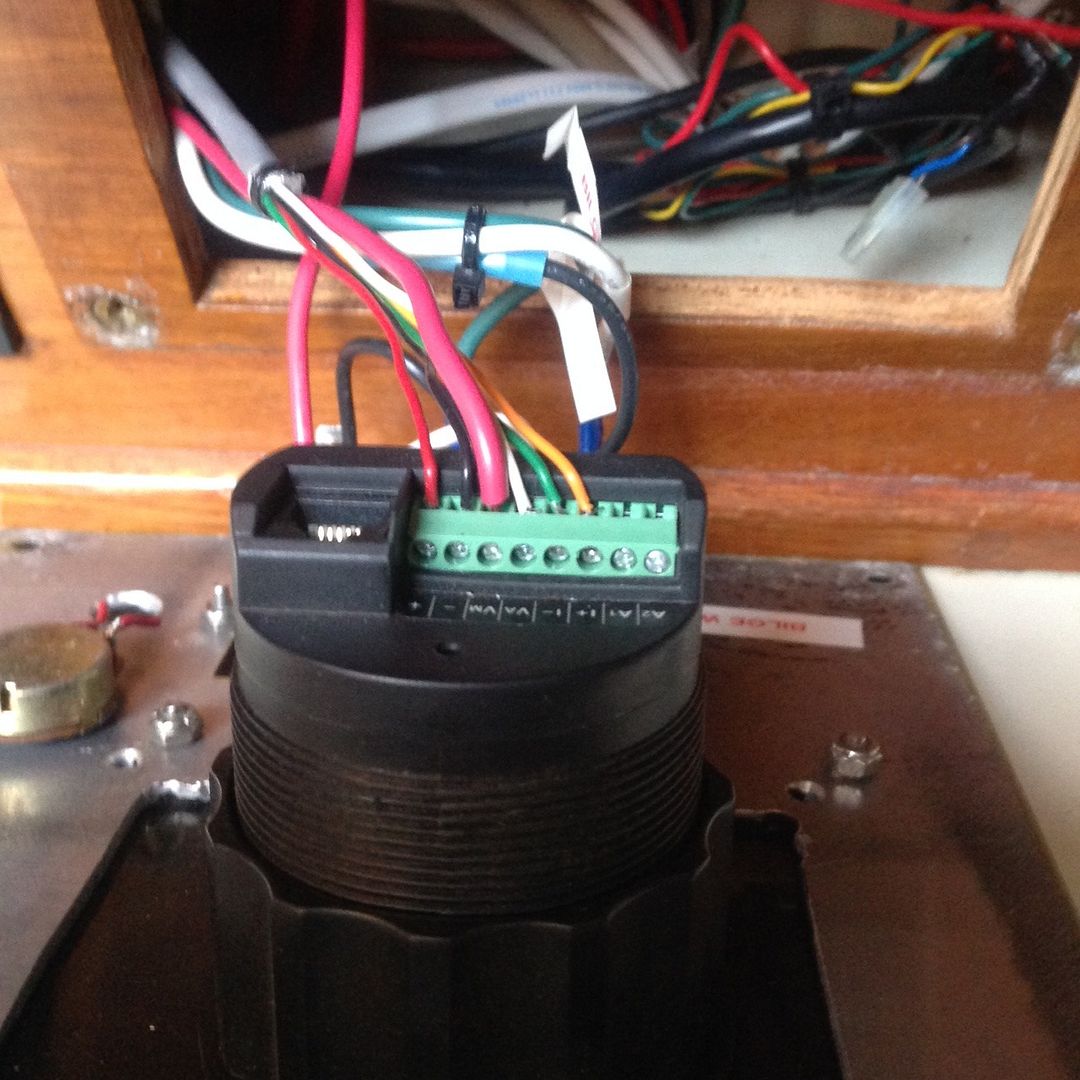 |
| Removing and reinstalling the LinkLITE gauge and the bilge pump panel switch was part of this project. Taking pictures of the wiring made this a little easier. |
Installing the Watt Wizard
Installing the Watt Wizard was the easiest part of this entire project. Everything needed is included except wire and some crimp connectors.
 |
| The wiring diagram is simple enough and easy to follow. |
 |
| The core of the electrical wiring is a shunt (at red arrow) on the negative side of the solar panel output after the voltage controllers. |
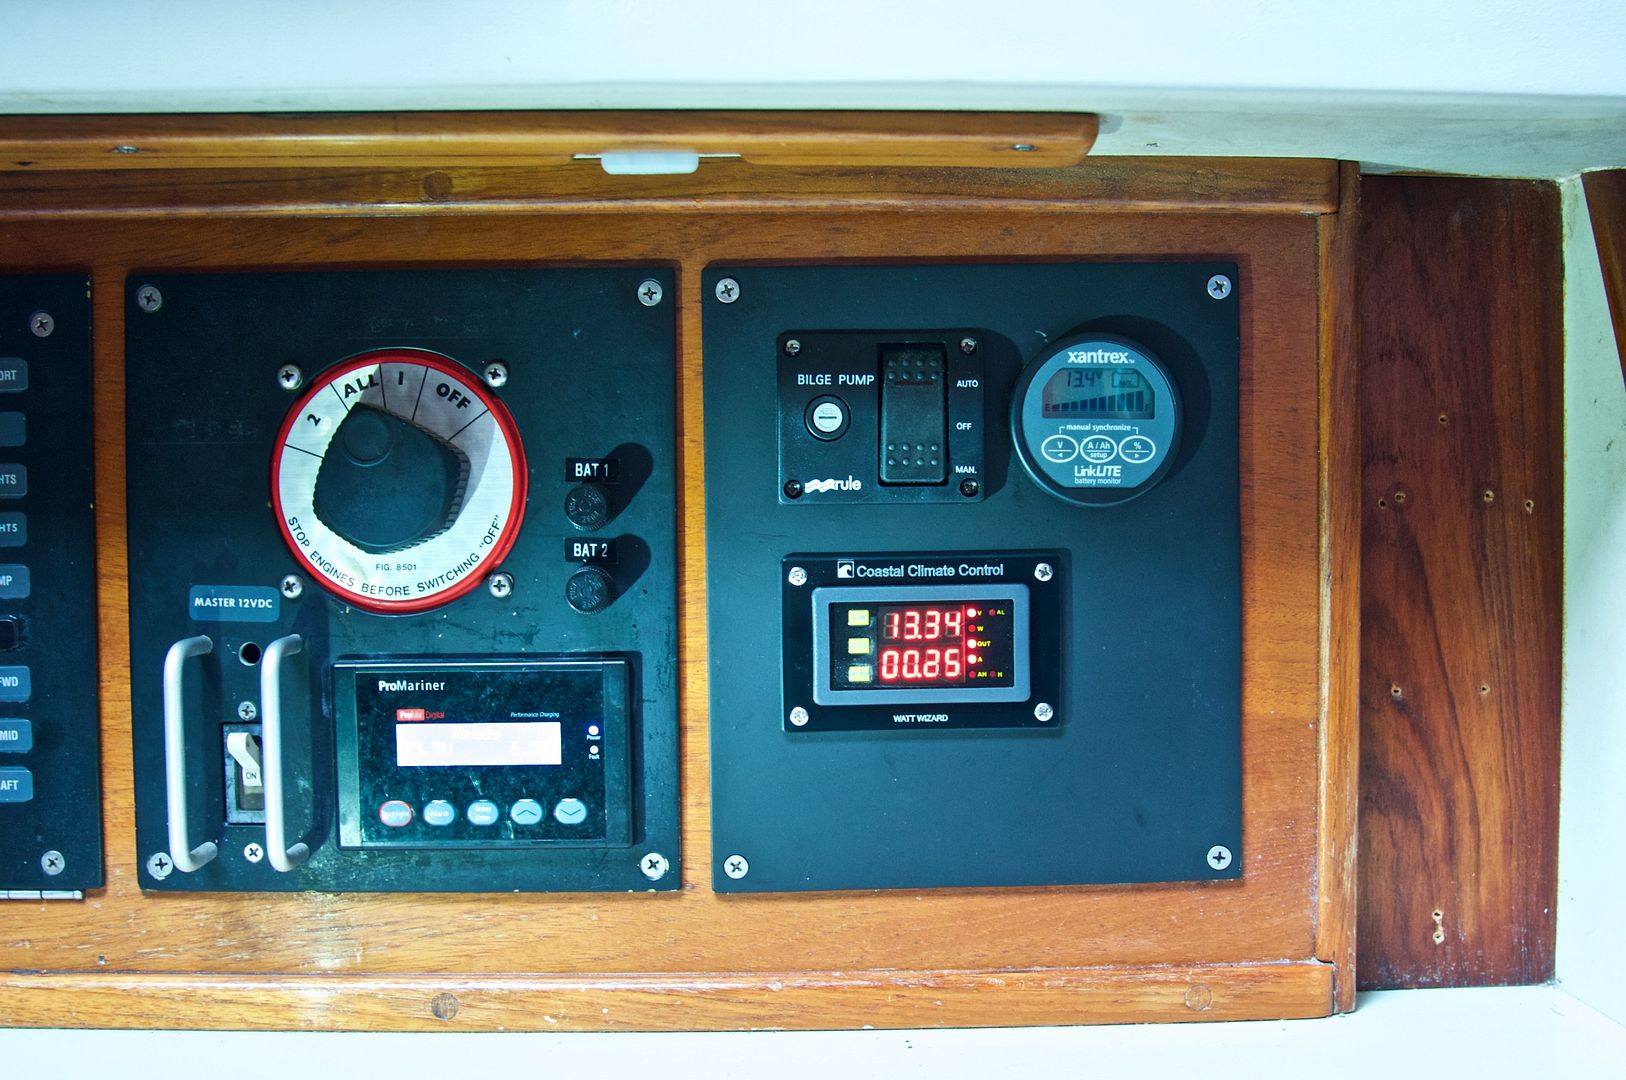 |
| The Watt Wizard was installed in the new electrical panel and is now operational. |
The actual installation of the Watt Wizard took only a few hours and, of course, it involved getting into the cockpit locker and removing the companionway steps for access to areas for running the wires. The overall elasped time was three days, including making the new electrical panel.
Since we have not had much time to experiment with the new Watt Wizard yet, we will have a follow-up blogpost (Part 2) on this subject soon.
Thanks for following our blog!
Since we have not had much time to experiment with the new Watt Wizard yet, we will have a follow-up blogpost (Part 2) on this subject soon.
Thanks for following our blog!
This comment has been removed by a blog administrator.
ReplyDelete