Sock Burning & Ceiling Panels
--Blog post written by Bob
Sock Burning
Sock burning is a traditional rite of spring--a celebration of the coming of sailing season--it began in Annapolis in the 1980's. I understand that sock burning is now celebrated in many other cities and towns as well. I have never been to sock burning before, despite having lived in Annapolis for 30 years. Because of the long, cold winter we've experienced this year and due to the fact that I hope to be in the Bahamas at this time of year in the future, I wasn't going to miss sock burning this year.
Now celebrated at the Annapolis Maritime Museum in Eastport, sock burning involves live music, dogs and kids, lots of people drinking beer, and throwing old socks on a bonfire.
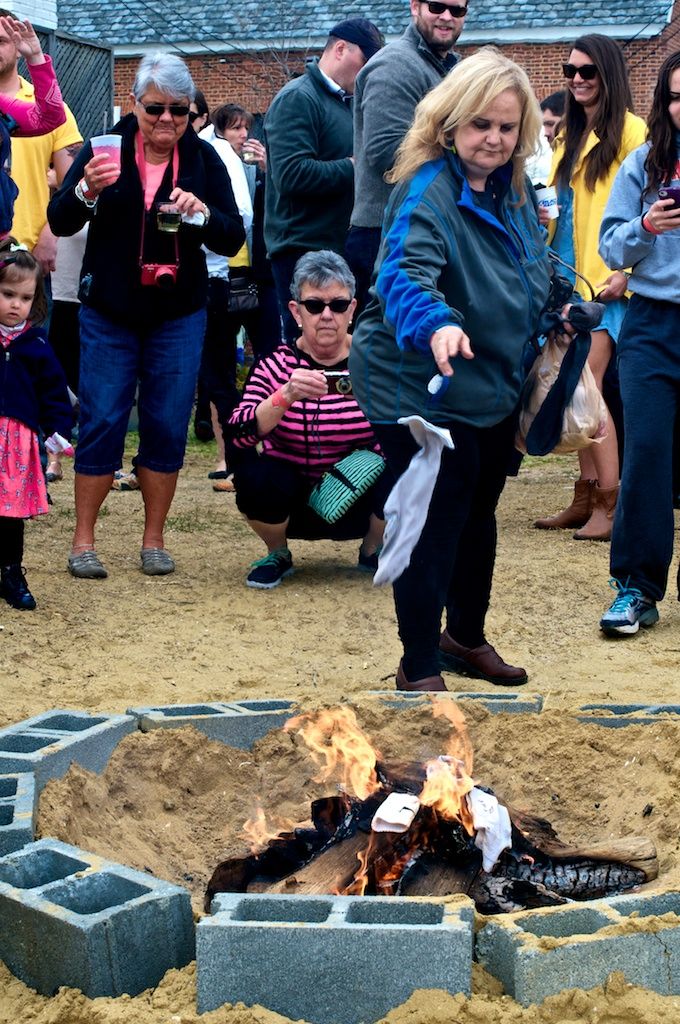 |
| A Woman Tossing Her Winter Socks on the Fire |
 |
| These Kids Were Simply Fascinated With the Fire |
Sailors only wear socks during the winter in Annapolis--so, when winter is over, why not burn your socks? (At least burn the ones that have lost their mate in the clothes dryer.). Doesn't this sound like a good excuse for a party?
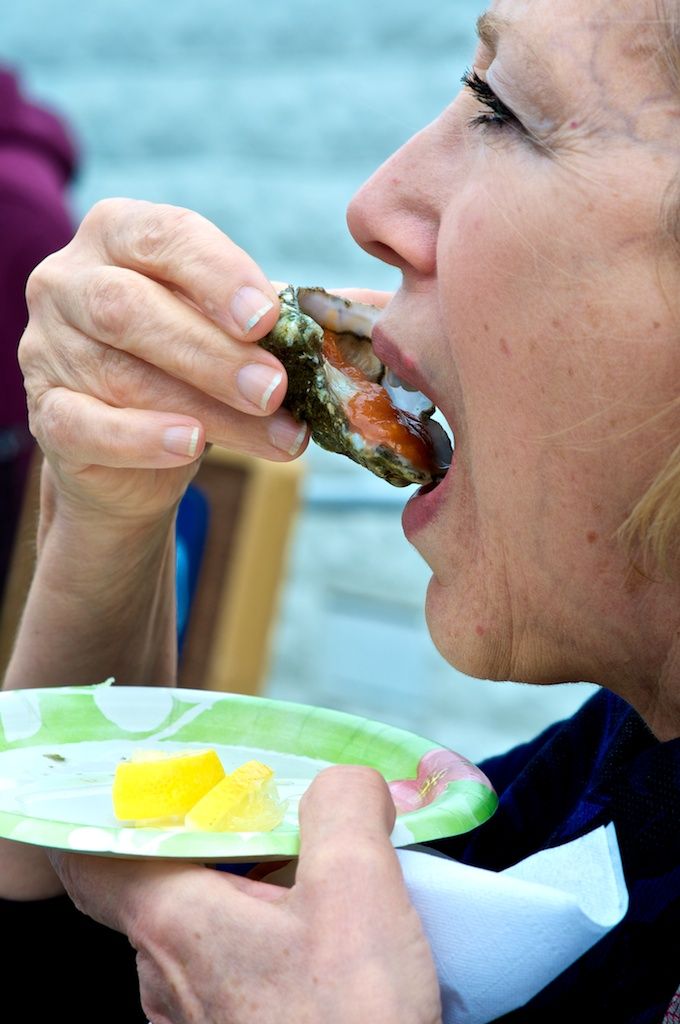 |
| Maggie Devouring an Oyster with Cocktail Sauce and a Little Lemon |
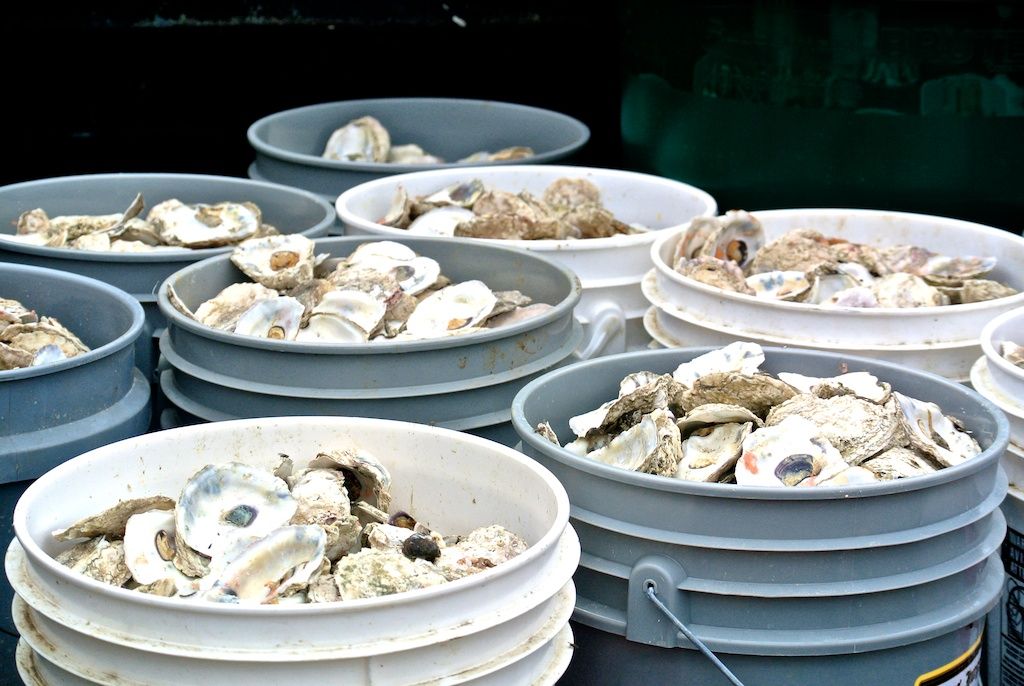 |
| A Lot of Oysters Were Consumed! |
Repairing & Painting Ceiling Panels
The ceiling panels on our C&C Landfall 38 are constructed from vinyl-covered plywood (about 1/4-inch thick). The ceiling panels are unique and fit into designated areas of the headliner--they are fastened with screws that have plastic head covers.
 |
| A Ceiling Panel in the Galley |
The vinyl covering at some of the edges has started to peal. So, the repairs involve fastening the loosened vinyl edges with epoxy.
There were a few panels (those with vents coming through) that experienced some partial delamination of the plywood caused by moisture--these areas required repair with epoxy as well. For small repairs I used small tubes of 5-minute epoxy but for larger repair areas and for coating the back side of the ceiling panel I used West System epoxy (#105 Resin and #205 Fast Hardener).
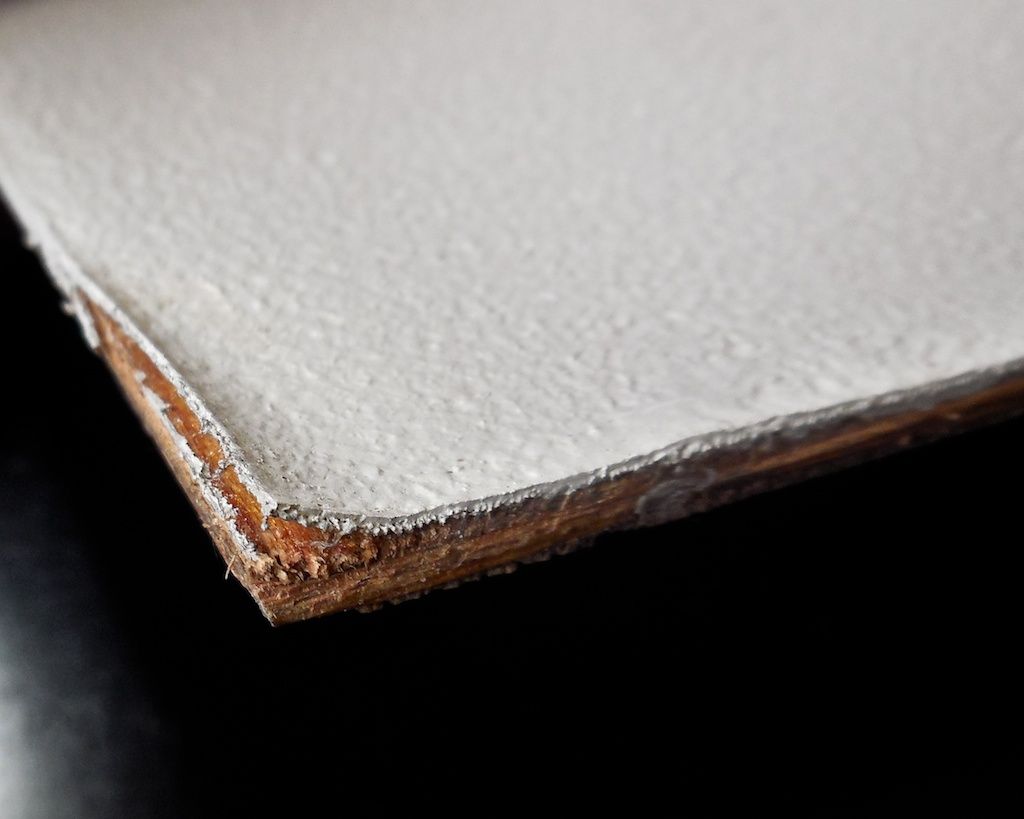 |
| A Close Up View of Vinyl Pealing off a Corner of a Ceiling Panel |
There were a few panels (those with vents coming through) that experienced some partial delamination of the plywood caused by moisture--these areas required repair with epoxy as well. For small repairs I used small tubes of 5-minute epoxy but for larger repair areas and for coating the back side of the ceiling panel I used West System epoxy (#105 Resin and #205 Fast Hardener).
When clamping any area that has been glued with epoxy, I use wax paper between the ceiling panel and the boards used in the clamping--this prevents epoxy from sticking to the clamp boards.
 |
| Wax Paper is Used Between the Ceiling Panel and the Clamping Boards |
After the epoxy-sealed edges dried, I sanded the edges to remove any excess epoxy and to round off any sharp edges. We thoroughly cleaned all the ceiling panels with a scrub brush and spray cleanser after the repairs were completed. For three ceiling panels that have vents coming through (plus 2 above the quarter berth) we coated the upper back surface with (West System) epoxy to make them more water resistant.
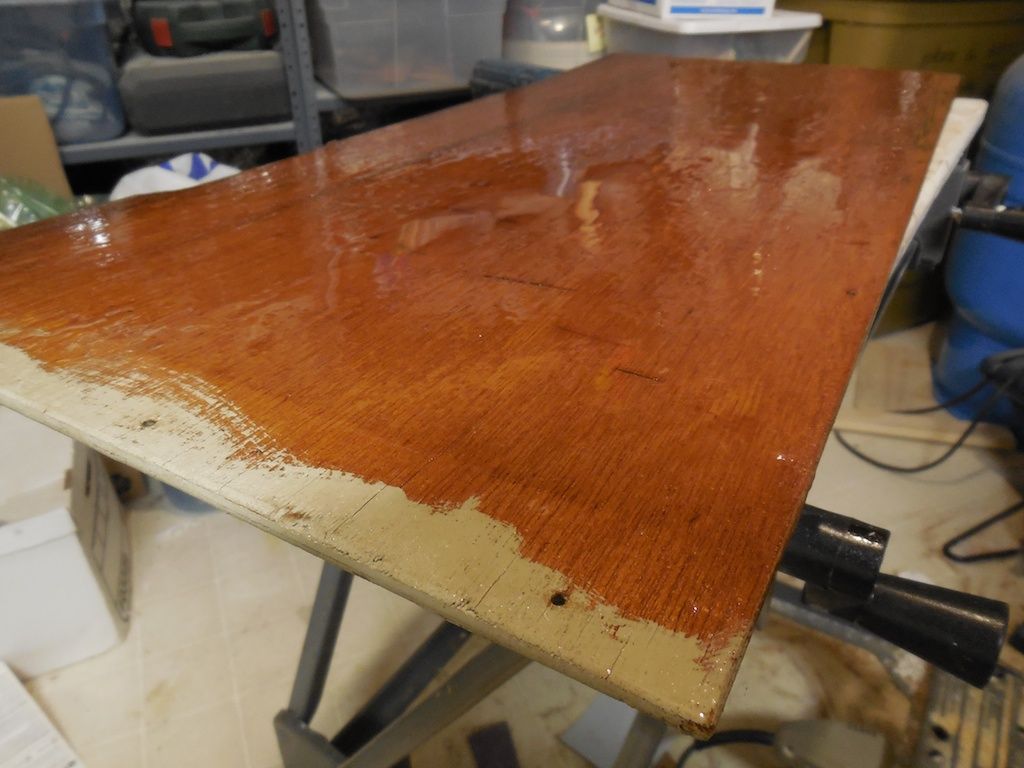 |
| Epoxy Coating on Backside of a Ceiling Panel From the Quarter Berth |
Finally, we painted all the panels with (two coats) latex paint (a somewhat lighter shade than the original color) using a small roller.
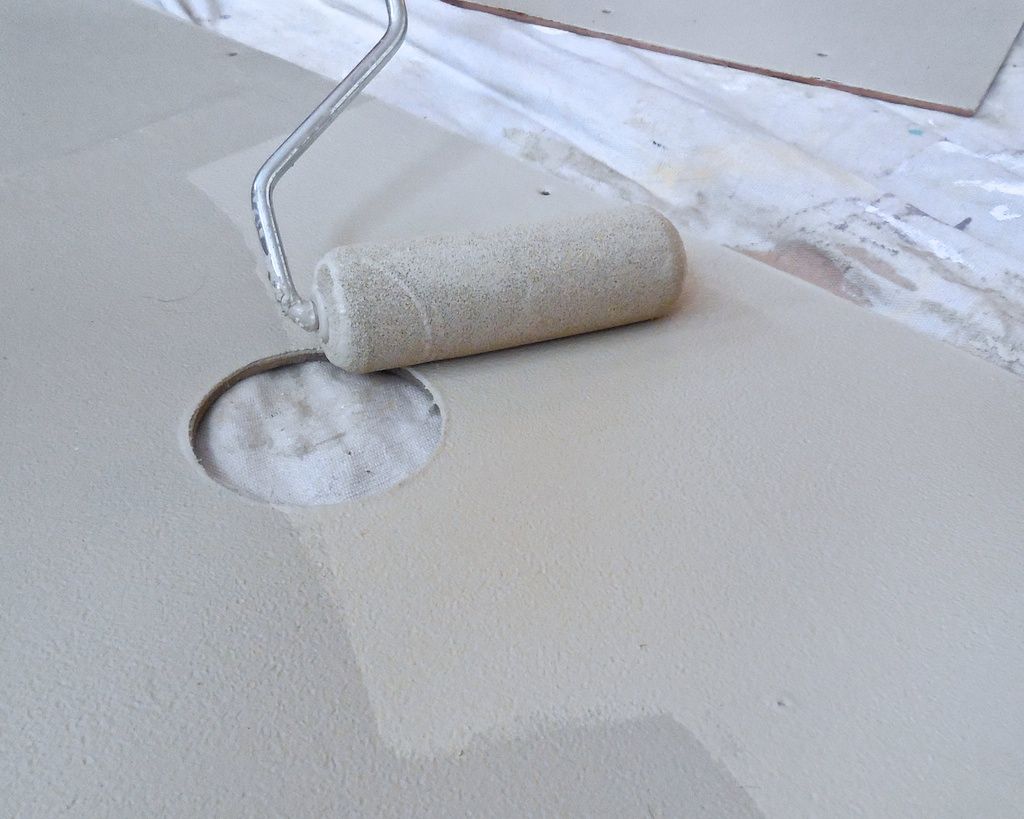 |
| We Applied Two Coats of Latex Paint to the Ceiling Panels Using a Small Roller |
All total, there are 16 separate ceiling panels on S/V Rainy Days. All of them needed some amount of edge repair prior to painting. This project was done at home and took a couple months over this past fall and winter. It made a world of difference in the brightness of the cabin area! Even though this project took a long time to complete, the cost was under $75, including paint, epoxy, fasteners, and new screw head covers. This project completion leads the way to the new interior window treatment which will be the subject of a future blog post.
Boat Project Status
The status of our boat projects is now at 70 completed and 58 to go--7 have been removed as "frivolous." When looking at the list of boat projects yet to be tackled I have to remind myself that these are fun. Our next blog post will describe our decision to purchase a composting toilet and the following blog post will describe the installation of our new semi-flexible solar panels on the dodger and bimini...it's FINALLY springtime!!!
Thanks for following our blog!
No comments:
Post a Comment