A New Camera Cabinet
--Blogpost written by Bob
Maggie and I have some photography equipment that needs to be stored in a nice dry protected area but be readily accessible while cruising. Serendipitously, we had been thinking about getting rid of our onboard flat screen TV because our laptops will end up serving the purpose of a TV (to watch videos and movies) while we are cruising.
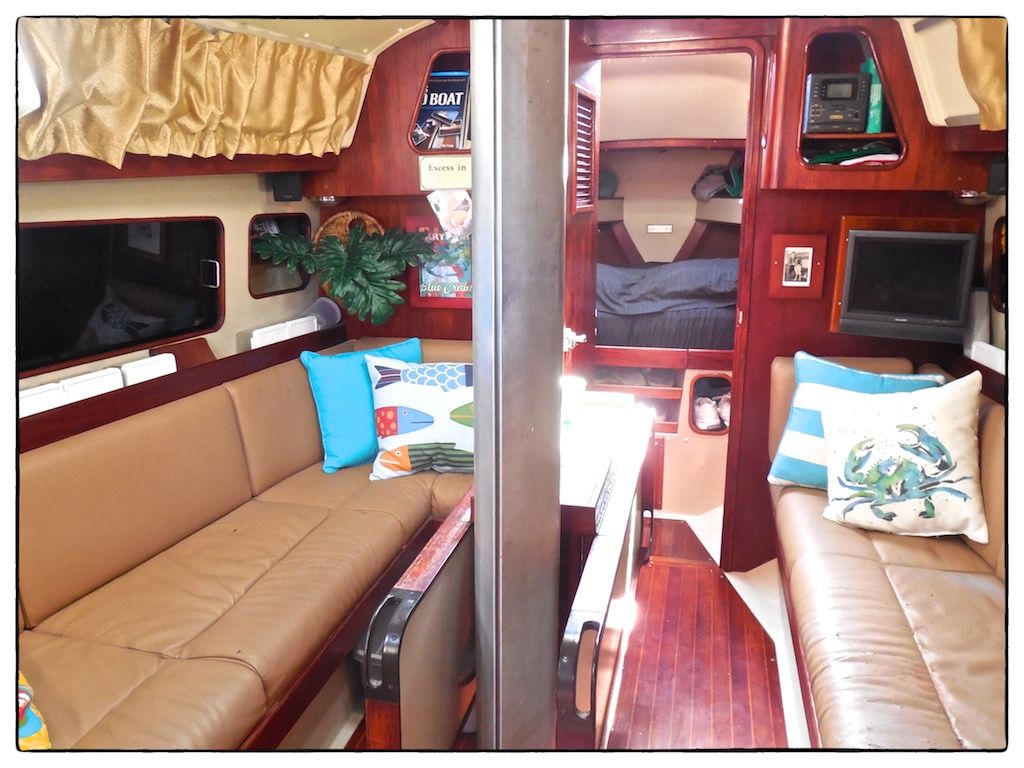 |
| The area where the flat screen TV was located (far right side of this image) had undergone changes over the years from a deep tube-type TV to the flat screen TV--so, we had a cavity behind the flat screen TV that was the perfect place to store our camera equipment. (This image was taken with our old upholstery still in place.) |
Upgrading the Shelf & Trimming the Opening
A long time ago, I installed a small plywood shelf for the original tube-type TV--it was made of simple 1/2-inch marine plywood.
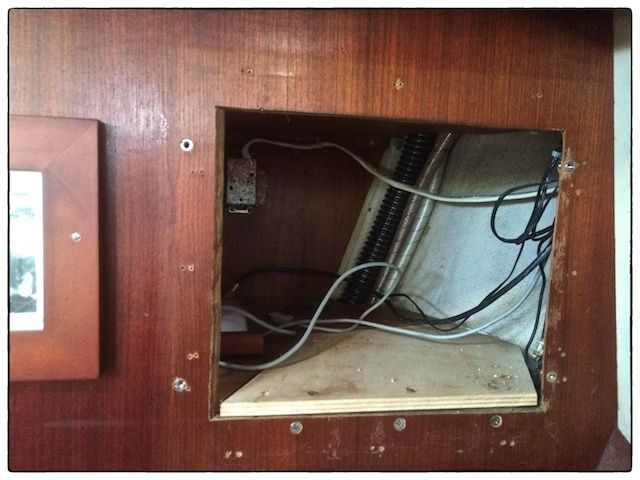 |
| Once the flat screen TV mount was removed, this is what the space looked like. The removable partial shelf was made of simple plywood. Note the loose wires and cables in the cabinet and all the mounting holes that had to be covered with the new cabinet door. |
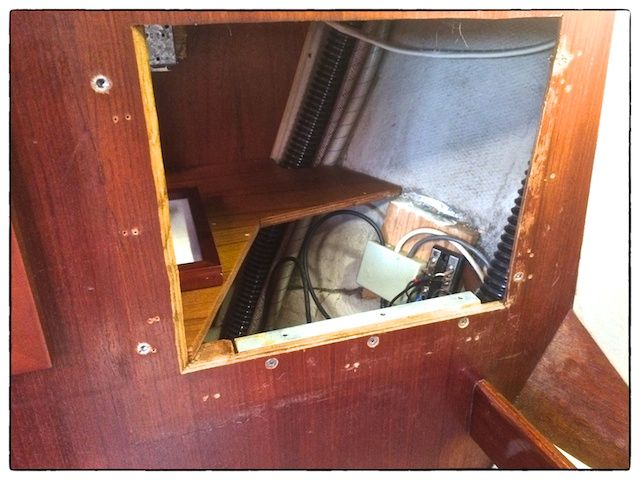 |
| Area shown with shelf removed for access to antenna amplifier. |
When I built the shelves in the hanging locker sometime later I made one of the shelves line up with the TV shelf--the shelves in the hanging locker were made from 1/2-inch thick teak-veneered plywood. So, my first task was to remake the removable shelf from teak-veneered plywood (using the old one as a template for the new one--I covered the edge facing the opening with solid teak trim.
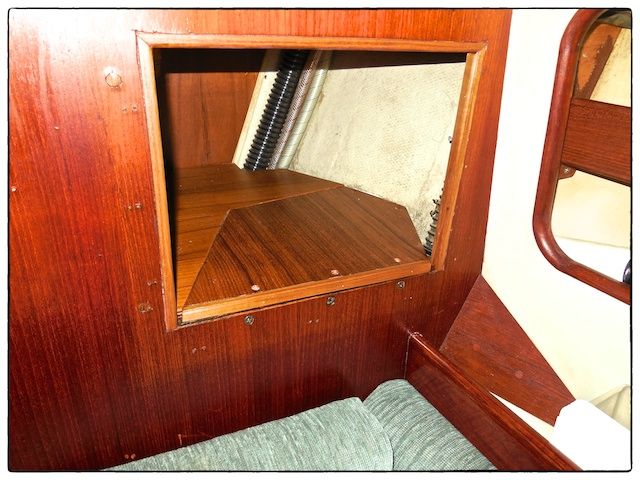 |
| This is how the shelf was transformed. The new removable partial shelf was made from teak-veneered plywood and the opening was trimmed in solid teak to cover the rough edges of the plywood bulkhead. The partial shelf had to be removable for access to an amplifier for the powered antenna that is used for the AM/FM radio. |
Hinged Cabinet Door
The biggest task was to construct the hinged cabinet door which would open into our main salon--materials for this cabinet door made up the bulk of the project cost. My intention was to make the door much larger than the opening to cover some old holes in the bulkhead and match the color of the teak bulkhead and some of the style of the boat (even if only in the knobs).
I purchased 1/4-sheet of 1/2-inch plywood with teak veneers on both sides from Exotic Lumber here in Annapolis. Exotic Lumber is a great source for teak and other exotic wood! The 1/4-sheet provided enough material for the cabinet door and a partition, with some material left over.
Since the cabinet door mounts completely on the outside of the teak bulkhead, I was able to do the construction of the cabinet door in my home workshop from measurements I took onboard.
 |
| I made the cabinet door in my home workshop. It has teak trim all around the door and a drawer pull for a knob like some of the other cabinet doors on the boat. |
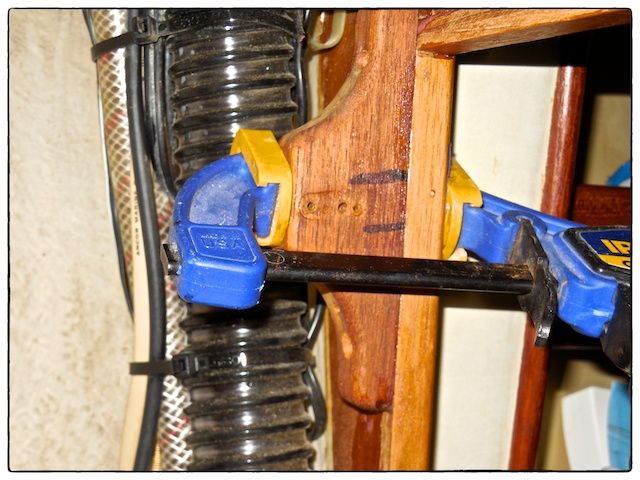 |
| Fastening the teak bracket used to mount the latch for the cabinet door. This is looking from the inside of the cabinet. Note the new fill hose for the starboard water tank in the background. |
To match the existing teak bulkhead, I applied some red oak stain--this imposes a red color that somewhat matches the original teak color. After I was satisfied with the color match, I applied several coats of satin finish Epifanes varnish, sanding between coats with progressively finer sandpaper. (The final color match is not perfect--perhaps I needed red mahogany stain instead of red oak.)
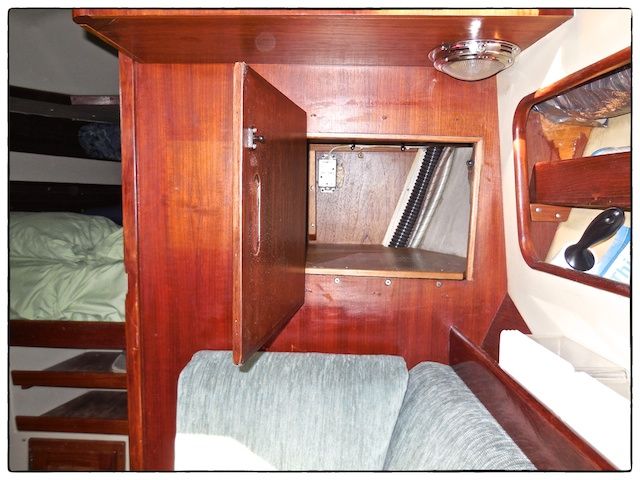 |
| The finished cabinet with the door open. |
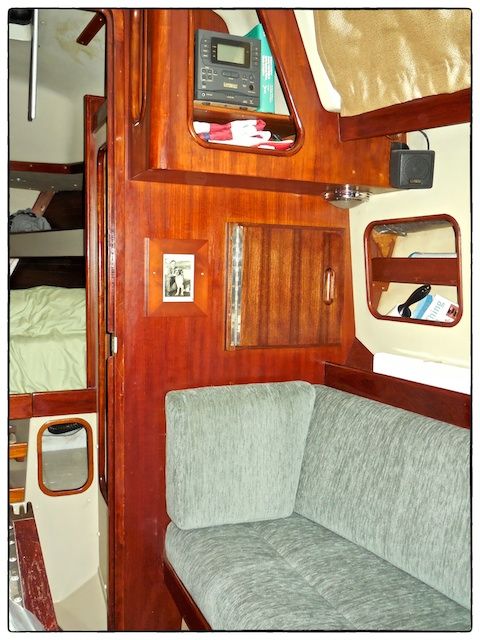 |
| The finished cabinet with the door closed. Note the piano hinge on the left side of the cabinet door. |
Summary
This project cost a little over $125 in materials and took two weeks to complete. In the overall scheme of things, this was a very low-cost and simple project. We haven't added a partition on the shelf yet--when we do, I'll make an addendum to this post. It is also possible that we may need something to hold the door in position when opened.
My camera equipment includes a Nikon D300 DSLR and three Nikon prime lenses. Maggie has a compact Nikon J-1 with two lenses. We hope to add a Garmin VIRB Elite for video.
This afternoon I winterized the boat as the evening temperatures are beginning to drop below freezing. This may be the last winter that we have to winterize the boat--next winter we should be living aboard before taking off cruising in the fall of 2016.
Thanks for following our blog!
No comments:
Post a Comment