Hatch Seal Replacements
Part 1: Bigger Isn't Always Better
--Blogpost written by Bob
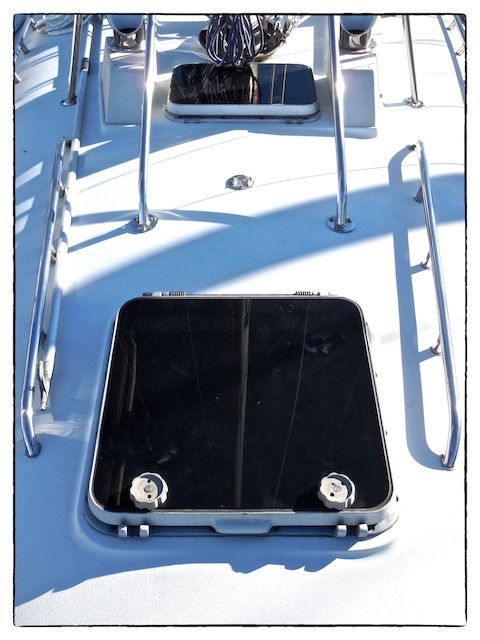 |
| We decided to replace the seals for our forward hatch (lower area of image) and our mid-ship hatch (upper area of image) during the winter as part of our boat's 30-year retrofit. |
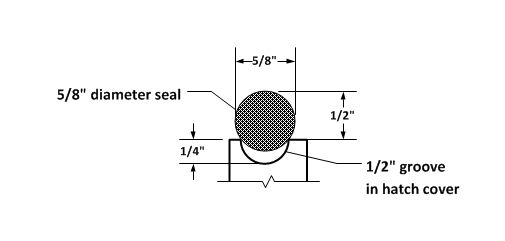
This will be the second time seals were replaced for these two hatches. The first time (about 15 years ago), 1/2-inch diameter closed-cell foam neoprene seals were used--this time around I increased the diameter to 5/8-inch (thinking that bigger is better).
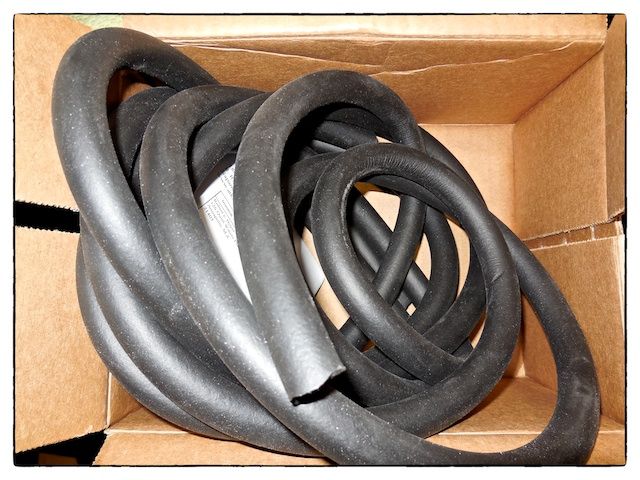 |
| The seal material was purchased from Atkins & Hoyle, the original manufacturer of the hatches. I specified that they be 5/8-inch diameter after I found out that two diameters were available, the other and more standard being 1/2-inch. This was a BIG mistake! |
Removing the Hatch Covers
 |
| Since I'm replacing the seals during the winter, I made a temporary plywood cover for the hatch so that I could bring the hatch cover home and adhere the new seal in my home workshop where the temperature would be more suitable for curing (so I thought anyway). |
Removing the Old Seals and Adhesive
Removing the old seal material (mostly the old caulk) was the most time-consuming part of this project--it took about 2 hours for the forward hatch cover.
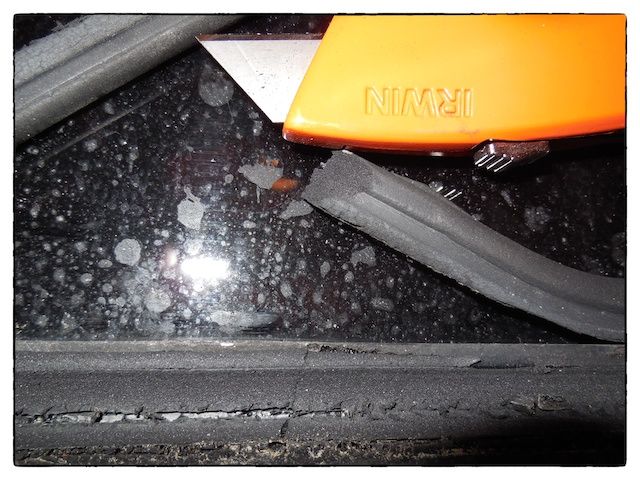 |
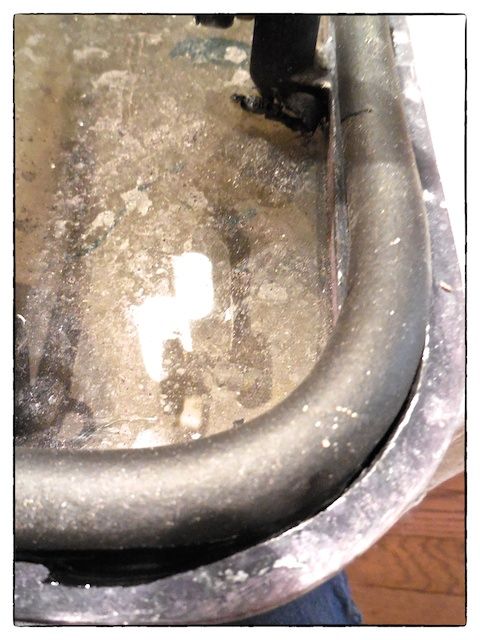
| First, I cut out the majority of the old seal with a razor knife. The groove (shown at the bottom of this image) still contains some of the remaining seal. |
The second operation was scraping out the old adhesive and seal remnants with a 1/4-inch wide wood chisel. Some remnants of the adhesive were still in the groove of the hatch cover and I tried to remove them with various tools in a Dremel but the wire brush wheel and the burnishing tools wore out very quickly. I went back to using the 1/4-wide wood chisel and continued to remove the old seal that way--it wasn't fast but it was effective.
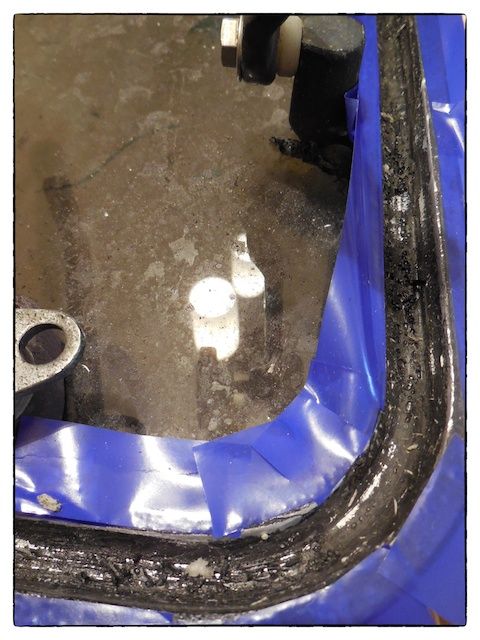 |
| Removing the old seal and adhesive was very difficult and time consuming. The groove is shown here taped off to prevent the messy adhesive from getting on the hatch frames. |
Installing the New Seals
I decided to use Sikaflex #291 for the adhesive to hold the new seal in the groove in the aluminum hatch cover--the cured adhesive has an elongation property of greater than 400%. To assure satisfactory adhesion to the anodized aluminum frame, I had to wipe the frame with Sika #205 cleaner/activator and then, within 2 hours, apply the sealant.
I taped off the inside and outside edges to minimize the sealant from getting on the hatch frame--this turned out to be unnecessary. The Sikaflex #291 is thick and messy--I should have worn disposable rubber gloves!
I started to adhere the seal (within 30 minutes after applying the cleaner/activator) starting in the middle of the frame (opposite the hinges) and working around each side to the hinged side of the hatch frame. I allowed the seals to temporarily overlap in the middle of the hinged side and I cut thru both ends of the seals at roughly 45 degrees with heavy shears. I applied adhesive on the two 45-degree cut ends and brought them together--the junction was not very pretty and there was an irregular gap--next time I will use a hack saw. I allowed the adhesive to cure overnight and then, attempted to remount the forward hatch cover on the boat--next time I will allow the adhesive to cure in place while the hatch cover is mounted.
 |
| The 5/8-inch diameter seal appears significantly bigger than the old 1/2-inch diameter seal--it's actually TOO big! |
 |
| Not only was the new seal bigger, but without being clamped during curing, the seal did not fully seat into the groove in the hatch cover. |
Results
When I remounted the hatch cover I couldn't get the hatch closed. I felt that the largest obstacle to closing was nearest the hinge--the seal diameter was simply too big and not fully seated in the groove. So, I removed the hatch cover, reinstalled the temporary plywood cover, and removed the new seal that I just installed. I ordered replacement 1/2-inch diameter seals (the proper size) and I'm waiting for them to arrive--they should be here in about a week.
I hope someone else can learn from my mistakes on this project. Installing the proper size seals will be covered in Part 2.
Thanks for following our blog!
No comments:
Post a Comment