Refrigeration System Upgrade: Part 2
--Blogpost written by Bob
Many years ago, I added spray foam insulation to the outboard face, the forward face, and the bottom of the ice box. However, the aft wall of the ice box where the cold plate was mounted was never touched. I also felt that the bottom could use more insulation. I decided to add various thicknesses of insulation to the aft bulkhead, bottom, and aft outboard corner of the box. The aft outboard corner was an unusable area of the ice box and filling it with insulation decreased the heat transfer and it significantly reduced the volume to be cooled.
Materials
In researching materials for this project, the only rigid foam insulation sheets I could find locally were constructed from extruded polystyrene. The reason polystyrene is more readily available is that the manufacture is more environmentally friendly. A 1-inch thickness has an R value of 5 and 2-inches gets an R value of 10.
I found out that West System epoxy can be used on the polystyrene sheets as long as I kept the heat down when it "kicks off". To keep the heat down, I limited the epoxy to thin coats and mixed it with #410 Microlight. Using Microlight #410 had an additional benefit in that it cured more quickly.
We cut all the foam pieces to fit the spaces using an electric carving knife. Later I discovered that a jigsaw works better although it's messier.
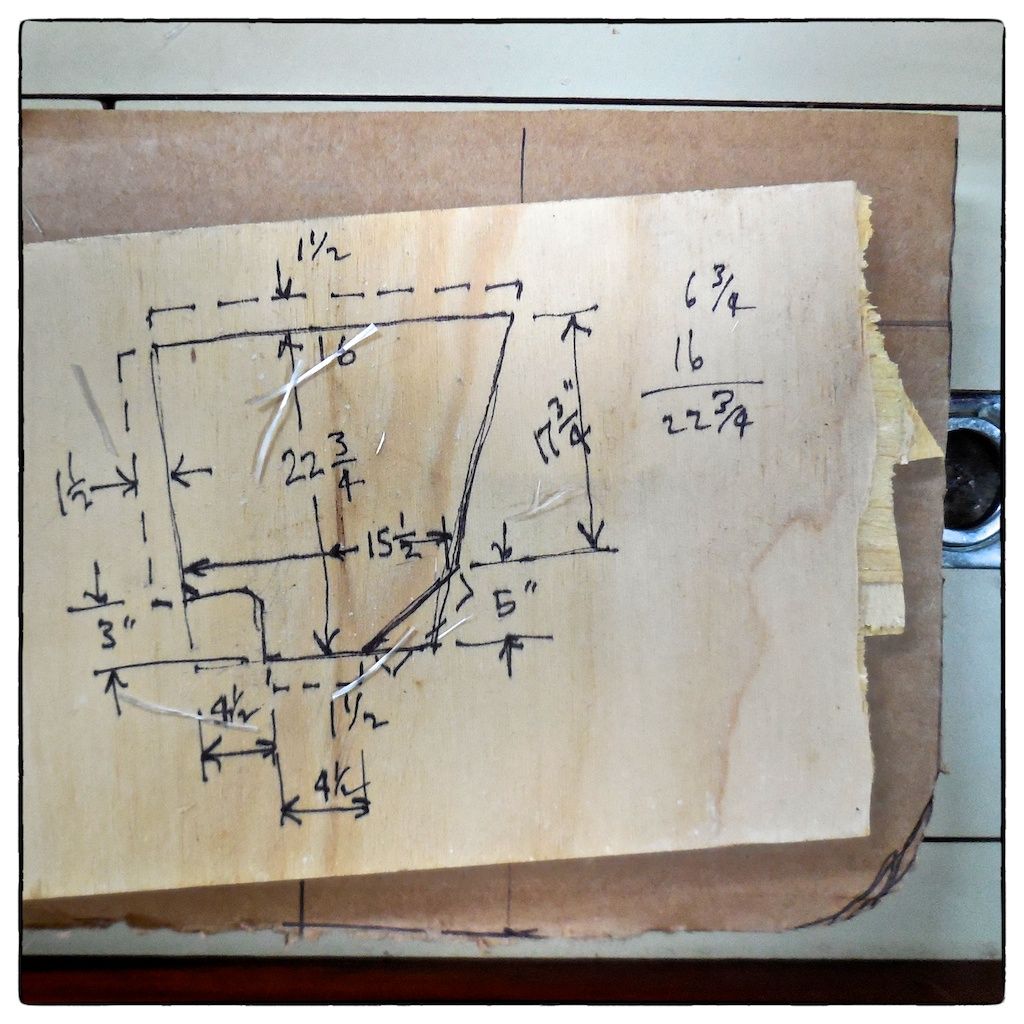 |
| Sometimes, you have to make design notes on wood scraps. This sketch is for the sizing of the second layer of fiberglass covering the aft wall. |
After coating one side with fiberglass cloth and epoxy, we then epoxied them into place in the ice box using long clamps in compression to clamp them while the epoxy cured.
Bottom Surface
There were several considerations in making the bottom insulation panel:
(1) A drain well was made around the existing drain connection.
(2) The bottom surface slopes inboard and aft to the drain well.
(3) We didn't want any crevices and the transition between the curved outboard surface and the new bottom had to be very smooth.
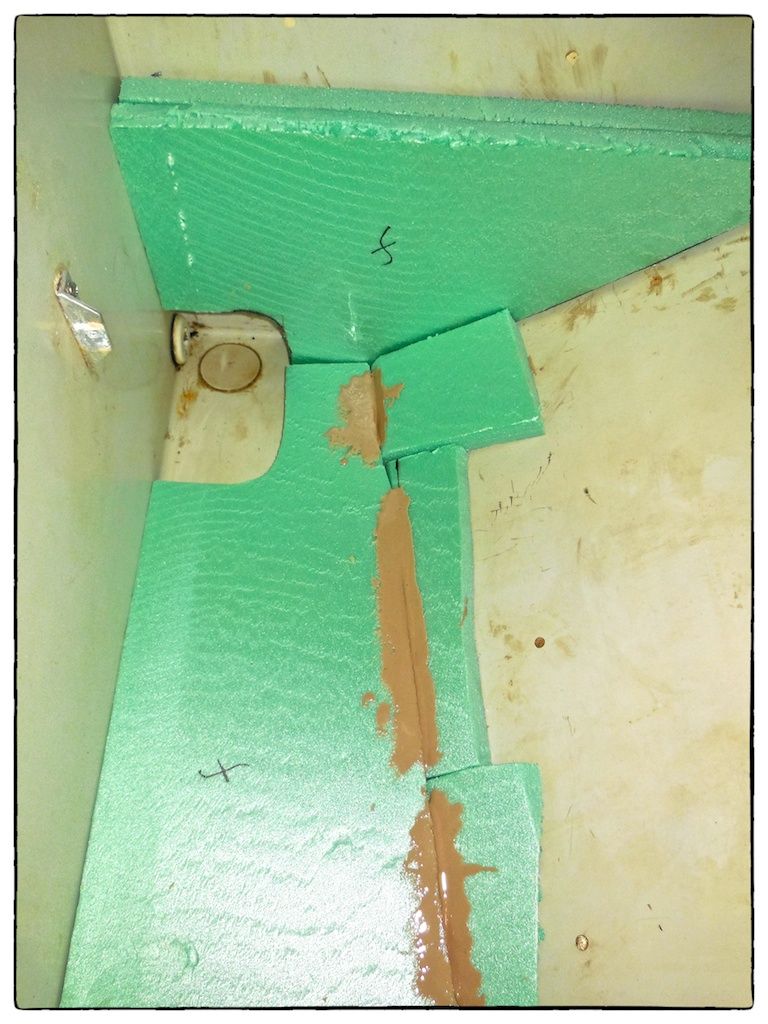 |
| This is how it all started--making the puzzle pieces that would eventually make up the insulation panels. You can see the two 1-inchpanels on the aft wall and the single 1-inch panel on the bottom. This is prior to adding fiberglass to the panels. |
 |
| A little further along in the process, the panels have been shaped and covered in fiberglass and are being tabbed together in this photo. |
Aft Wall
We added 2 inches of insulation (with an R value of 10) to the aft wall of the ice box where the new evaporator plate will be mounted. Once the pieces were cut to fit, we laminated the two layers together and applied a coat of fiberglass to the interior surface of each laminated piece.
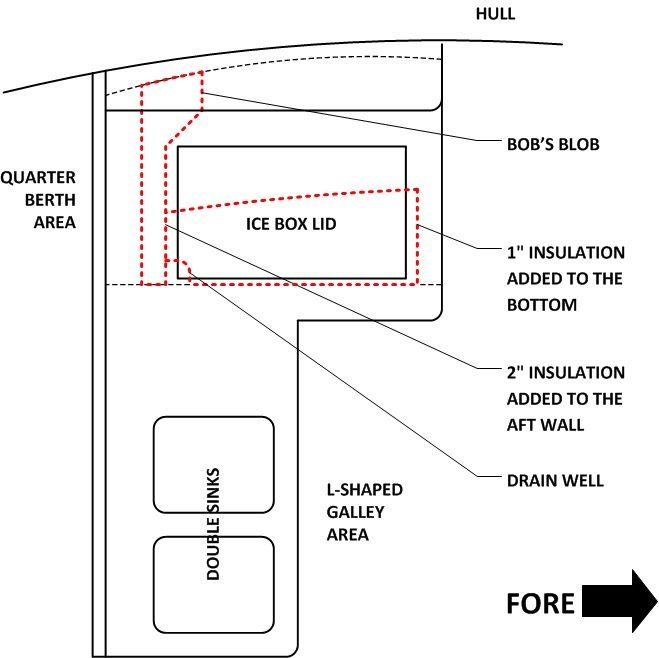 |
This is the plan view of our galley showing the orientation of the ice box and the components we've added. |
The double thickness panel pieces were then glued to the inside of the ice box wall. After taping all the seams, we applied an additional layer of fiberglass to this wall.
"Bob's Blob"
Bob's Blob was a means of reducing the ice box volume in a way that consumed an unusable space and added insulation in its place.
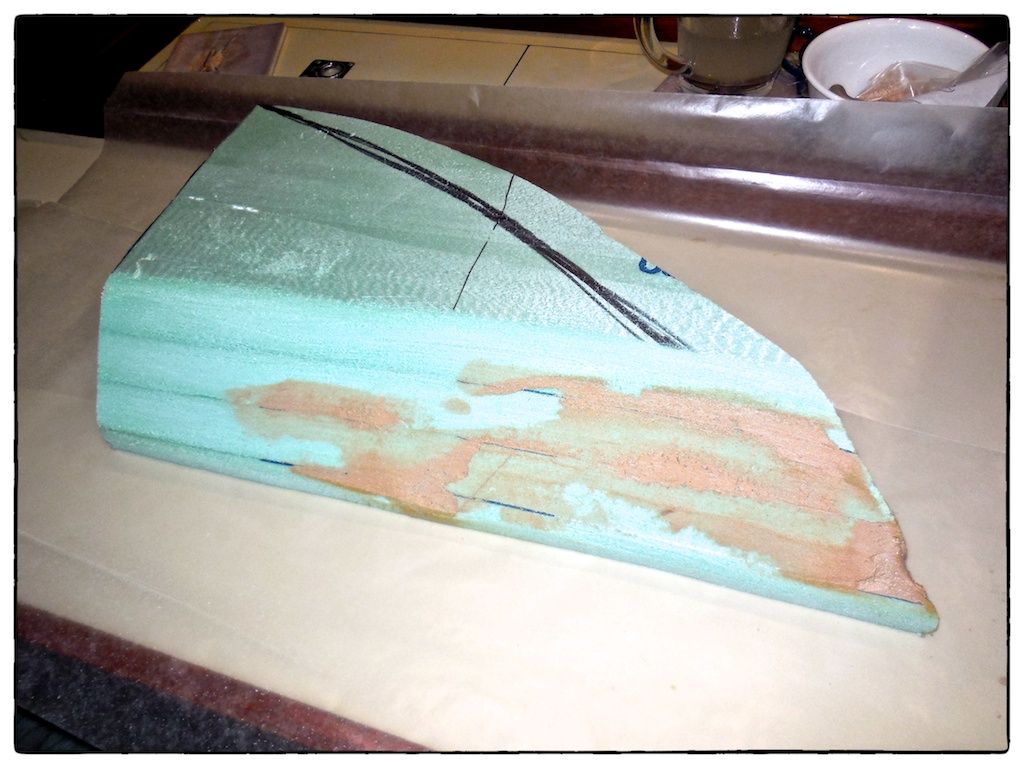 |
| This is the way the shape started--by laminating four layers of 1-inch insulation panels together and then shaping it. |
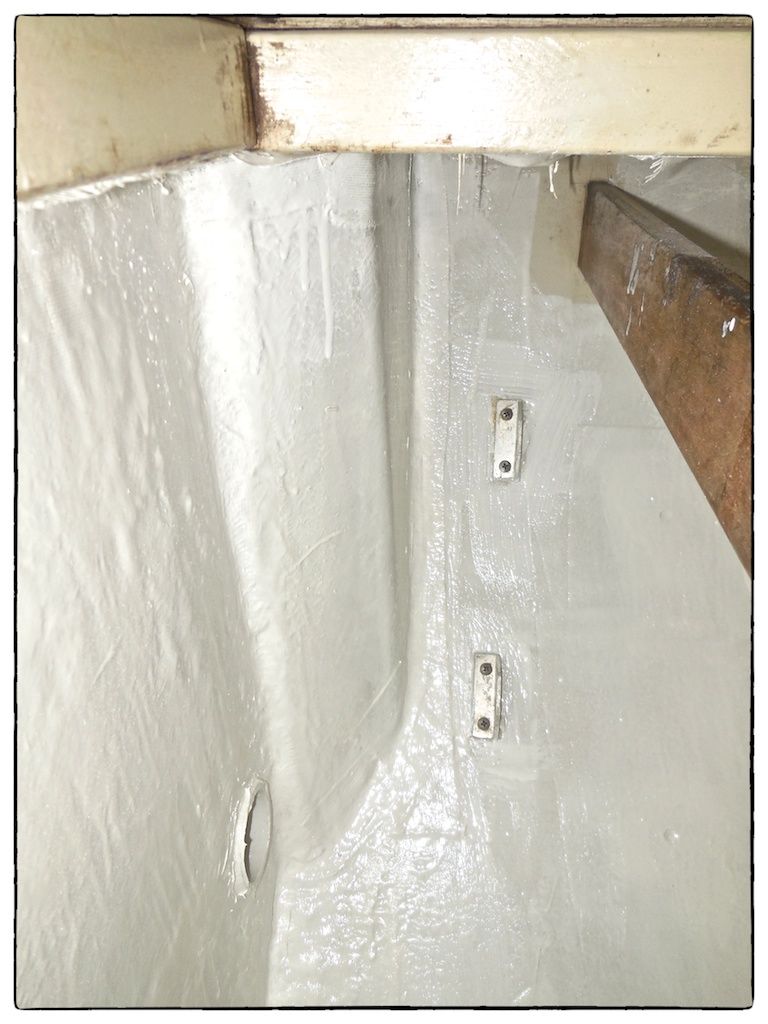 |
| Bob's Blob in place in ice box. In this photo, the single hole for the tubing exit has been made and lined with PVC pipe. |
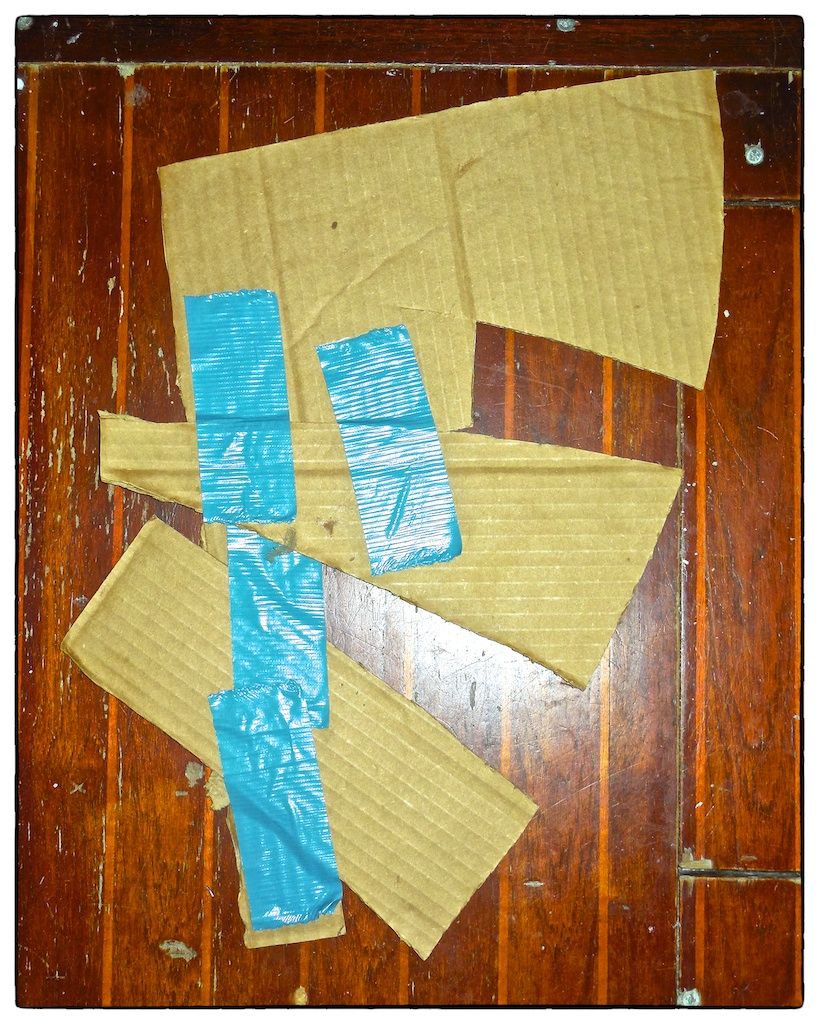 |
| This makeshift cardboard template was used to measure the shape of the outboard wall and convey the shape to Bob's Blob. |
We shaped the inboard edge to have a 45-degree angle to facilitate air flow around the ice box. We constructed the fiberglass cover on the inside surfaces and then glued it in position over the aft wall panels.
Finishing
Once all the fiberglass-lined foam pieces were in place, we taped off all the seams using 2-inch wide fiberglass tape and epoxy with a white pigment. We tabbed all edges back to the original ice box shape--this was for strength and leak-tight integrity.
After all the pieces were securely in place and leak tight we coated the internal surfaces with an epoxy mixture containing colloidal silica (for thickening) and white dye (for color). We used a roller for most of the flat surfaces and a brush for the corners.
I drilled a 2-1/2-inch diameter hole through the aft wall for the two tubing runs to come through. I finished off this hole by inserting a short length of 2-inch PVC pipe and completely sealed it inside and outside.
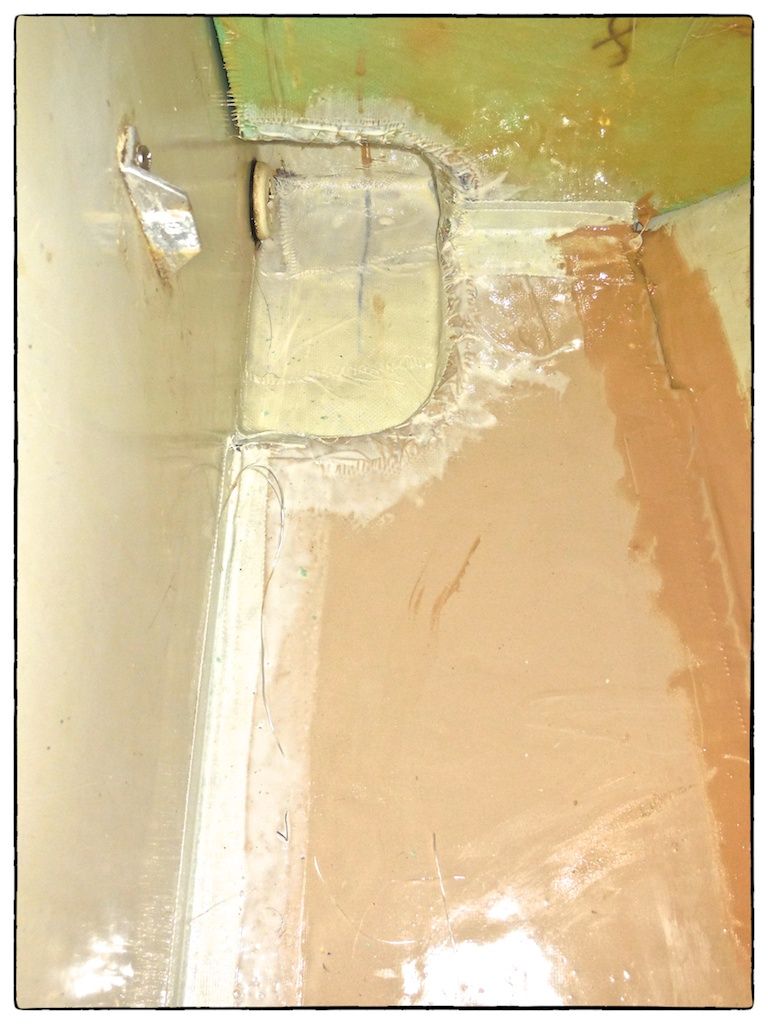
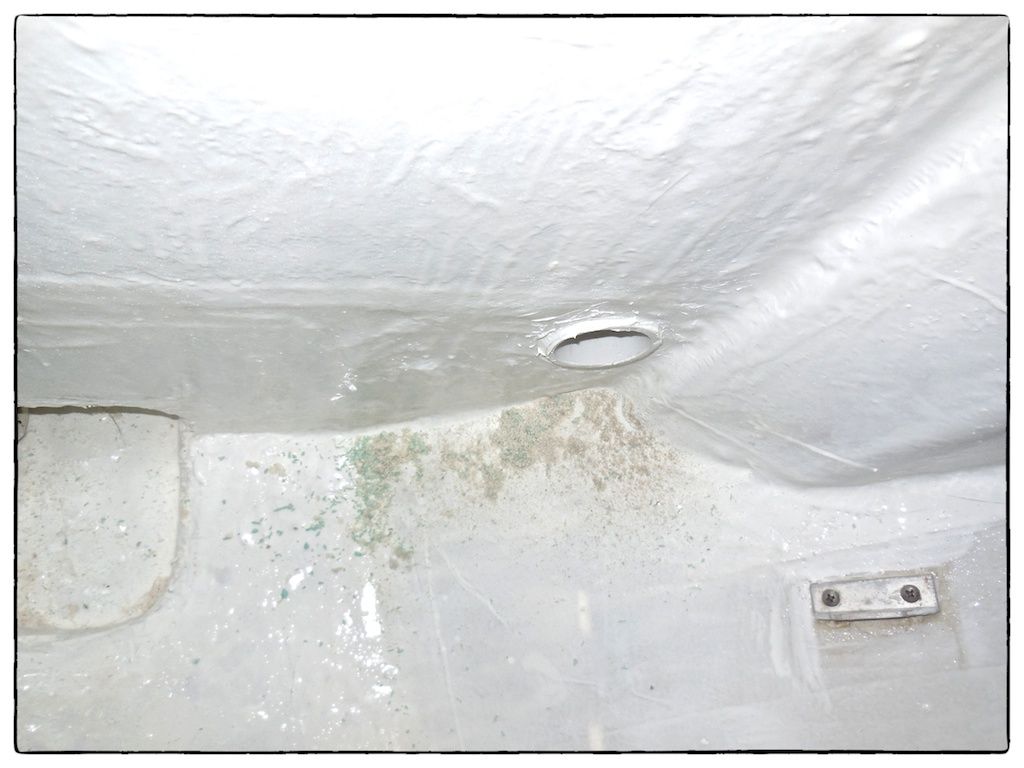 |
| This photo shows the finished product with several coats of white-pigmented epoxy. This photo shows the drain well and Bob's Blob as well as the new exit hole for the tubing. |
Final Touches
A long time ago I designed and built a drawer system using plastic bins--they slide on aluminum tracks. I noticed that the bins tended to insulate our foodstuffs rather than promote cooling. So, I recently added eight 1-inch diameter holes in each bin. With SeaFrost's widget fan, the holes should further improve our refrigeration system.
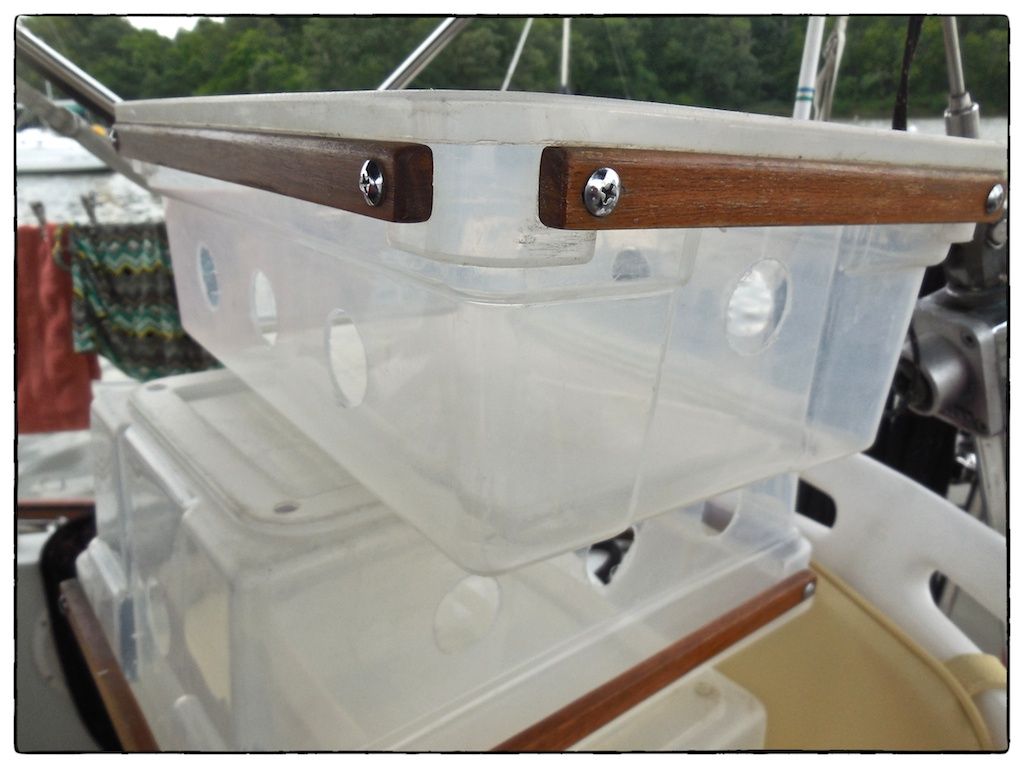 |
| Eight 1-inch diameter holes were added to all the plastic drawers for the ice box. These were added to promote the flow of cooling air through the drawers. |
The last part of this series will be the installation of the new refrigeration system. Stay tuned…
Thanks for following our blog!
 |
| The storm clouds gather as Tumblehome plays for the group at Annapolis Maritime Museum. |
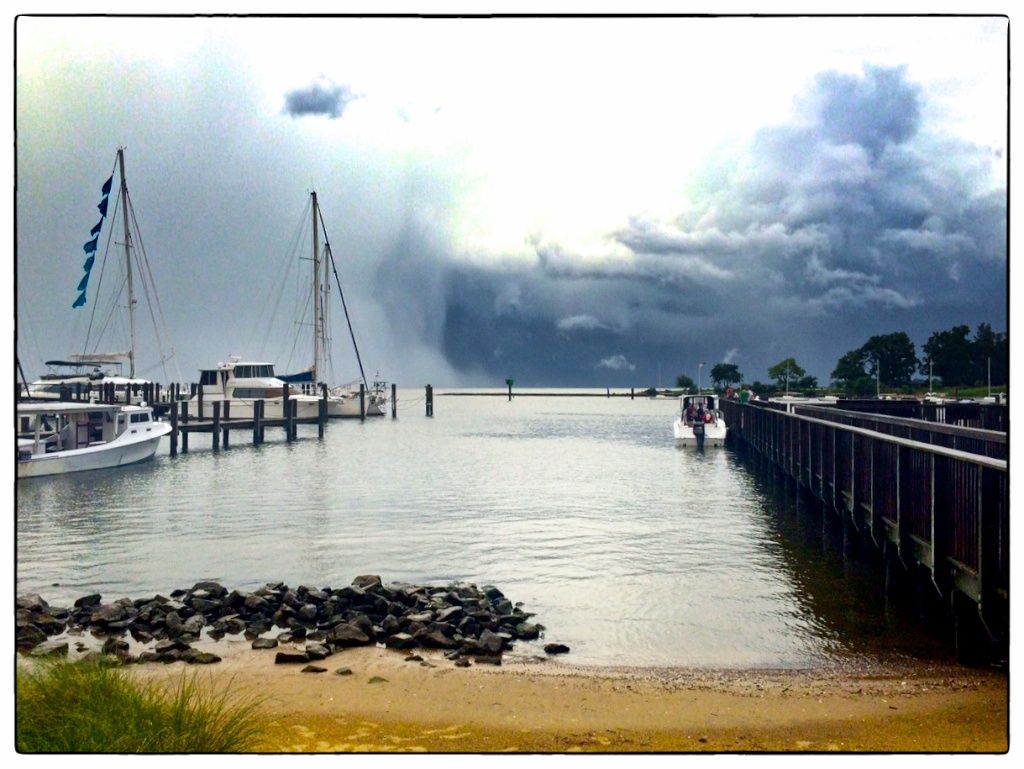 |
| The storm clouds move eastward after drenching the outdoor performance at the Annapolis Maritime Museum. |
Thanks for following our blog!
No comments:
Post a Comment