Replacing Strap on LifeSling Hard Case
--Blogpost written by Bob
Since we've been working very hard on some big projects lately (like replacing our air conditioner, a water tank, and preparing our house to be sold) I've been looking forward to a simple small (even tiny) project that can be completed quickly and easily. This may be just what I'm looking for.
We have the orIginal LifeSling (a throwable personal flotation device) in a hard case mounted on the port stern rail. (Subsequent versions of the LifeSling, like versions 2 and 3, are smaller than the original LifeSling.) I replaced the original soft case with the hard case years ago because I didn't think the soft cases lasted long enough.
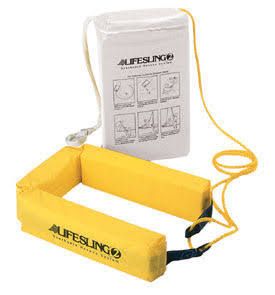 |
| LifeSling is a man overboard rescue system that contains a Type IV PFD and 125 feet of yellow polypropylene line that is fastened to the boat's stern. This image may be one of the more recent, slightly smaller, versions of the LifeSling. |
The PFD and line inside the hard case was well protected from the weather but the web strap that fastens the lid in place was badly deteriorated from weather exposure.
 |
| The old strap looks more like the color of a moldy t-shirt--more brownish gray than white but I'm pretty sure this was white at one time. |
We decided to replace the strap with new webbing material. Simple, huh?
We purchased some 2-inch wide bright yellow webbing material from Bacon's for only $4. (Part of this webbing was used for the storage straps for our front dodger window, as will be described in another blogpost on Dressing up the Quarter Berth.)
I removed the old strap by drilling out the aluminum pop rivets. One or two of the pop rivets spun with the drill bit before being pierced and melted a slightly larger hole (between 5/16" and 3/8") in the hard plastic case. Whoops!
I was looking forward to using my pop rivet tool. Knowing that I would be pop riveting (soft) fabric webbing to a (hard) plastic case, I purchased some 3/16-inch diameter aluminum rivet washers--the outside diameter was 3/8-inch. Because of a minimum purchase requirement, I ordered 150 of them--way more than I needed. They arrived in about a week.
We cut the new webbing to match the length of the old strap and Maggie sewed the loop on one end. Next, I installed the female end of the twist lock fastener to the strap. The new webbing is so tough that the punch barely cut thru the fabric--in fact, I completely installed the fastener and then removed the remainder of the webbing from the hole using my soldering gun.
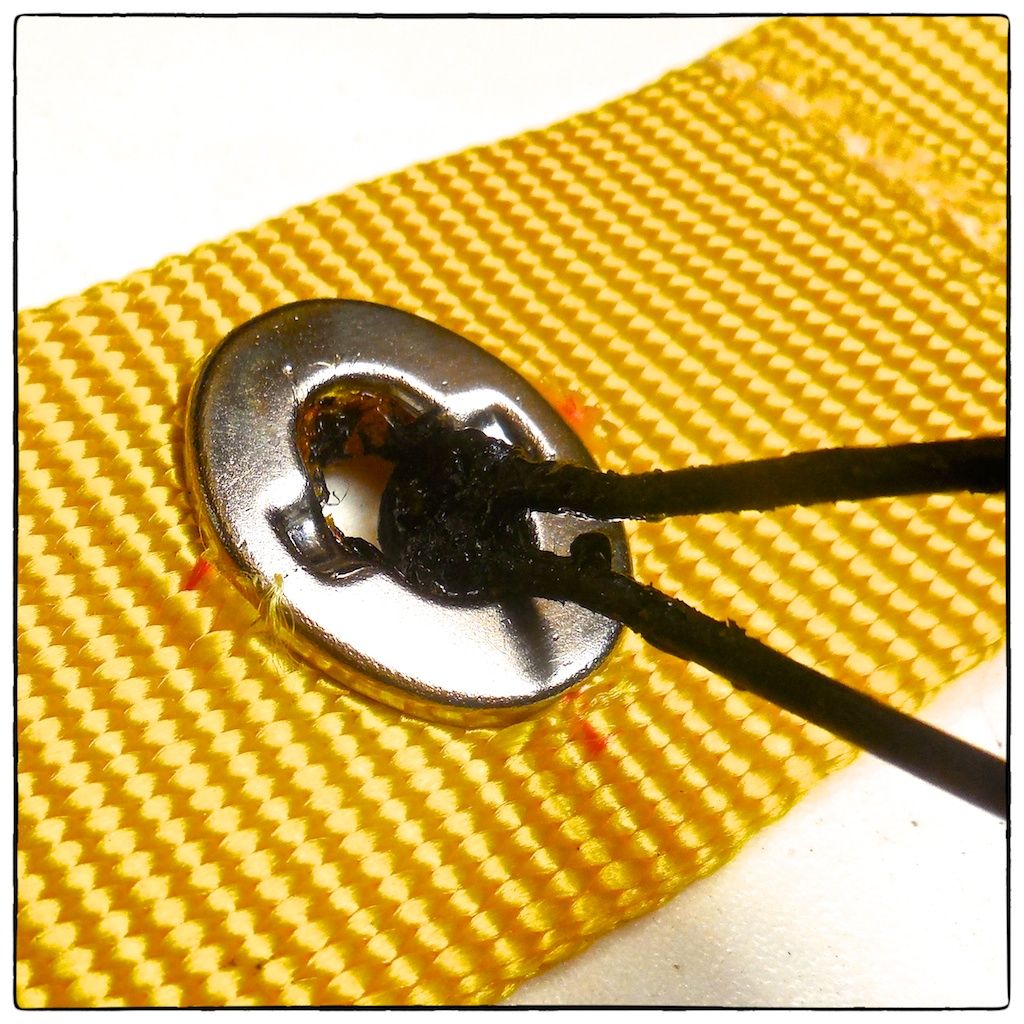 |
| The die used to punch the holes for the twist lock fastener barely cut through the thick yellow webbing. I had to burn it out completely with a soldering iron. |
At this point, the strap was ready to be fastened to the lid and to the case with pop rivets. I noticed that the places where the turning of the old rivet upon removal made the hole in the plastic hard case too big for the 3/8-inch outside diameter washer to fully cover. So, I found and ordered 1/2-inch outside diameter washers. They arrived in about a week. So, my "tiny" project took two weeks elapsed time.
Once I received the larger washers, I made one practice run installing a pop rivet in a spare piece of webbing using the rivet washers on both sides (to make sure that I'm using a sufficiently long pop rivet--1/2-inch length seemed to work best for this application and it required multiple grips on the pop rivet).
Using the old strap as a template, I pierced the webbing with my soldering gun at the points where the rivets were needed.
 |
| The new bright yellow lid strap looks great! Maybe a bit garish but, after all, it is safety equipment--it's supposed to be bright and noticeable. |
This "tiny" project (which was not on my "to do" list, by the way) cost less than $40 (most of this amount was in shipping costs) and it took about an hour or two, once I had the larger aluminum washers. The improvement is mostly in appearance.
Thanks for following our blog!
No comments:
Post a Comment