Upgrading The Galley Faucet
--Blogpost written by Bob
I realize this blogpost subject may not be very exciting to most people and I'm not very fond of plumbing. However, I will attempt to add some interesting facts along the way to keep it interesting to all readers.
 |
Is this the hot water line, the cold water line, the engine cooling water, or the deck wash pump discharge line? |
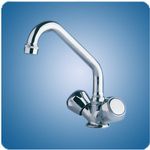
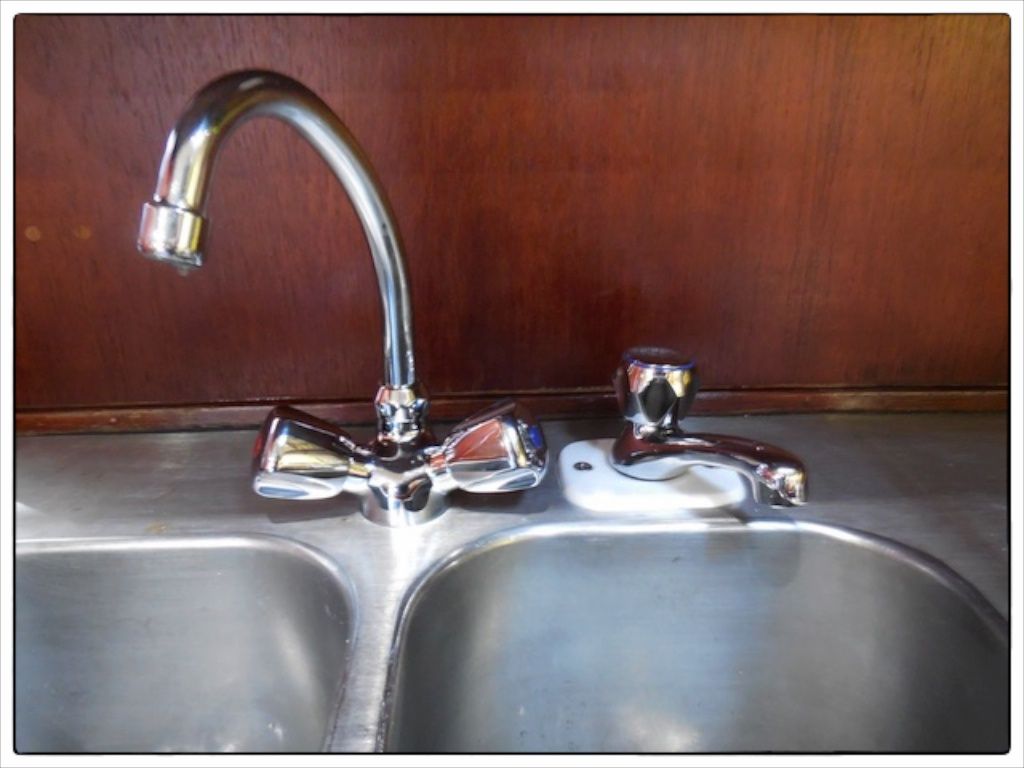
Our new fresh water faucet with a swivel spout is Scandvik's original and most popular galley mixer, Model #10422. It was supplied with flexible hose lines with 1/2-inch female NPS fittings--perfect for attaching to our existing Qest-brand fittings. (These are not tapered threads.)
In preparation for cruising the Bahamas, we decided to add a second faucet to handle salt water--this additional faucet will be connected to the deck wash system that is already in place. This will allow us to wash dishes using salt water and rinse them with fresh water (to conserve fresh water consumption).
I chose Scandvik's Model #10050 for this application. It is part of the same family of faucets as the Model #10422. The spout does not swivel for this model and it comes with a 1/2-inch NPS threaded shaft. Both new faucets were purchased from Defender. When we connect this faucet in the spring, we will use a 1/2-inch female NPS-to-5/8-inch hose barb fitting which we already purchased.
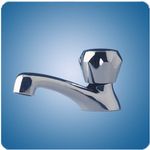 |
| I also purchased this faucet (Model #10050) from Defender for the salt water tap at the galley sink. (Photo courtesy of Scandvik) |
Removing the Old Faucet
The access to remove the existing galley faucet is through the middle cabinet door under the port galley sink--it is 10 inches wide and 12 inches high. The connections to the faucet are behind the 9-1/2-inch deep double sink (20 inches from the cabinet door) and the removal of the hose and the fittings had to be done blind.
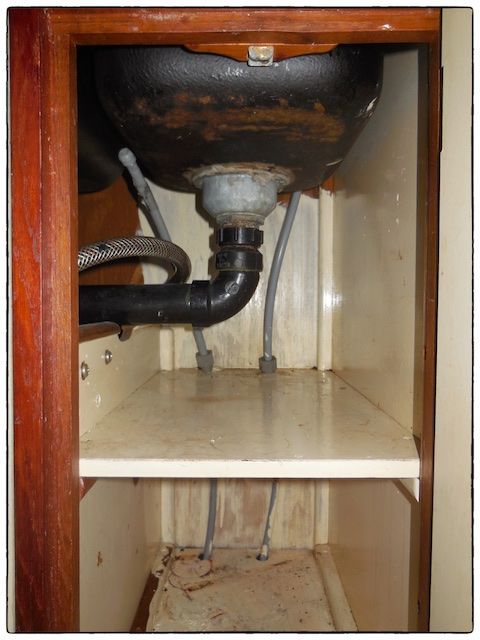 |
| This is the area in which to perform the faucet replacement--it is 10 inches wide, 12 inches high, and 20 inches deep. Like any other boat project, the work area is very cramped. |
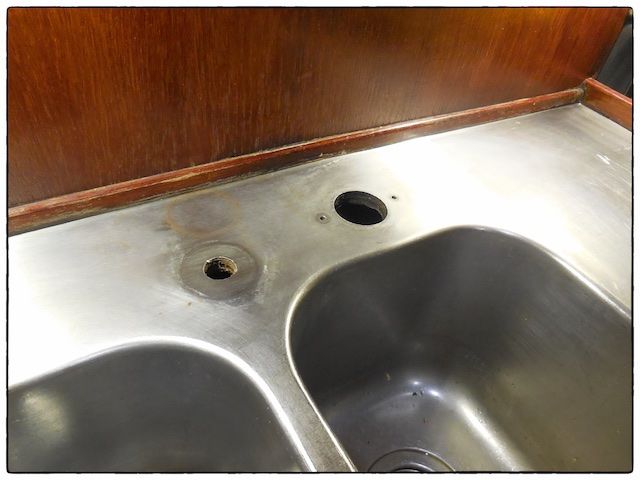
To be able to make the new hole sizes, I plugged both old holes with wooden plugs made with a hole saw. With the pilot holes still in the plugs, I used a hole saw that matched the sizes of the new holes to drill through the stainless steel sink. This was rough going at times but the hole saw cut through the stainless steel sink as well as the plywood below the sink.
I constructed a small plastic panel to fit over the larger hole where the old faucet controls were mounted. I rounded all the edges and drilled the plastic panel for the new hole sizes.
Installing Two New Faucets
I installed the new fresh water faucet first. I had to shorten the original hot and cold water feed lines to accommodate the added length of the hoses supplied with the new faucet.
 |
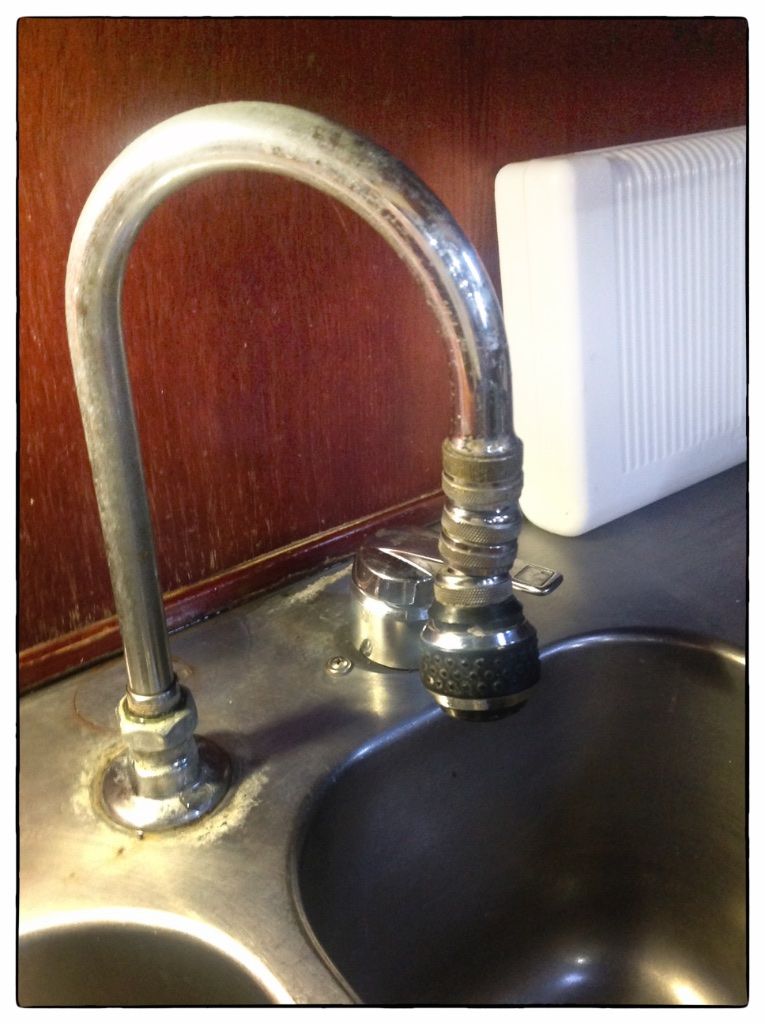
| This image is looking up in back of the double sinks--the image is distorted somewhat by the wide angle lens that was used. All the work in this area had to be done blind. |
Interesting Facts About the World's Water
(1) Over 70% of the Earth's surface is covered by water. (You have to wonder why our planet is called "Earth" instead of "Water.")
(2) 97.5% of all water on Earth is salt water, leaving only 2.5% as fresh water.
(3) Nearly 70% of that fresh water is frozen in the arctic icecaps; most of the remainder is present as soil moisture, or lies in deep underground aquifers as groundwater not accessible to humans.
(4) Only about 1% of the world's fresh water is accessible for direct human uses. This is the water found in lakes, rivers, reservoirs and those underground sources that are shallow enough to be tapped in a cost-effective way. Only this small amount is regularly renewed by rain and snowfall, and is therefore available on a sustainable basis.
Summary
This project took one day to complete and cost less than $300. The project was a little more difficult because we are currently living on board and our pressurized water system had to be shutdown for the day.
Thanks for following our blog!
No comments:
Post a Comment