Windlass Installation - Part 1
--Blogpost written by Bob
A few weeks ago we jumped on a good deal for a windlass (Maxwell RC8-8) for our boat--it was recommended by another member of the C&C forum, Paul Eugenio of s/v Johanna Rose. We had the new windlass shipped directly to the boatyard we selected to do the installation, Hartge's Yacht Yard in Galesville, Maryland.
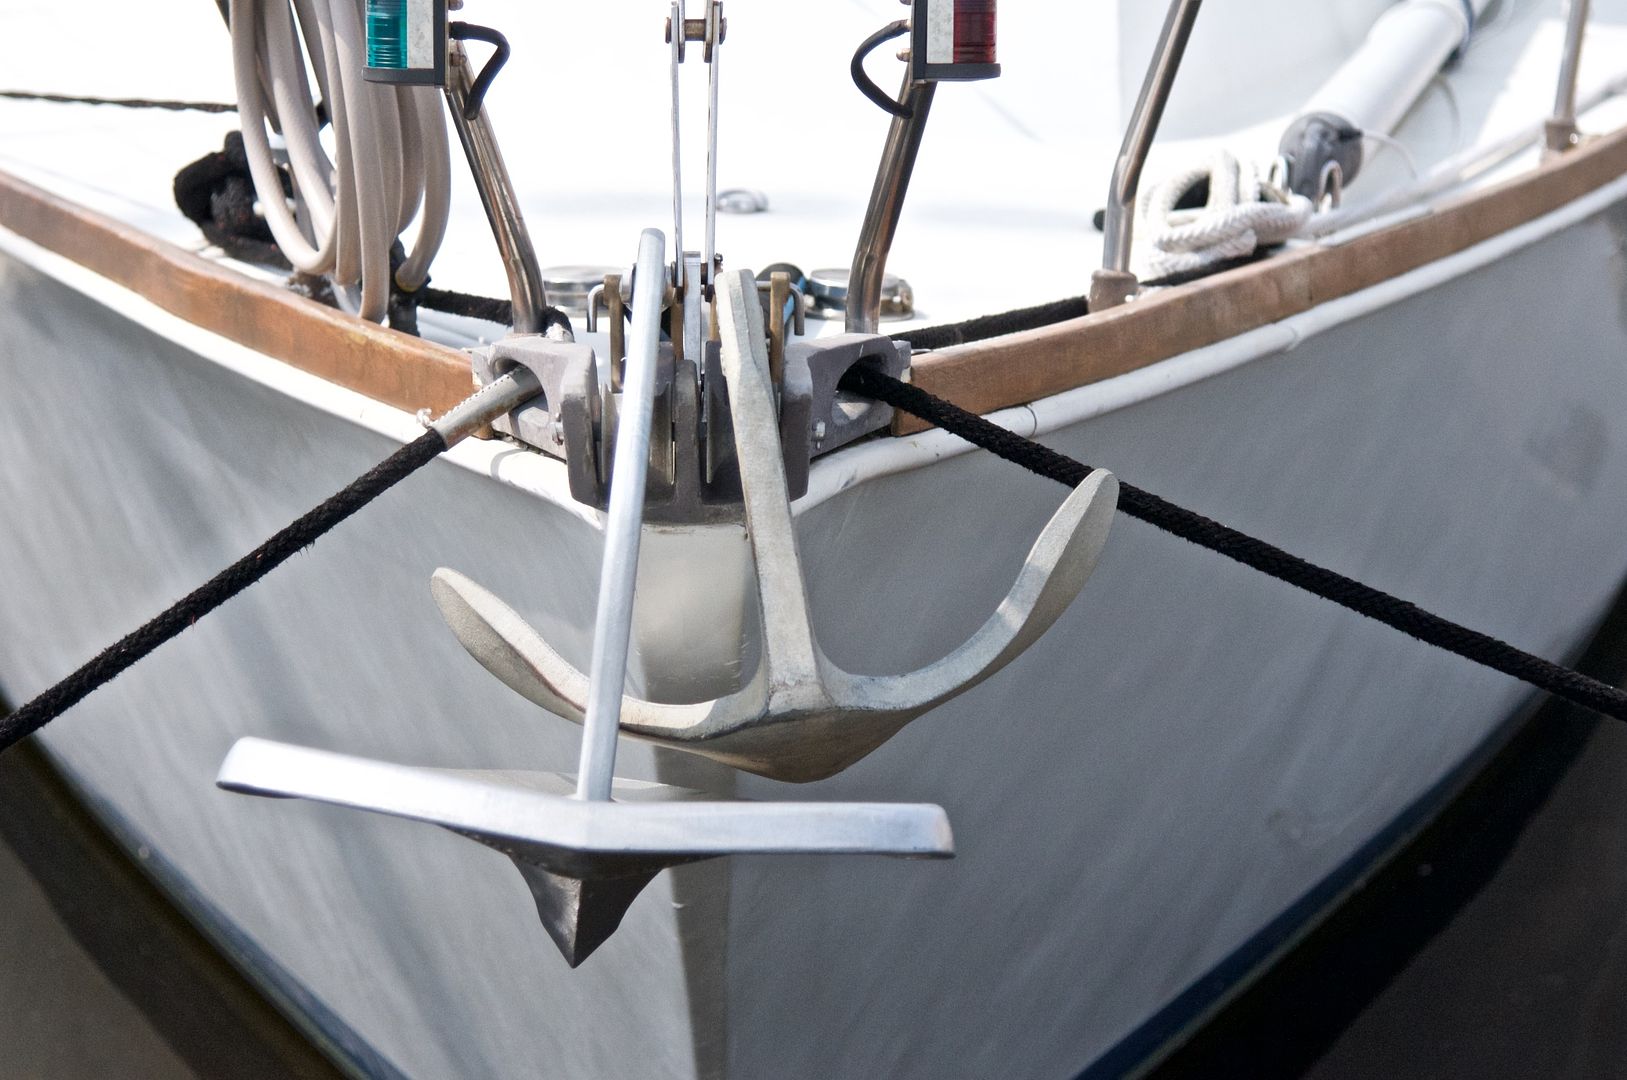 |
| Previously we had two 44-lb anchors on the bow with their two separate rope/chain rodes. Our new Rocna anchor was on the starboard side of our bow (on the left side of this image). We have a divider in our anchor locker that keeps the two rodes separated. |
Because of the way the windlass was designed (with the chain to the anchor on the right side of the chain exit into the anchor locker) we decided to reverse the positions of our two anchors, placing the new Rocna, our primary anchor, on the port side of the bow. We changed the rode for this anchor to an all-chain (G-4 grade) rode that is 225 feet long.
The secondary anchor is our 44-lb Bruce--it is now mounted on the starboard side of the bow. For our Bruce anchor, that we will lift manually, we attached our old rope/chain rode from the previous primary anchor system since it was the newest one of the two. We don't expect to use the secondary anchor very often but we have it mounted for when we need it.
One of our anchor rollers was best suited to a chain rode--we switched this (grooved) roller to the port side of the bow for use with the all chain rode.
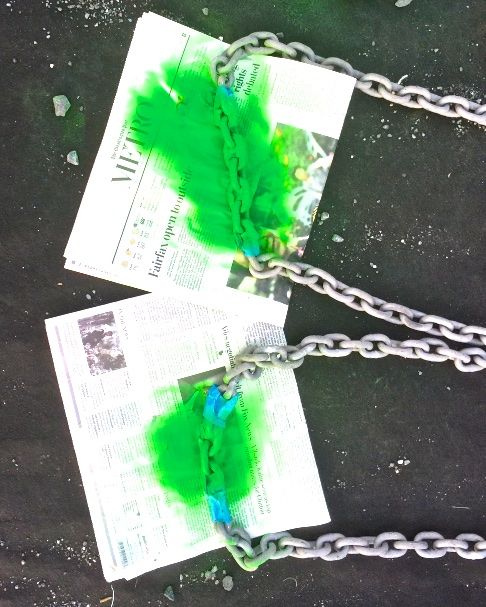 |
| We taped off areas on the chain to create painted bands using fluorescent green paint. |
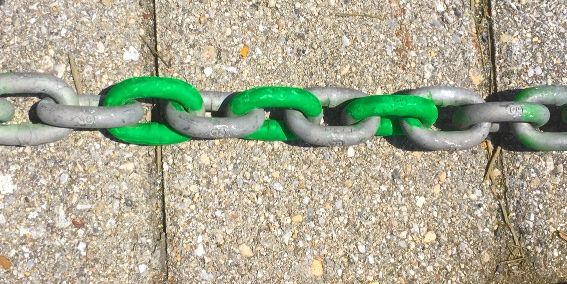 |
| This is one of the finished colored bands--three colored rings equals 90 feet of anchor rode (number of bands times 30). This is the same system that we used on our rope/chain rode for what is now our secondary anchor rode. |
 |
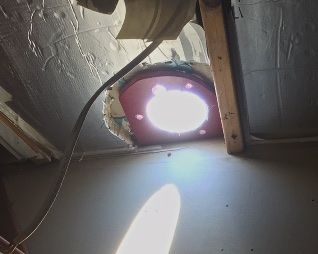
| Two holes were required to be cut through the cored deck. The aft hole (on the left side of this image) for the motor had to be sealed to prevent water leakage into the balsa core. The forward hole (on the right side of this image) was sealed as well as lined with a stainless steel tube to prevent abrasion from the chain as it runs into the anchor locker. |
 |
| The hole for the windlass motor was reinforced with a heavy piece of solid (red) fiberglass sheet below the boat's deck--this was intended to distribute loads from the windlass. |
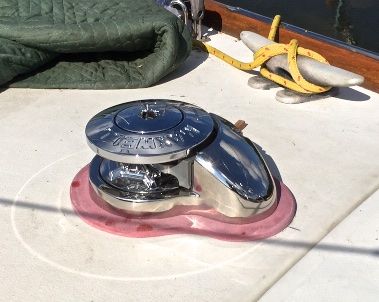 |
| Add captionA fiberglass pad (the pink plate under the stainless steel windlass) was constructed to match the curvature of the deck while providing a flat surface under the windlass. This allows a leak tight installation without undue stress on the windlass or the boat's deck. This photo was taken during fit up and before applying white gel coat to the pad. |
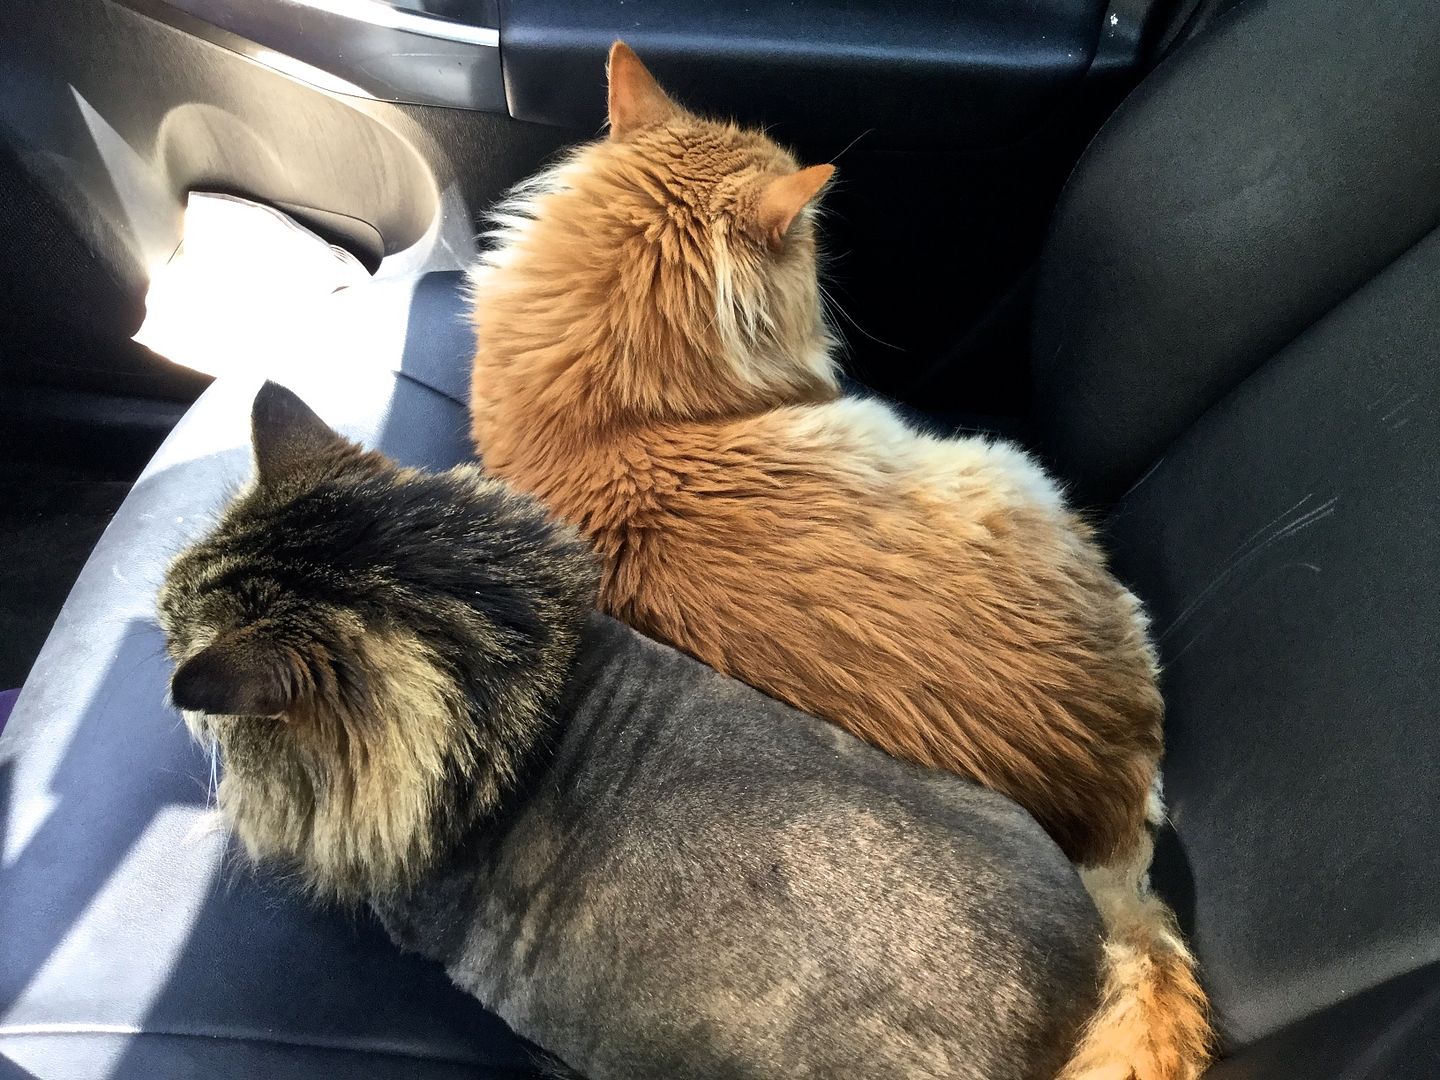 |
| We stayed in a nearby inn (at Pirate's Cove) for four nights because our boat (which is our home now) was all ripped apart during the windlass installation. Our cats stayed on the boat during the night and rode around with us in the car during the day. This displacement took a toll on all of us. Even though this was a peaceful moment on the car seat, we were all ready to kill each other! |
As it stands right now, the windlass is completely installed but in testing the windlass with the chain before departing, the chain piled up on itself right up to the chain exit from the windlass. So, we have to modify the anchor locker to be deeper than it is right now and kick the chain pile forward with a sloping plate. As soon as we solve this issue we will be on our way back to Baltimore. Stay tuned for Part 2 as we solve the problem of the chain piling up on itself.
Thanks for following our blog!
No comments:
Post a Comment