Windlass Installation - Part 2
--Blogpost written by Bob
As we left off last blogpost, we had a problem with the chain stacking up upon itself in the anchor locker before all the anchor line was pulled in. This problem was due to our original anchor locker being too shallow.
Two hundred and twenty-five feet of 5/16-inch chain takes up a lot of space. The original anchor locker was only 24 inches deep, measured from the deck. The chain nearly filled it's side of the anchor locker.
We had discussed the possibility of leaving the anchor locker lid open while anchoring (so that the chain pile could be kicked over manually) as a solution but decided against it for safety reasons. We also briefly considered switching to stainless steel chain (it wouldn't pile up on itself so much) but it would be very costly. After these considerations, we decided to remove the original floor of the locker and make the anchor locker deeper.
The boatyard removed the floor in the anchor locker exposing more space and, more importantly, adding about 75% to the total height in the locker.
 |
| The original anchor locker floor was constructed from 1/2-inch thick marine plywood encased in fiberglass and fully tabbed into the hull and the first bulkhead (at the foot of the v-berth). This floor had to be cut out exposing the unused space below it (brown color in above photo). |
With the original floor removed from the anchor locker, we were able to run the complete length of chain into the locker through the windlass without a hang up. So, the solution involving the added height worked.
A much smaller forward-sloping (fiberglass sheet) floor was constructed and installed in the new bottom of the locker, mostly to block off a small hole that would drain into the bilge and to direct any water accumulation to a new drain to be added in the forward section of the locker.
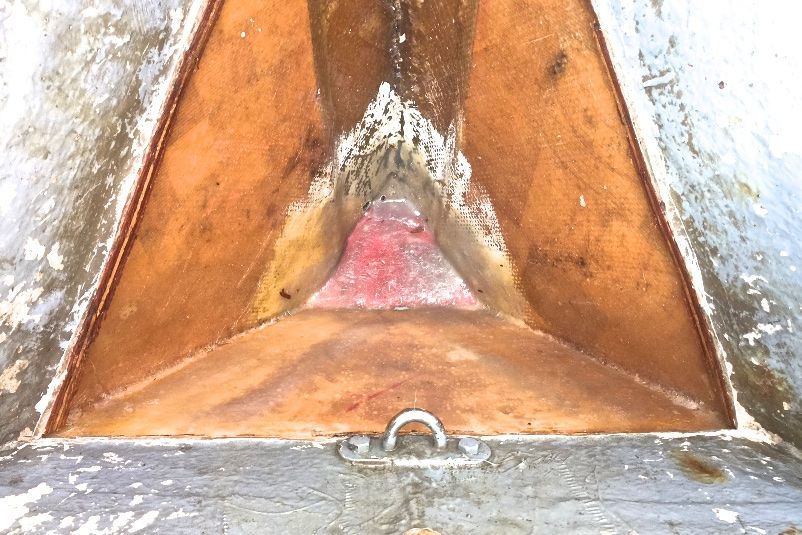 |
| The new floor was added to the locker, having gained more height. The new floor was constructed from fiberglass sheet and it the reddish colored triangle in the above photo. |
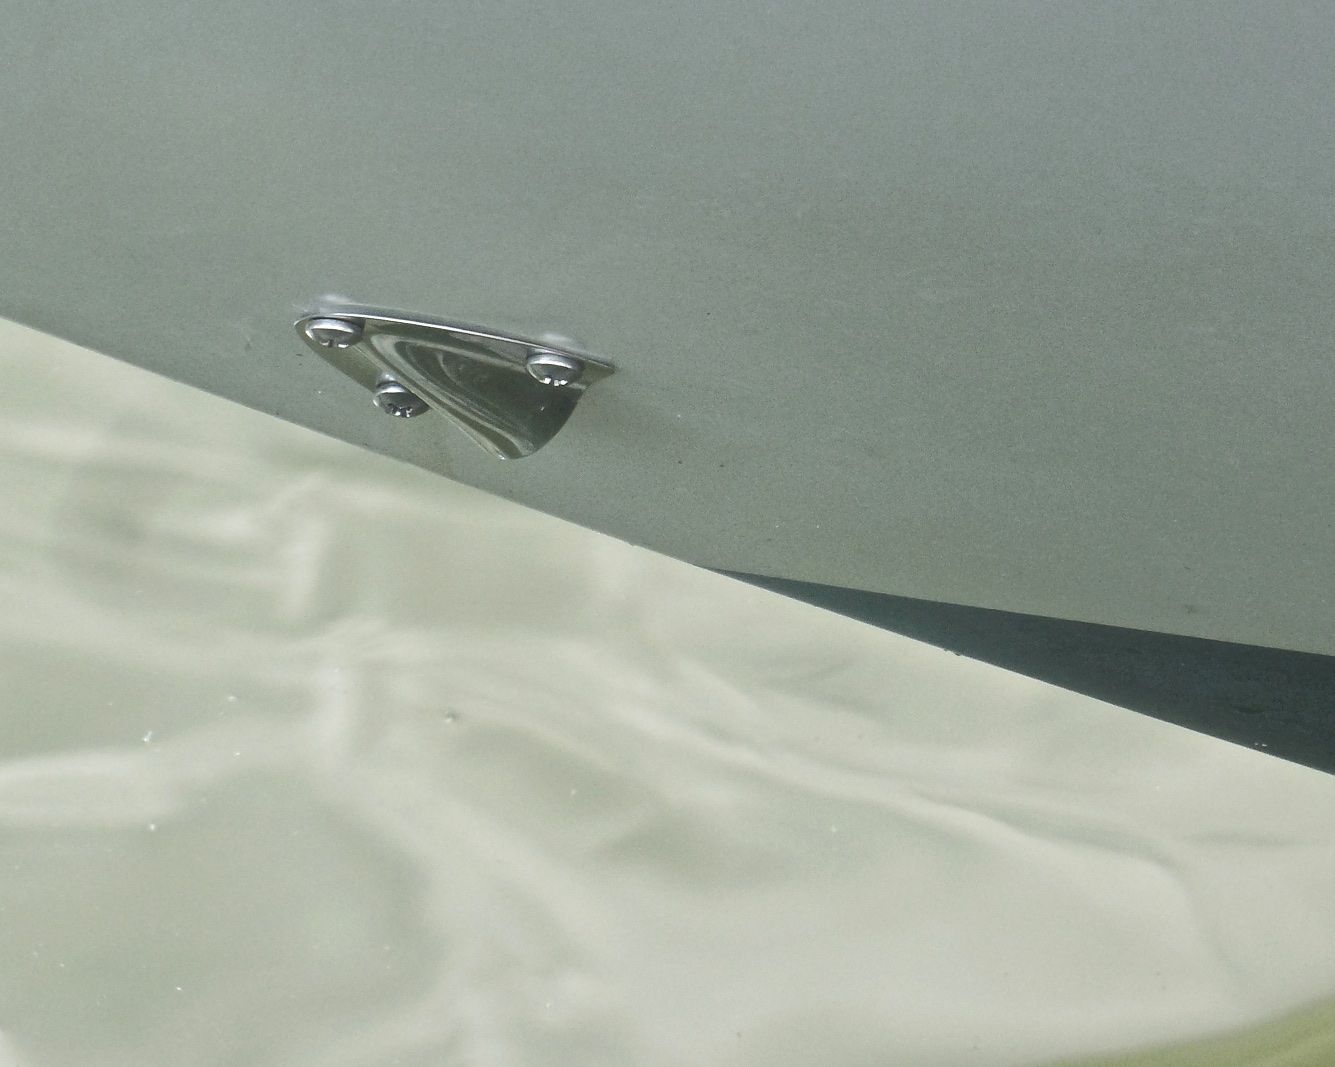 |
| A new drain hole was added just above the new anchor locker floor--it was covered with a stainless steel cover to prevent seawater from washing into the locker while underway. |
With the new smaller forward-sloping floor and drain in place, the boatyard constructed a compartment for the secondary anchor that started near the level of the original floor. This new (fiberglass sheet) compartment was arranged with the vertical side roughly parallel to the hull on the starboard side and the lower corner had a generous radius.
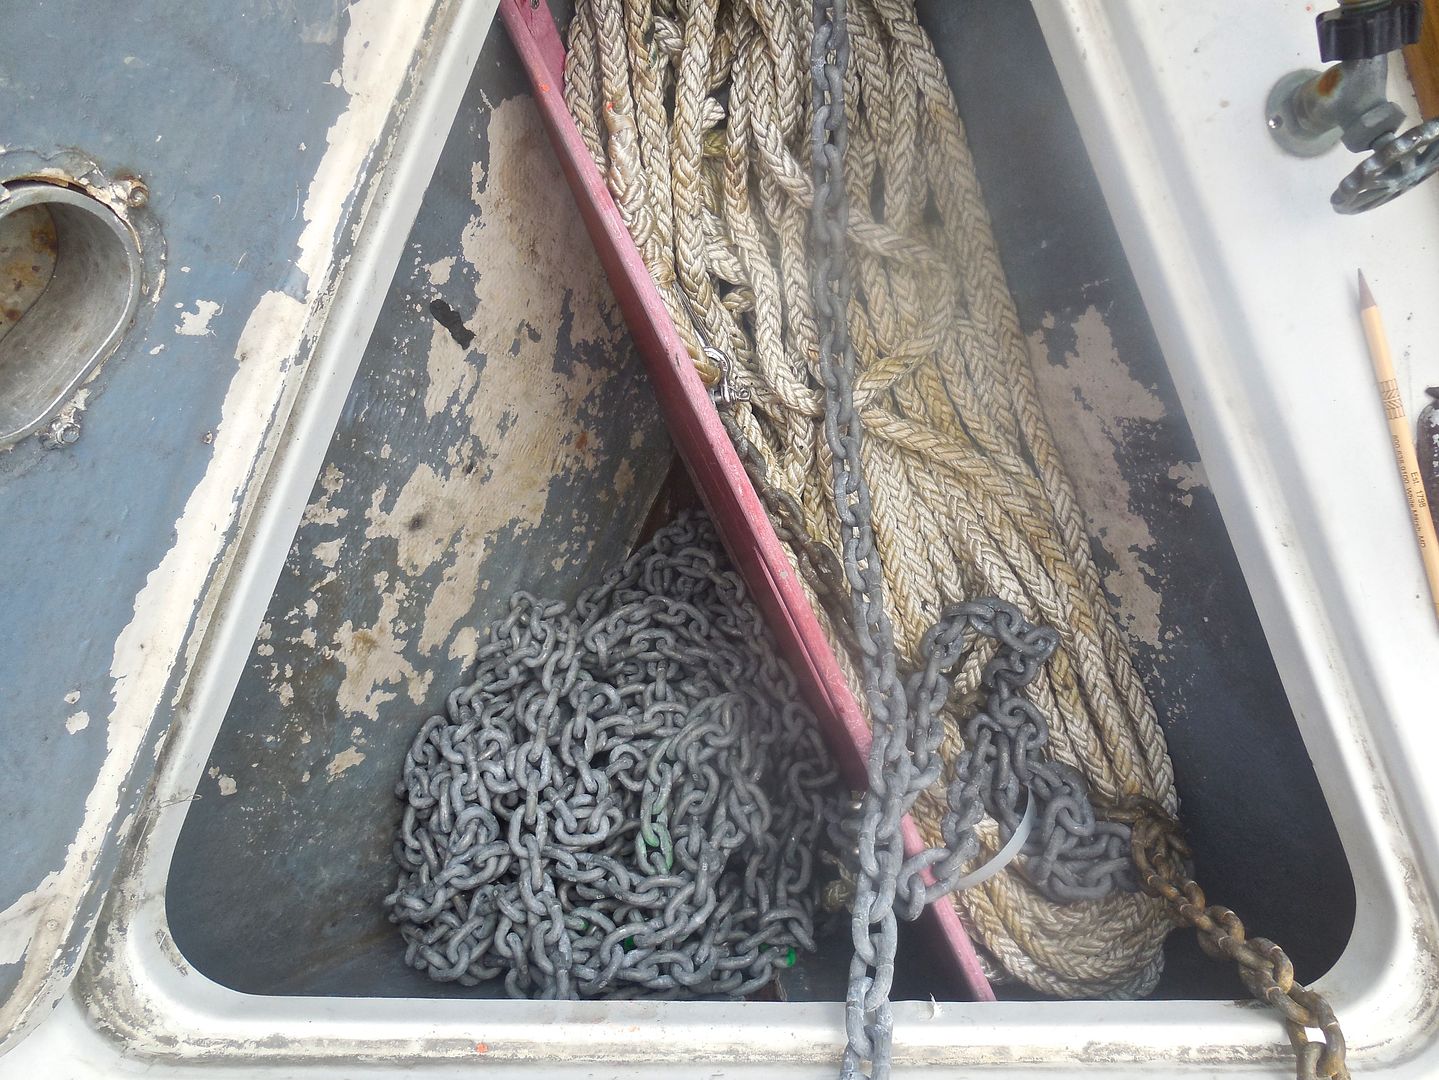 |
| The new anchor locker divider is roughly parallel to the starboard hull. This was made this way deliberately to give the chain rode more height and lessen the likelihood of hang ups. |
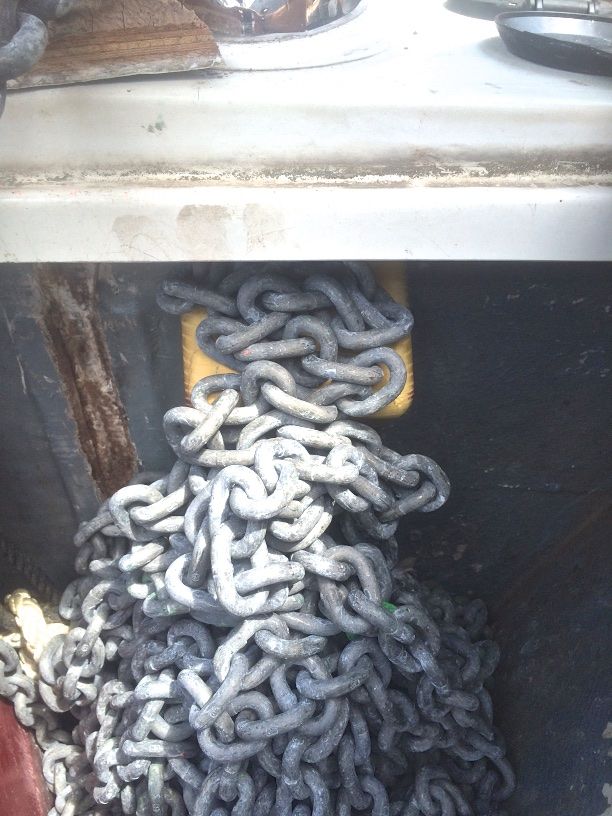 |
| This illustrates the way the chain piled up on itself. Each little adjustment allowed us to get more chain in the locker before the "pile up" occurred. In this case, the temporary diverter (yellow color) was in place. The permanent diverter spans the entire width of the chain locker. |
The permanent diverter is made from (hot-bent) Starboard (very slippery) and it is a little bigger than the trial diverter. The increased size makes it perform better--also, we found out that the chain stack falls over more readily when the chain is wet (which it will be when hauling it up while we are cruising).
Summary
 |
| Even though we spent more time here in the boatyard than we wanted, we are very pleased with the results. The windlass is the silver-colored device on the left center of this image. The two black round objects to either side are foot switches to raise and lower the anchor. |
 |
| A beautiful sunrise over the mouth of Tenthouse Creek, taken from Hartge's Yacht Yard on our last full day at the boatyard. |
We managed to get a few small boat projects completed while we were here prior to our 6-1/2-hour trip back to Baltimore. We only have about two months before we leave Baltimore and head south and a lot of small projects to wrap up before we leave.
Thanks for following our blog!
Just before we left the boatyard, we experienced a wicked thunderstorm. During the thunderstorm we experienced some leakage into our v-berth. The boatyard pulled apart the windlass and resealed it. Shortly after we arrived back in Baltimore we had another wicked thunderstorm which produced some rainwater leakage again and it appeared to be coming down the shaft of the windlass. I called Vetus Maxwell, the manufacturer of the windlass and described the problem I was experiencing. They explained that the only barrier to rainwater leakage coming down the shaft was an o-ring and it could not be expected to keep out all water intrusion. We're going to make a Sunbrella cover for the windlass soon to keep out rainwater. We'll see if we get salt water leakage from the chain as it comes up from being anchored. In any case, I will not be building a cabinet around the workings of the windlass in the v-berth until we know how to completely deal with the small leakage.
Addendum - August 1
Just before we left the boatyard, we experienced a wicked thunderstorm. During the thunderstorm we experienced some leakage into our v-berth. The boatyard pulled apart the windlass and resealed it. Shortly after we arrived back in Baltimore we had another wicked thunderstorm which produced some rainwater leakage again and it appeared to be coming down the shaft of the windlass. I called Vetus Maxwell, the manufacturer of the windlass and described the problem I was experiencing. They explained that the only barrier to rainwater leakage coming down the shaft was an o-ring and it could not be expected to keep out all water intrusion. We're going to make a Sunbrella cover for the windlass soon to keep out rainwater. We'll see if we get salt water leakage from the chain as it comes up from being anchored. In any case, I will not be building a cabinet around the workings of the windlass in the v-berth until we know how to completely deal with the small leakage.
No comments:
Post a Comment