Adding a Second Jib Halyard
--Blog post written by Bob
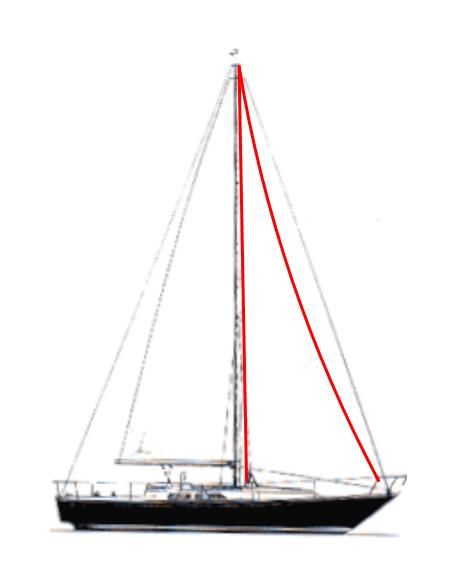
For those unfamiliar with the term, a halyard is a line (in our case, made from rope) that goes to a pulley (called a sheave) at the top of the mast and is then led down the mast (in our case, internally) to another pulley at the base of the mast (called a block) and then to a winch (in our case, located on the cabin top). (The term halyard originally comes from the phrase, "to haul yards.") It may sound somewhat complex but a halyard is simply used to raise a sail or a flag (in the case of a flag halyard). A jib halyard is used to raise the jib or headsail (the sail on the "pointy end" of the boat). (The second halyard we've added looks like the red line in the following image.)
Why a Second Jib Halyard?
Some cruisers use stern-mounted dinghy davits for this purpose. I have elected to use a second jib halyard (over davits) for the following reasons:
(1) It is simpler than davits with less things to go wrong.
(2) It is less expensive.
(3) Dinghy davits don't provide enough security for crossing the Gulf Stream, and
(4) The stern on S/V Rainy Days is somewhat narrow and complicates installation of davits and boat handling in close quarters.
There is already a halyard setup on the starboard side cabin top for use as the primary jib halyard. I wanted the second jib halyard (on the port side) to match the primary jib halyard as much as possible.
The Rope
Watching eBay for a good deal on rope, I found 150 feet of 7/16-inch double braided polyester (white with a green tracer) for $68.42 delivered ($0.46/foot). I purchased a medium-sized Ronstan snap shackle and had an eye slice made at West Marine's local rigging shop. (I am always up for buying rope--it's a kind of fetish--I can't even walk past rope without touching it!)
The Hardware
As mentioned in a previous post, I purchased a used Barient #22 winch at Bacon's. This is the same brand as all the other winches on the boat. (Barient winches are no longer manufactured but some parts are still available from Lewmar.) Purchasing a used winch not only saved money but it looks like it belongs on my 30-year old sailboat. (I hope I don't regret not buying a self-tailing winch for this purpose!)
I also purchased a Schaefer block at Bacon's (for about one-half the price of a new one) that matches my other blocks at the base of my mast. Again, the used block looks like it belongs on the boat--it doesn't stand out like a brand new one would have.
I purchased the cleat as a new item because I couldn't find a used cleat that is identical to the original cleat on the port side.
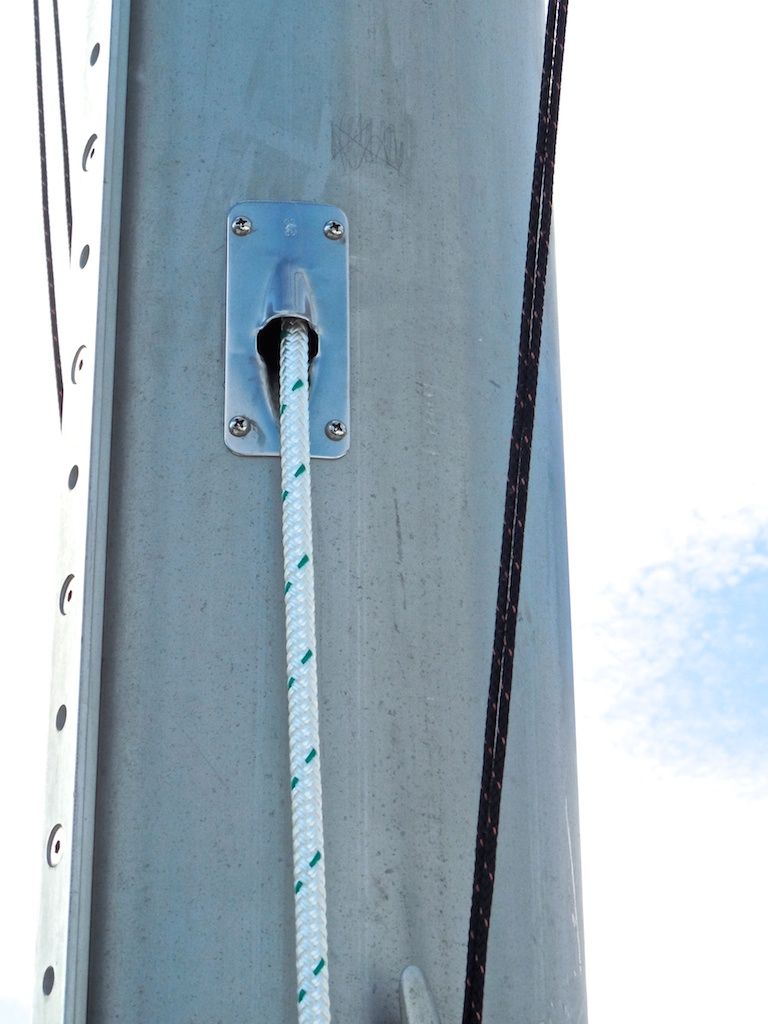 |
| New Exit Fitting in Mast |
The Installation
While the boat was at the boatyard over the winter, the riggers installed a opening in the mast near the base and fed a messenger line through the mast so that in the spring I could temporarily attach one end of the permanent halyard and pull it completely through.
In order to mount the winch and cleat on the cabin top, I had to carefully mark the location so that is identical to the similar winch on the starboard side. Then, I removed the ceiling panel beneath the new winch location.
I carefully located the position and angle of the cleat to match the existing primary jib halyard on the starboard side. Since the winch is slightly larger, I allowed an additional 2 inches of distance between the center of the winch and the cleat. (In the photograph below, the blue tape marks the center of the winch.
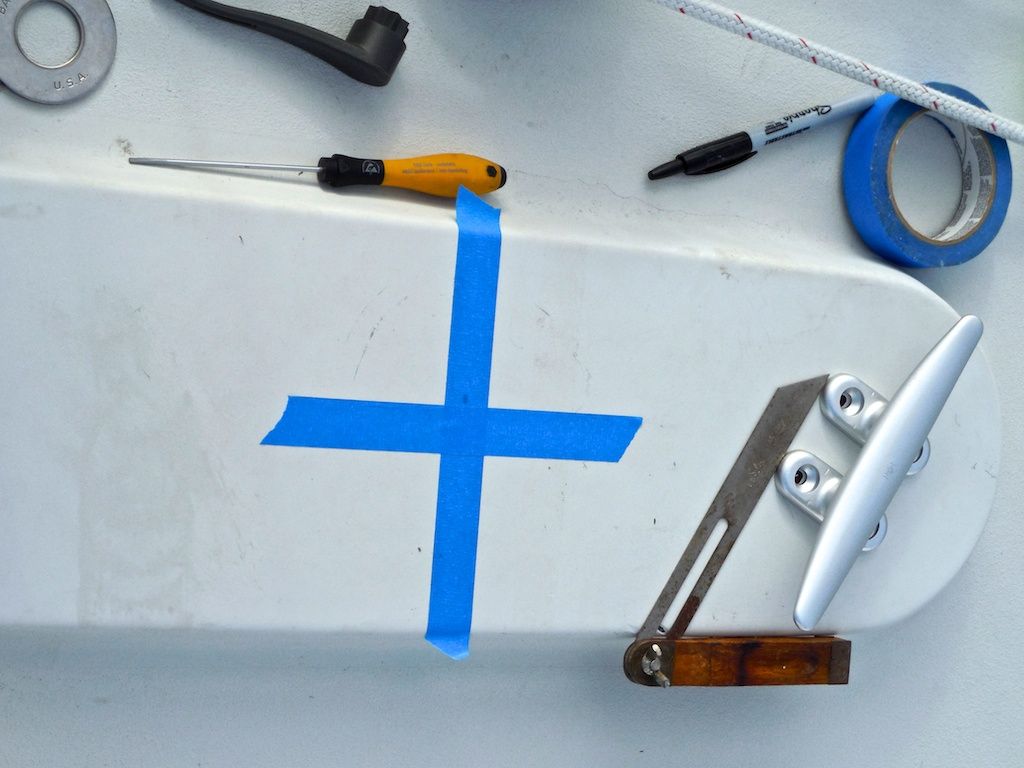 |
| Laying out the Locations of the New Winch and New Cleat |
I mounted the cleat first using the cleat itself as a drilling template. I had to partially disassemble the winch and use the base as a template for drilling the holes for mounting the winch.
 |
| Drilling Mounting Holes in the Cabin Top |
 |
| New (Used) Block in the Foreground |
Using 5/16-inch stainless steel bolts, fender washers, nylon-inserted nuts, and silicone sealant, Maggie and I fastened the winch to the cabin top winch pad. After completing the mounting, I reassembled the winch in place and re-fastened the ceiling panel below.
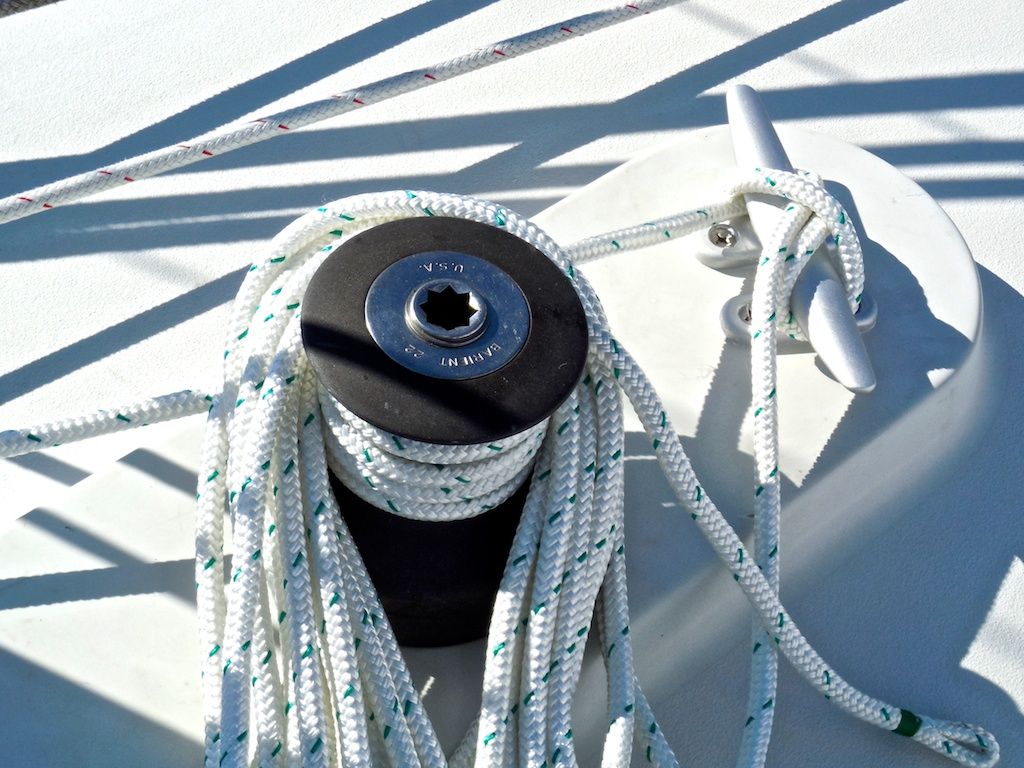 |
| New (Used) Winch and Cleat in Place |
Since I did most of the installation work and purchased mostly used hardware, the total cost of this project was kept low (approximately $770). I must point out that keeping costs low is new to me--it's just not in my nature.
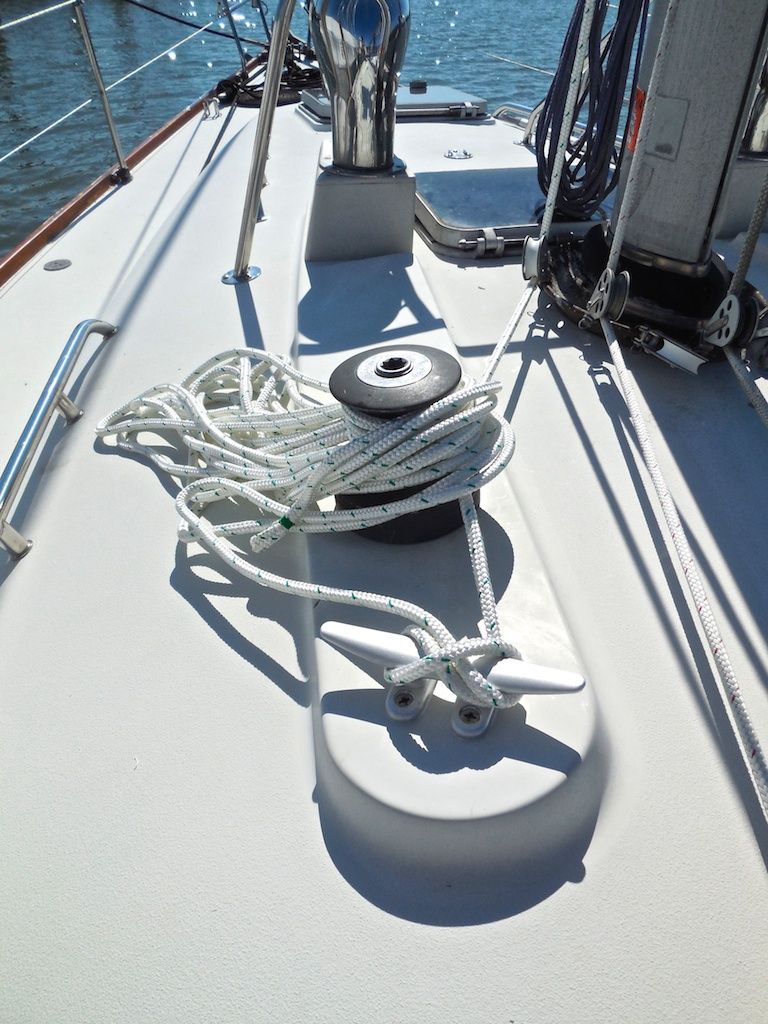 |
| Completed Installation of Second Jib Halyard |
Thanks for following our blog!
No comments:
Post a Comment