Jib Sheet Turning Block Bases
Part 2: Finishing & Mounting
--Blog post written by Bob
We left off in Part 1 where the two bases were constructed and all mounting holes drilled. In this blog post (Part 2) we will cover finishing and installation of the two new turning block bases.
 |
| Most of the surface blemishes were in the fiberglass sheet when it arrived. Apparently, sheets were stacked in storage and the rough side of one sheet was against the smooth side of another sheet. The smooth side (which I placed on the outside of the turning block base) has many pock marks and scratches that need to be filled. |
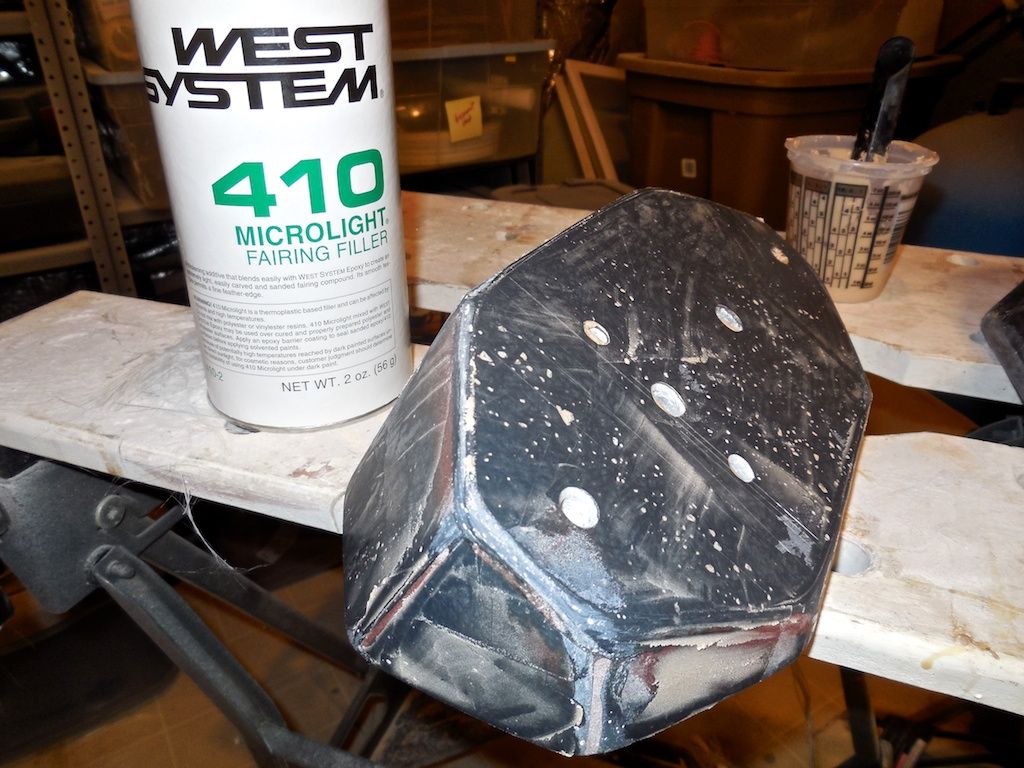 |
| After carefully sanding all flat surfaces and rounding all edges, I applied a thin coat of epoxy thickened with West System 410 Micro Light fairing filler with a flexible resin spreader, removing most of the excess in the process. After the thickened epoxy cured, I sanded the surfaces manually using 150-grit sandpaper until it was very smooth. This made a huge difference! |
 |
| Meanwhile at the boat,using a hole saw, I drilled out a large section of the deck beneath each turning block base because the balsa core in the deck was a little damp from the water leakage into the area through the mounting bolts--they missed the epoxy core I had made for them 20 years ago. I dug out all the damp balsa using a screw driver. |
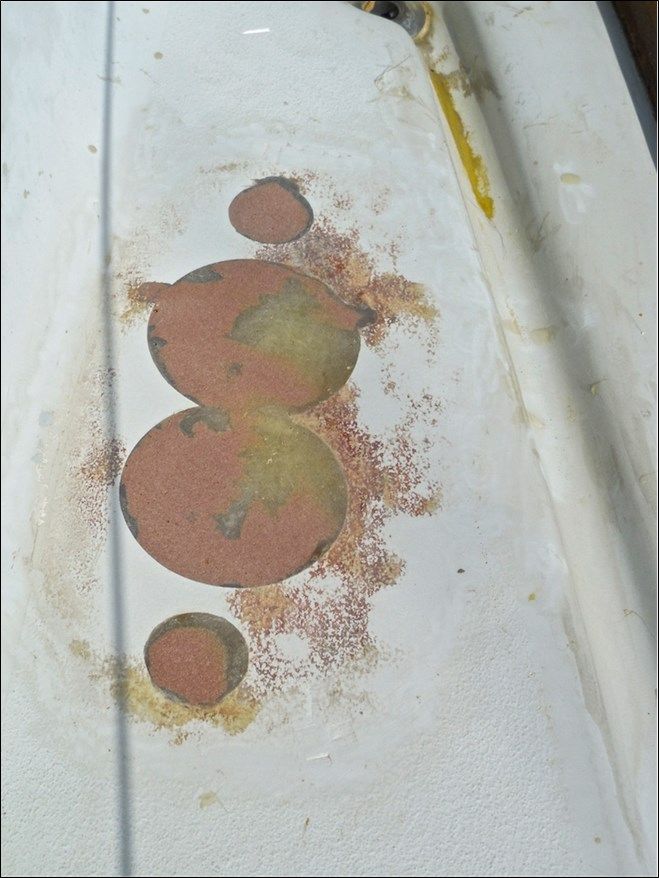 |
| After all the damp balsa core was removed, I wetted out the entire area between the two deck skins with epoxy and carefully layered fiberglass cloth against the lower skin of the deck. Once layered to the full thickness of the deck (about 7/8-inch) and fully cured, I sanded off any excess material using an orbital sander and 60-grit sandpaper. Lastly. I used thickened epoxy to fill any low spots and sanded again. The repaired area will be completely covered by the new turning block bases. |
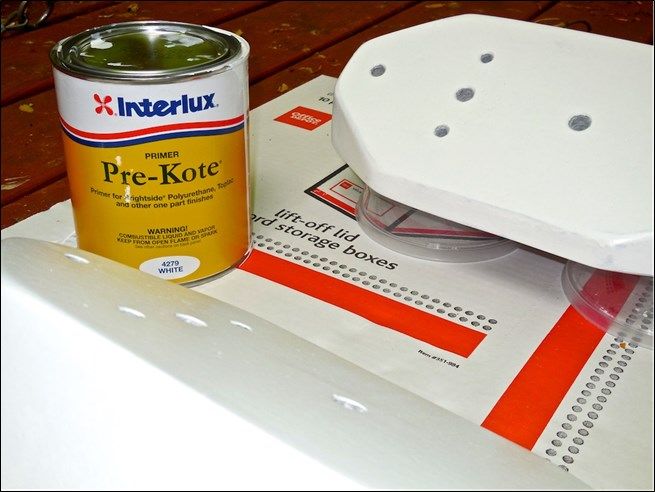 |
| Back at home in my workshop, I applied the first coat of primer using a small roller. After lightly sanding the first coat by hand with 220-grit sandpaper, I applied the second coat of primer. |
 |
| After the second coat of primer was fully cured, I applied the first coat of polyurethane (again, using a small roller) in a color called flag blue--this matches the color of our hard dodger. The first coat (as shown in this image) did not cover the white primer very well. It took 3 coats of polyurethane paint to cover the white primer! |
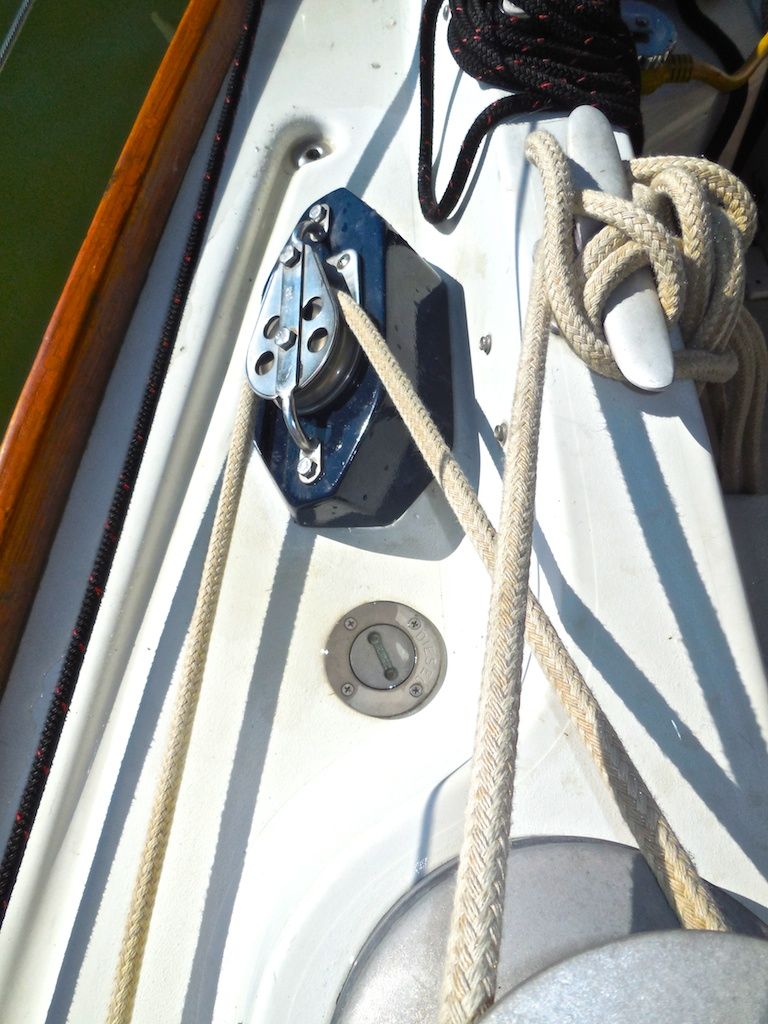 |
| With each base accurately located 5 inches forward of the centerline of the aft cockpit drains and tightly against the cockpit coming, the two end mounting holes were drilled through the deck first using the new turning block bases as a drilling guide. Then, the 1/4-ich thick aluminum backing plates were assembled to the underside of the deck before the remaining holes were drilled through the deck. The installation turned out to require a lot more effort than I expected but the installation is now complete! |
The paint and new fasteners added another $50 to the project cost for a total of $600. The total elapsed time for this project was 3 weeks. Even though the benefit of this project seems small, I still feel a sense of accomplishment in making something from an idea and knowing that the condition of deck is no longer suspect.
Addendum - May 27
Not satisfied with plain washers at such an acute angle (33 degrees), I found suitable beveled washers used for architectural wire rope rail systems.
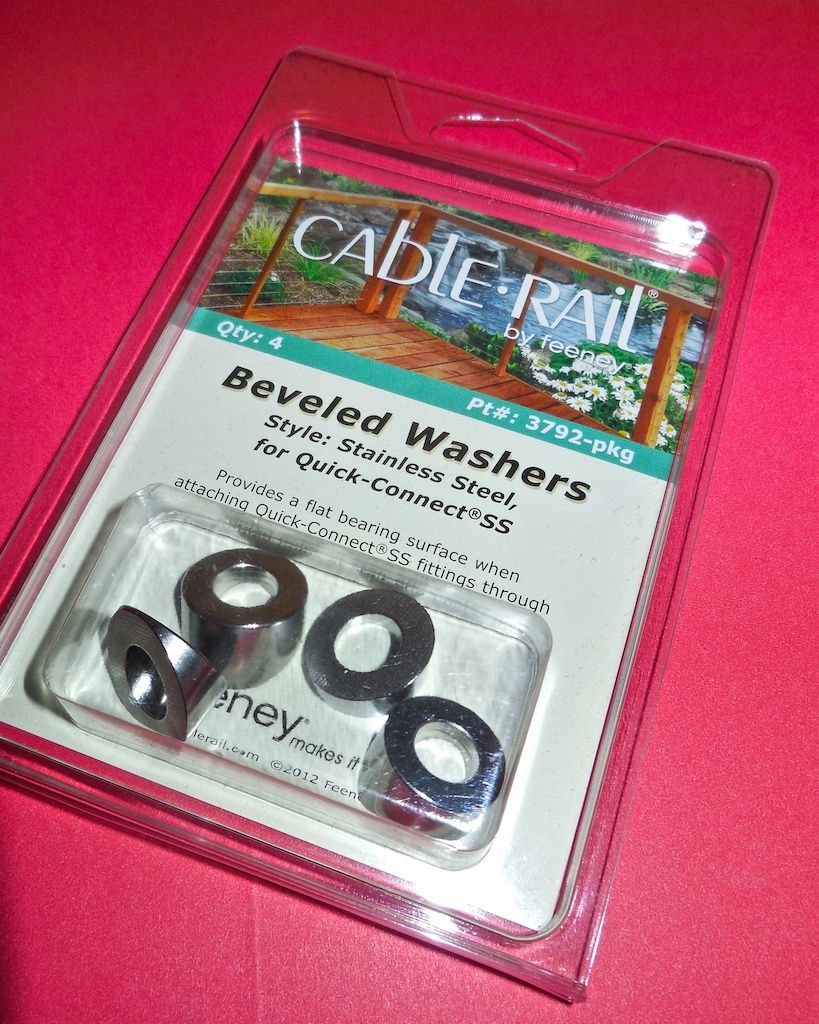 |
| Made from stainless steel, these beveled washers by Feeney Cable-Rail is the perfect solution! |
Some of the old bolts in the old turning blocks were bent when removed, making extraction very difficult--this won't happen next time!
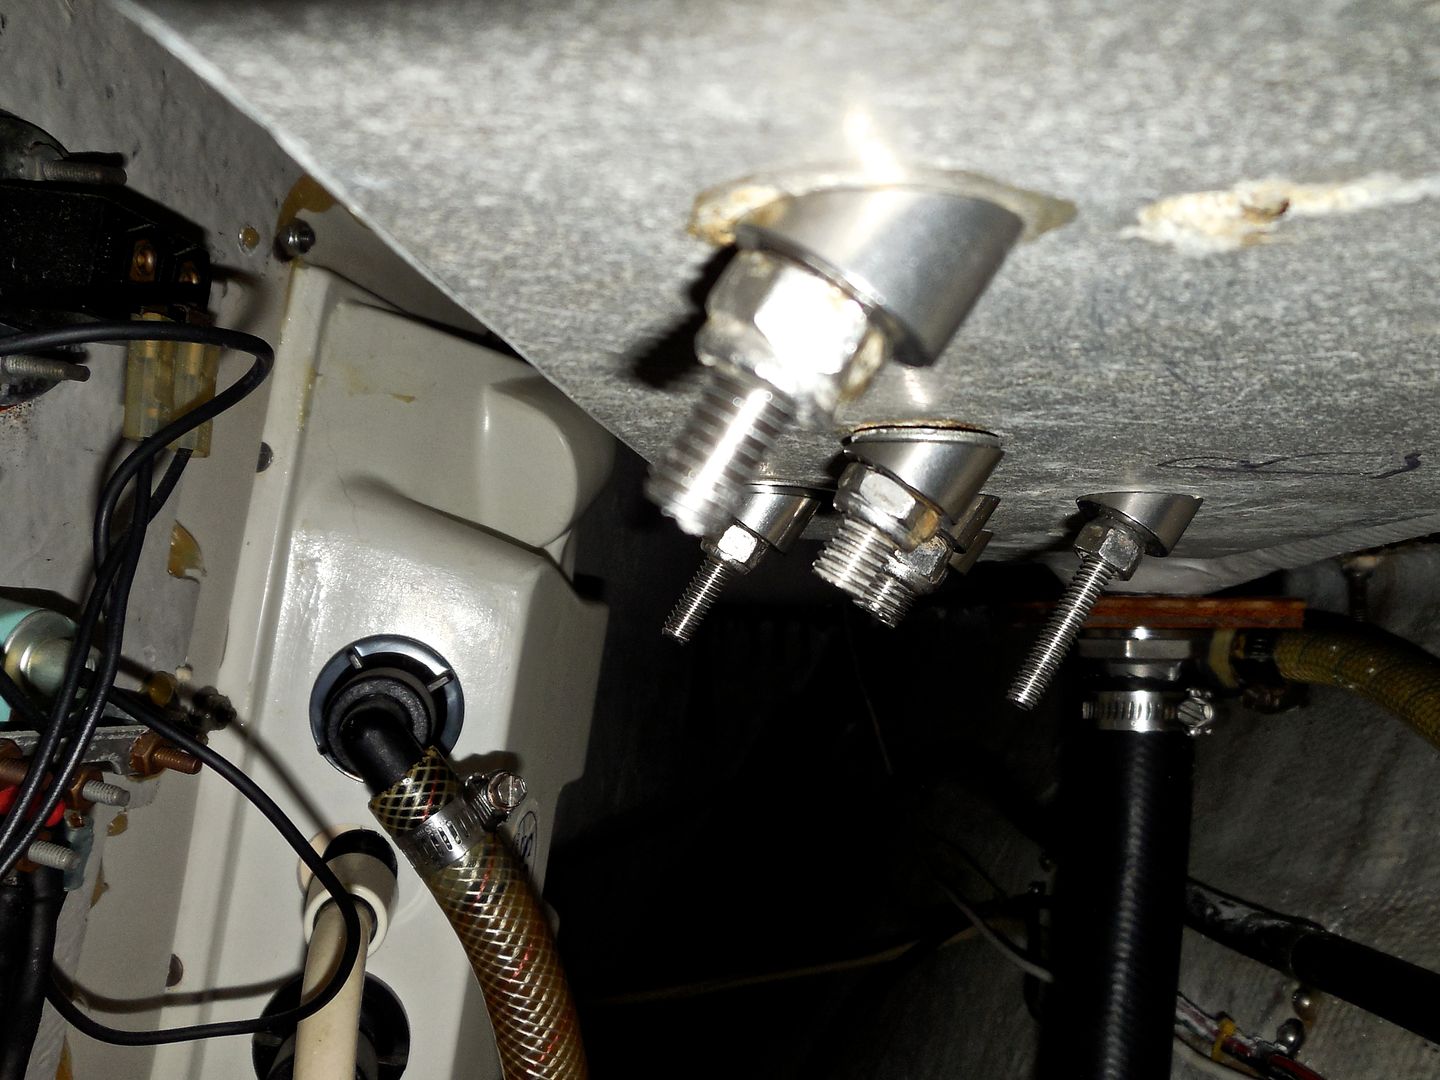 |
| Beveled washers on the underside of the aluminum backing plate |
Thanks for following our blog!
No comments:
Post a Comment