Making New Curtains
--Blog post written by Maggie
On the port side, our curtains cover the windows in the galley and the main salon. On the starboard side, there are a set of curtains in the head and in the main salon. Aluminum tracks are mounted to the inside of the cabin top--the curtains slide along these tracks using the small nylon slide posts mounted on the back.
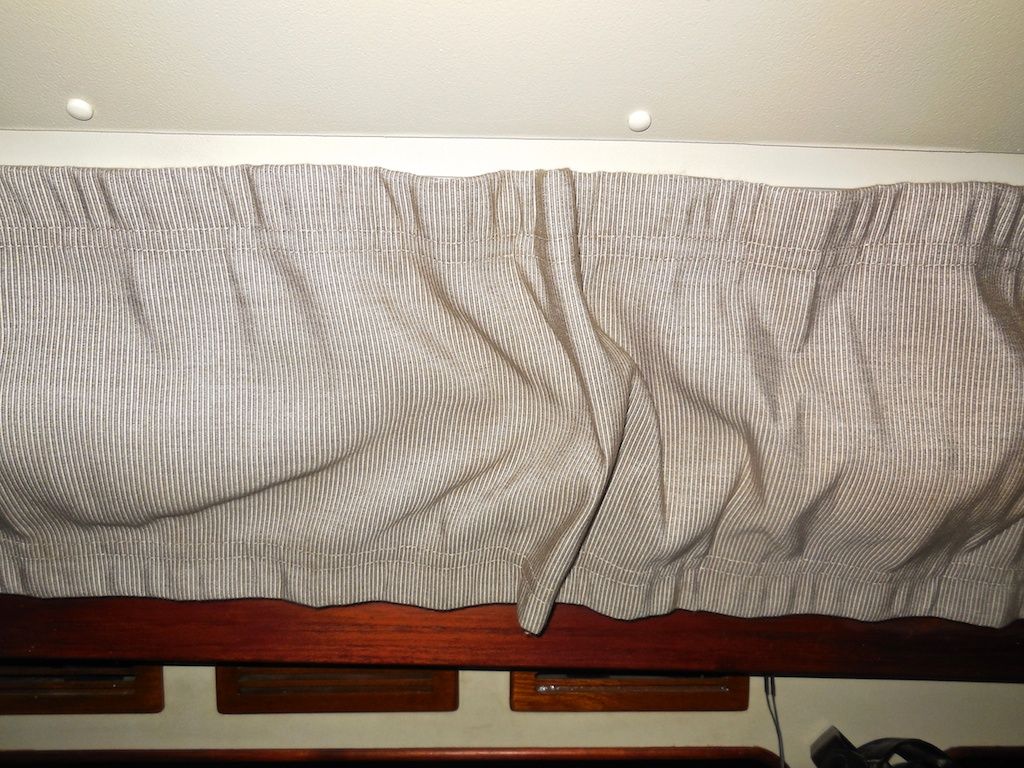 |
| After cleaning and painting the ceiling panels the 20-year old curtains (shown above) started to look a little dingy. |
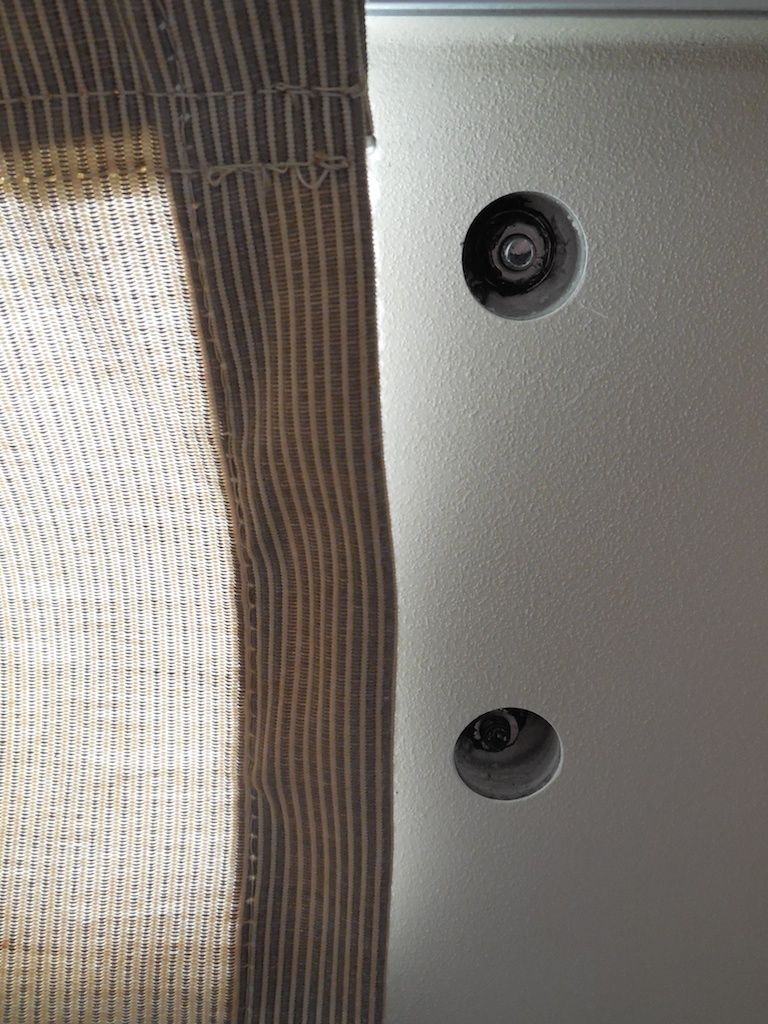 |
| We also had to solve the problem of the visible nuts that were a result of upgrading the windows frames many years ago. |
 |
| We found 7/8-inch diameter nylon hole plugs--the only problem was that we had to buy 1500 of them! (The remaining 1400 are on sale on eBay.) |
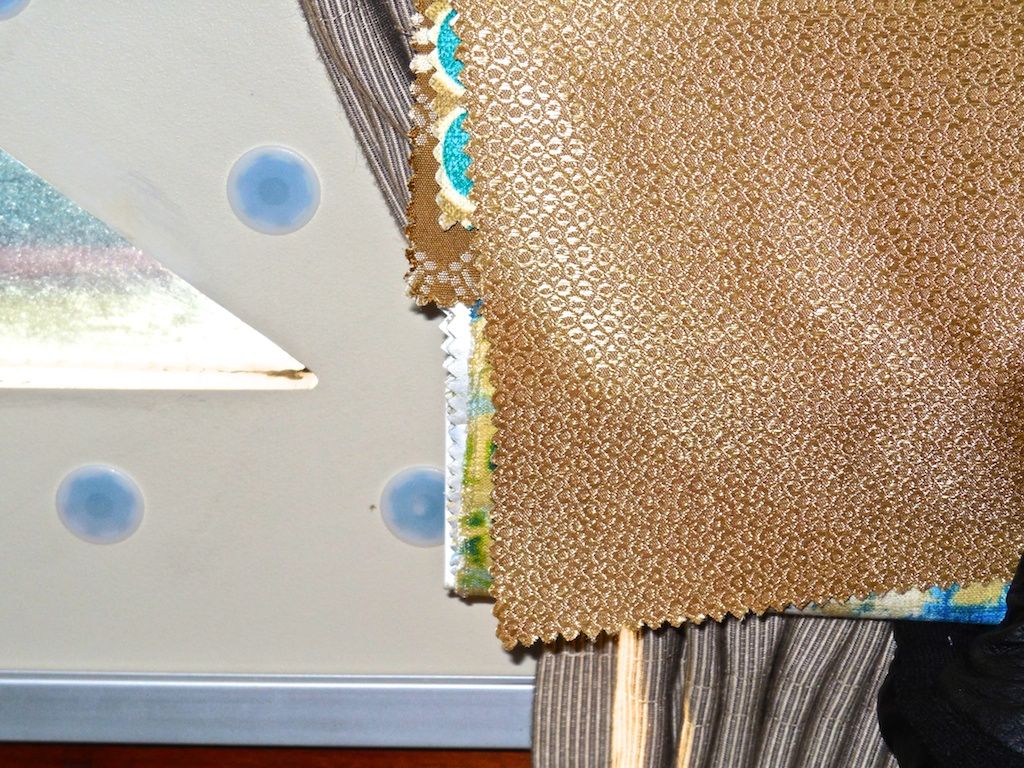 |
| We brought some fabric samples to the boat and decided on this textured gold and tan fabric. It coordinates well with the settee covers and will brighten the space up without being too busy. |
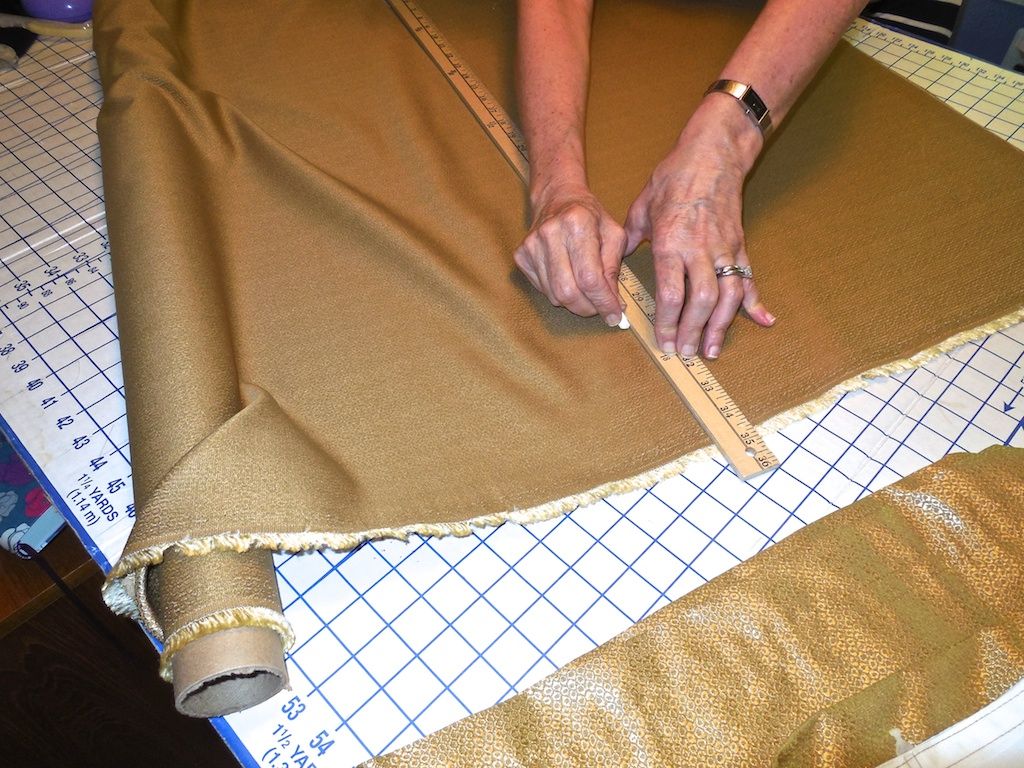 |
| Since all the curtain panels were different sizes, I measured, cut, and sewed each panel individually. As I am learning, nothing is ever simple with boat projects! |
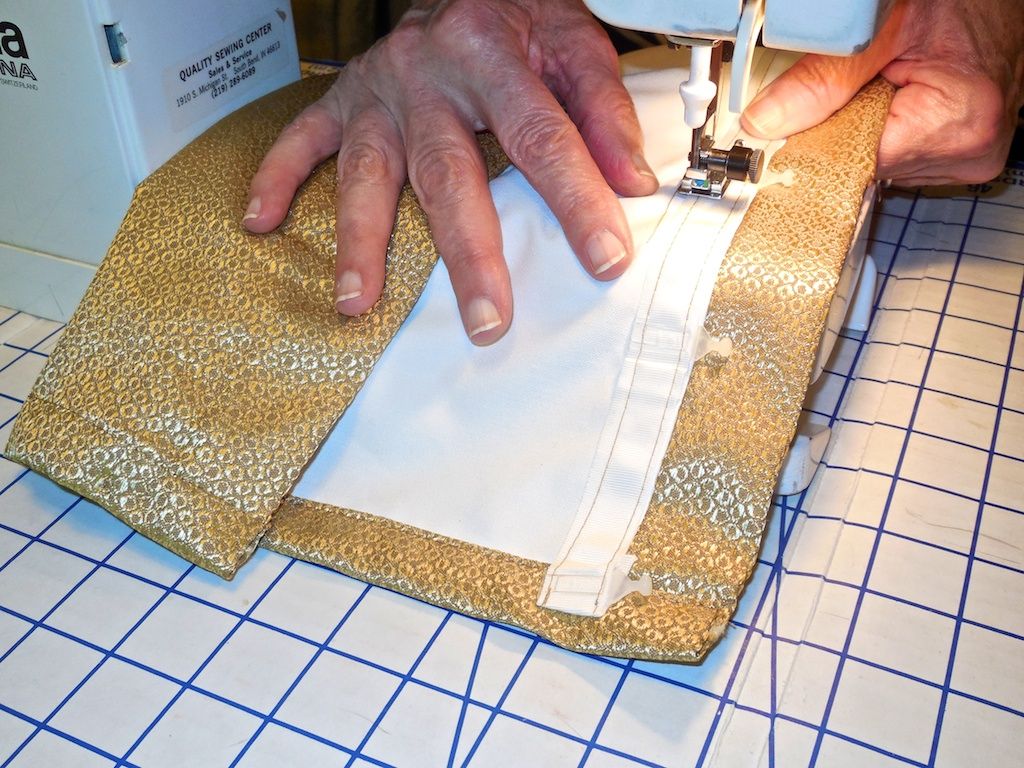 |
| I sewed the curtain tape on the back of the curtains in the precise position that was needed. |
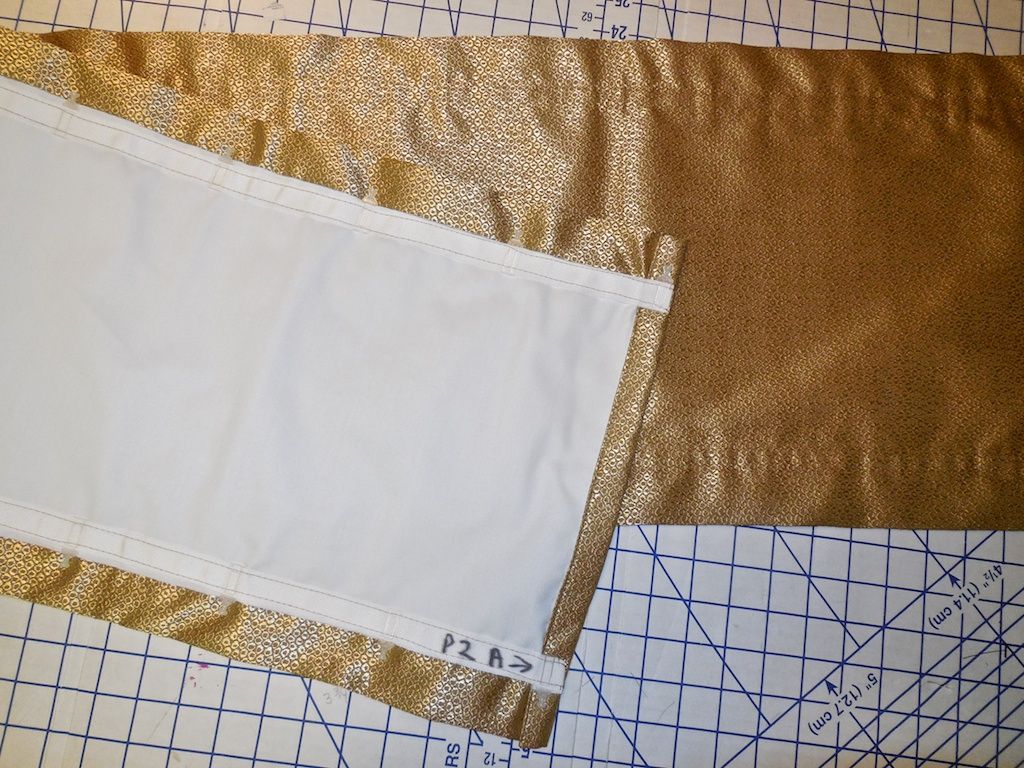 |
| All the panels had to be labeled as to their placement on the boat. This one is port side panel #2. The arrow indicates the aft direction. |
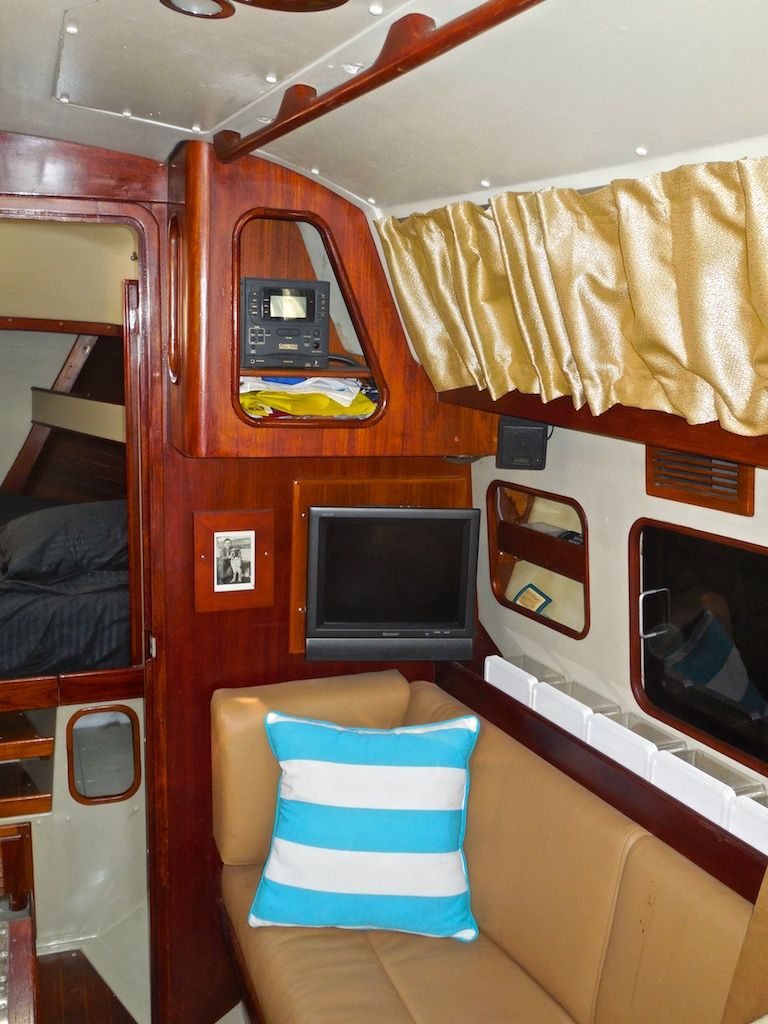 |
| The reveal! All that effort was worth it! |
The fabric material (curtain and liner fabric) was purchased from Jo-Ann Fabric and Crafts and the curtain tape (containing the small nylon slide posts) was purchased from Sailrite. The total cost for this project was under $250.
Thanks for following our blog!
No comments:
Post a Comment