Onboard WiFi Booster
--Blogpost written by Bob
Between Maggie and I we have 2 (MacBook Pro) laptops, 2 iPads, 2 iPhones, and a Kindle--all seven devices need to occasionally connect to WiFi signals. Even though our marina has WiFi, the signal is generally too weak to use for anything other than email. When traveling the ICW or cruising in the Bahamas, we may be anchored a mile or more away from the nearest WiFi source. So, an onboard WiFi signal booster is important to us--it will keep Maggie connected to her adult kids.
After reviewing several options we chose the "All Pro Ethernet WiFi Amplifier and Router for Sailboats" by PDQ Connect--it includes a Ubiquiti Bullet 800mw (I believe that is "milliwatts") amplifying antenna. It boasts signal reception up to 25 miles away and an onboard server that supports up to 4 devices. While we may not be using 4 devices simultaneously, many times we could be using 2 or 3 devices simultaneously.
The Antenna
We shuddered at the thought of another antenna project (after what we went through for the helm-mounted VHF radio) but it was necessary. The package from PDQ Connect (purchased from Defender) comes with a 21-inch long antenna--it has to be mounted relatively high for best results. So, we opted to mount it on a Shakespeare 8-foot long fiberglass extension at the stern--this is a 1-1/2-inch outside diameter hollow fiberglass shaft with 1-14 threads on both ends. We had to purchase an adaptor (part Number PDQ-MM at $49) directly from PDQ Connect to be able to mount the supplied antenna to the 8-foot extension.
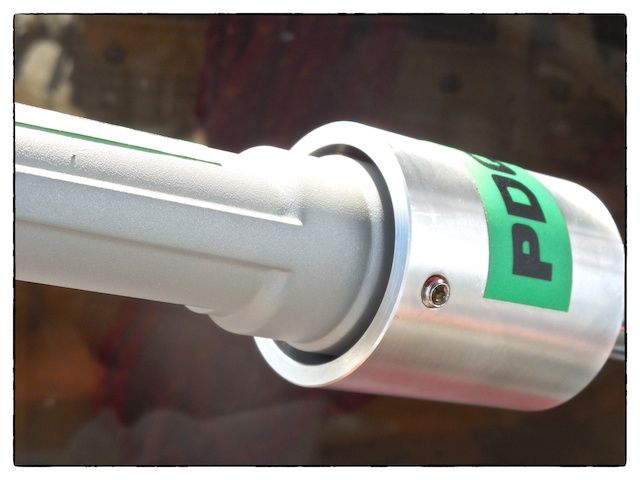 |
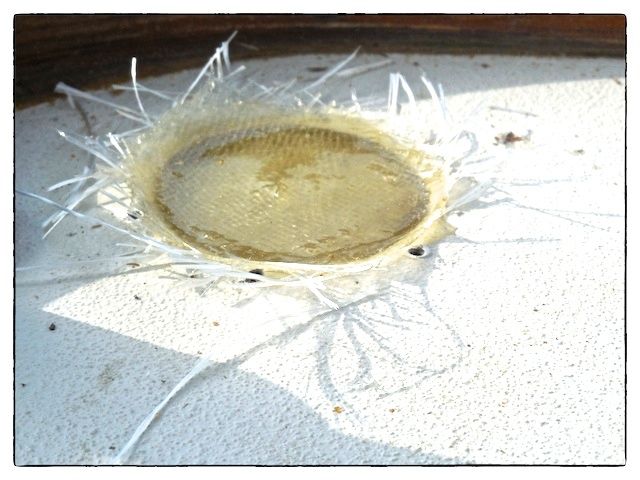
| There was about a 1/8-ich wide gap all around between the Ubiquit Bullet and the PDQ Adaptor |
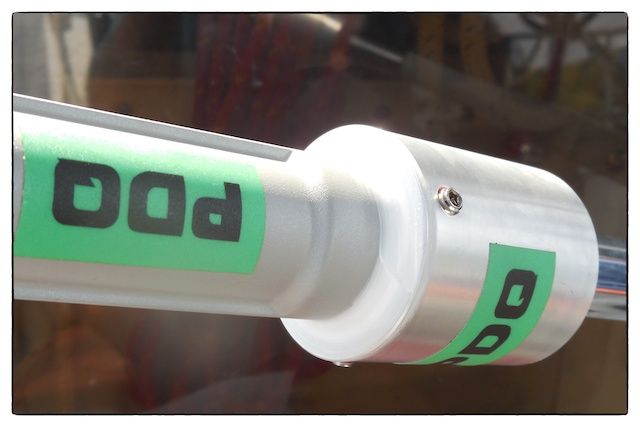 |
| I filled this gap with white silicone to prevent the intrusion of rain water. |
The Antenna Mount
Rather than using a single rail mount, I decided to mount the fiberglass extension on the lower stern rail and a simple lateral support on the upper stern rail.
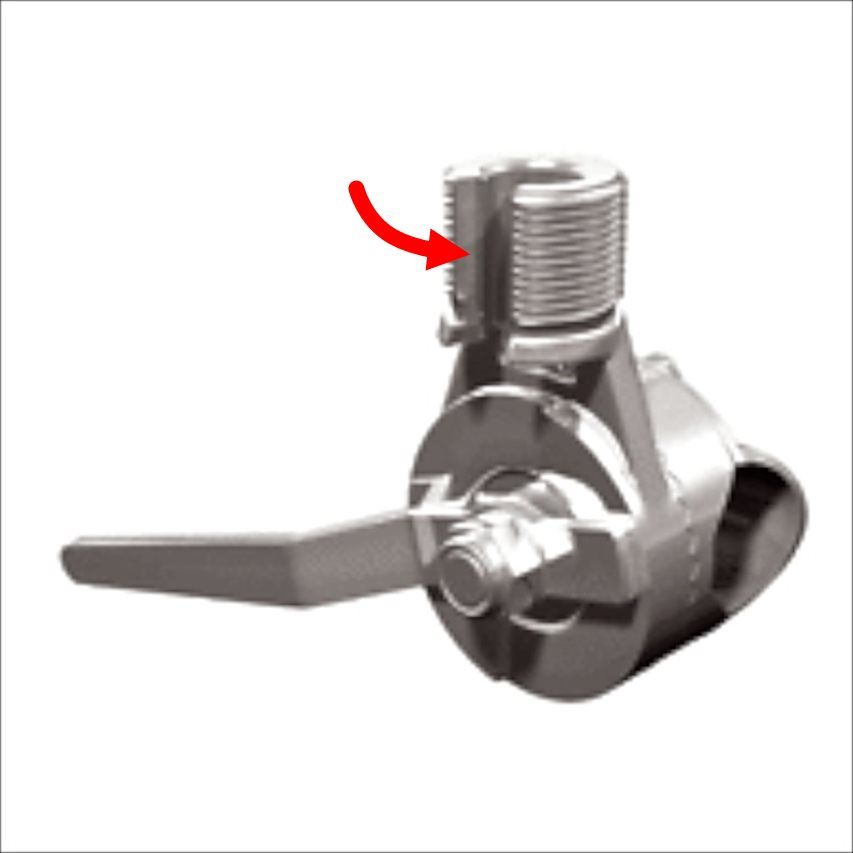 |
| One big benefit of using the Shakespeare Model #4190 rail mount is the fact that the threaded portion that mount to the fiberglass antenna extension has a slot (at red arrow) to allow the cable to be installed without removing the connections on the end. |
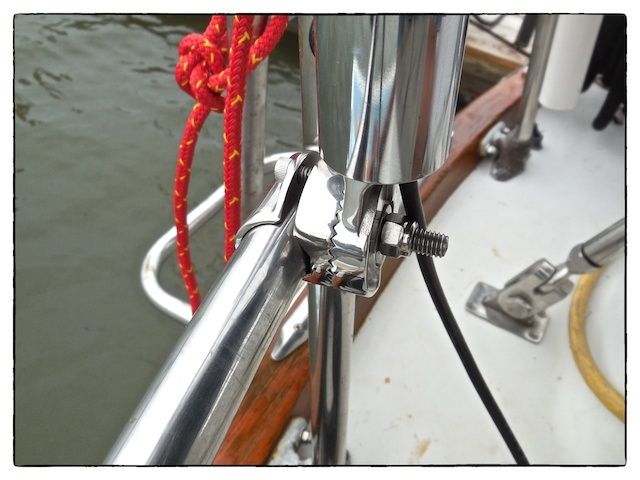 |
| I removed the handle that came with the antenna mount because I didn't want the possibility of a dock line or a fishing line getting caught on the handle and bringing my antenna down unexpectedly. |
Resisting my normal tendency to make a beefy structural support, the mount and antenna extension are rated at 8 foot height with a single point support at the bottom. The actual antenna is only 21 inches above the 8-foot rating, so I just used two heavy-duty cable ties at the upper rail to add a little lateral support.
 |
| The upper rail support for the 8-foot antenna extension isn't fancy but it does the job. |
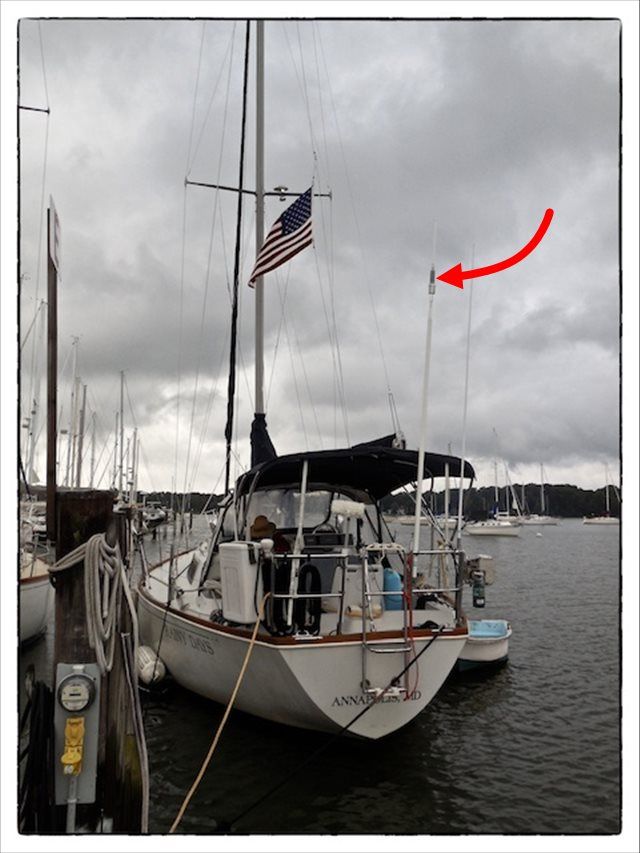 |
| The completed antenna on the stern of s/v Rainy Days. |
Routing the Ethernet Cable
I replaced an unused through-deck fitting (previously used to supply propane to my grill) with a new Scanstrut-brand deck fitting to route the antenna cable through the deck. The criteria for sizing this fitting was covering all the old mounting holes, as well as passing through the Ethernet fitting on the cable.
 |
| The deck area behind the helm is not balsa-cored like most other deck areas. I completely filled the old hole and drilled new holes for mounting the new Scanstrut deck fitting for the cabling. This image is before any sanding was done on the new fiberglass. |
 |
| Passing the Ethernet cable through the Scanstrut deck fitting was easy--I used the rubber donut that came with the Scanstrut fitting and filled the space with some white silicone. |
Mounting the Server
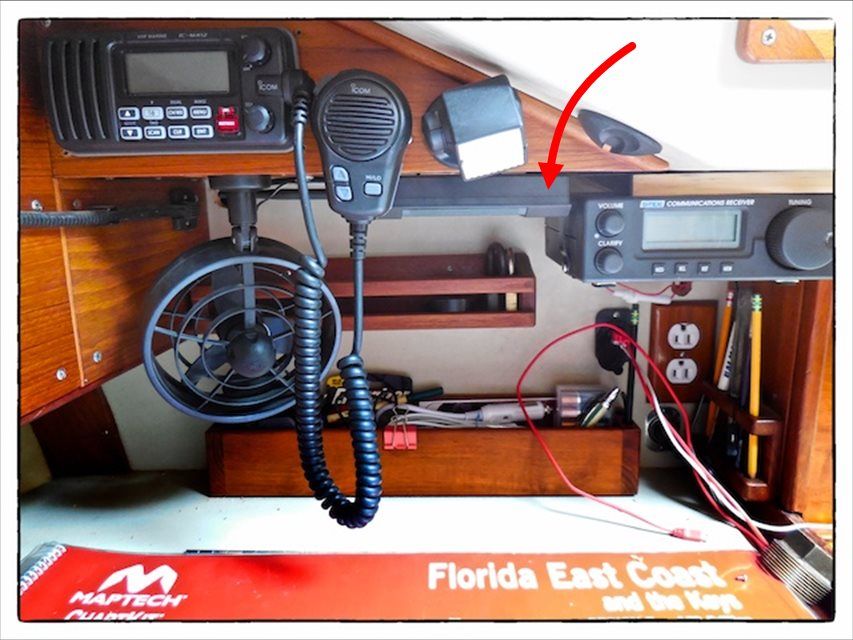 |
| The small server was easily mounting under a shelf in the navigation station. |
It really works great and is lightning fast! There are a couple things I leaned through this installation:
(1) It is an advantage to keep the length of the Ethernet cable to 25 feet. (When you use a longer cable, you need power boosters to provide enough power for the Ubiquiti bullet.)
(2) There are a lot of WiFi signals around that you don't normally see on your computer's list of available networks--there must be 50 or so that you can see with this system!
(3) My system works fine with a stern-mounted antenna that is on an 8-foot extension above the rail.
This is project #118 on our completed project list! The cost of this project as about $500, including the entire WiFi booster, the antenna extension, and a high-quality through deck fitting. If you are well prepared, the installation can be done within a few hours--it took me longer because I have to plug an old hole with fiberglass that had to cure overnight.
Our next blogpost will be about some "chaos" on our boat and what we (meaning "I") will do about it.
Thanks for following our blog!
No comments:
Post a Comment