Hatch Seal Replacements
Part 2: Installing the Correctly Sized Seals
--Blogpost written by Bob
After an unsuccessful previous seal replacement because the seals were too big (refer to my blog post dated December 13, 2014), I have now received the correct (1/2-inch diameter) seals from Atkins & Hoyle--this was my mistake but I was not charged for the second set of replacements!
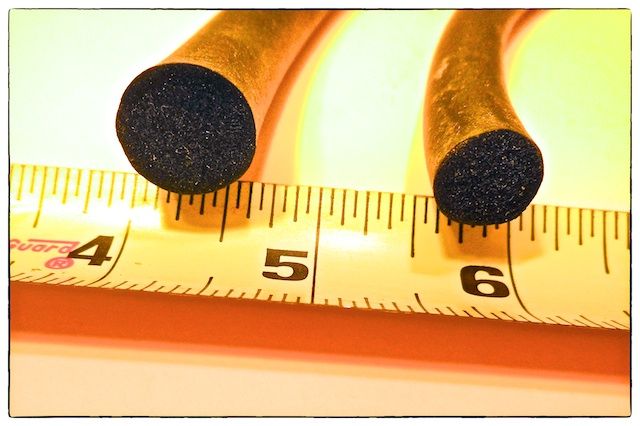 |
| The difference in diameter between the two seals is dramatic. The correctly sized 1/2-inch seal is on the right while the 5/8-inch diameter is on the left. |
Removed Old Seal
Since the oversized seal that I just installed in the forward hatch was new, it could be removed in one piece rather easily--I did this one at home. Removing the seal from the midship hatch (because it was still very old) was done in the cockpit of the boat in the nice warm cockpit enclosure.
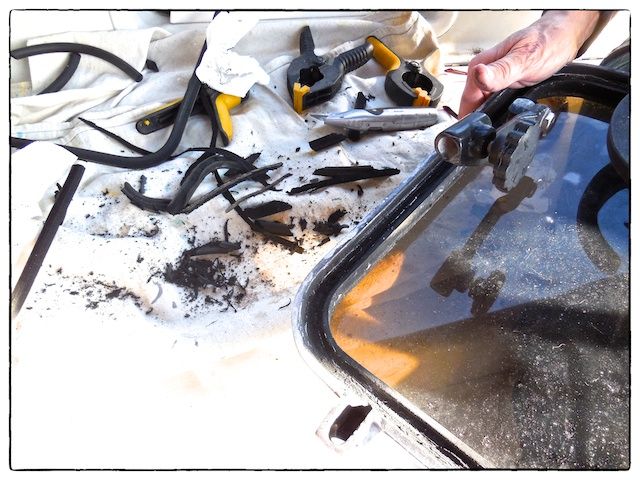 |
| The old seal was brittle and came out of the slot in the midship hatch in pieces. |
As before, I used a 1/4-inch wide wood chisel to remove most of the remaining sealant and an 80-grit 3/8-inch wide flapwheel in a Dremel tool for final cleanup. The flapwheel worked great!
Installed New Seal
Using a caulk gun, I applied (Sikaflex #291) adhesive/sealant in the groove of the forward hatch cover around all four sides. We pushed the 1/2-inch diameter seal into the groove in the hatch cover--it fit perfectly and stayed in place until we mounted the hatch cover to the hatch's stationary frame. On this hatch cover I forgot to use the Sika Activator #205 on the aluminum frame before applying the adhesive/sealant--I hope this doesn't come back and bite me. On the second hatch cover, the midship hatch, I remembered to use it 10 minutes prior to applying the adhesive sealant.
Diagonal Splice on Hinged Side
Since the splice didn't go so well the first time around (with the 5/8-inch diameter seal), I was a lot more careful to get it right this time. I placed a piece of 1/4-inch plywood between the seal and the hatch cover where the ends overlap and cut thru both ends on this piece of plywood.
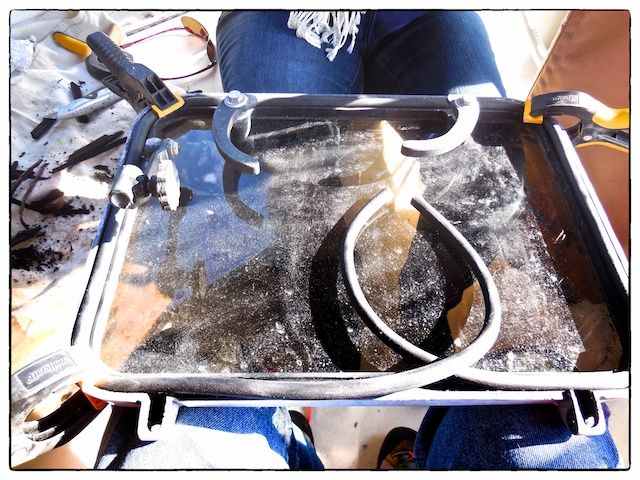 |
| Maggie and I held the midship hatch upside down as we clamp the new seal in place in preparation for cutting for the splice. We cut the seal on a diagonal with a sharp knife. |
After cutting the seal with clamps holding it in place, we removed the clamps, applied the Sikaflex 291 to the hatch frame with a caulk gun and then installed the seal all the way around. We applied some adhesive/sealant to the ends at the splice and then mounted the hatch to the stationary frame.
Closed Hatch Covers Until Spring
With the seal completely in place (but not yet cured), I mounted the hatch cover on its hinges to the stationary hatch frame.
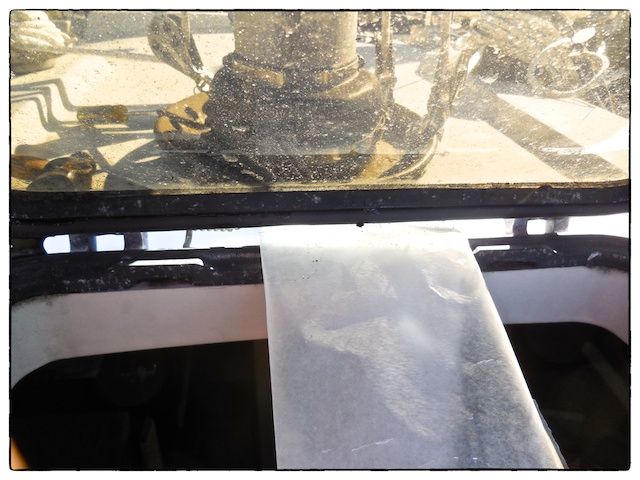 |
| I placed a piece of waxed paper between the seal (in the area of the splice on the hinged side) and the stationary hatch frame--this prevented the adhesive/sealant that is exposed in the splice area from getting on the stationary frame. |
 |
| After installing the seals I closed the hatches with the waxed paper in place and won't open them until spring. Even though the outside temperatures have been cool. the adhesive/sealant should fully cure over the winter. |
Summary
The total cost of this project was about $150. With the one seal removed ahead of time, the remainder of this project only took a couple hours. With this project there was no immediate improvement in function or appearance since it was a preventative replacement. It's project #140 on the completed project list! Surprisingly, there are still 64 projects on the "to do" list--this number doesn't seem to go down very quickly.
Our next blogpost will cover the repair of our whisker pole--it turned out to be a lot easier than I first imagined.
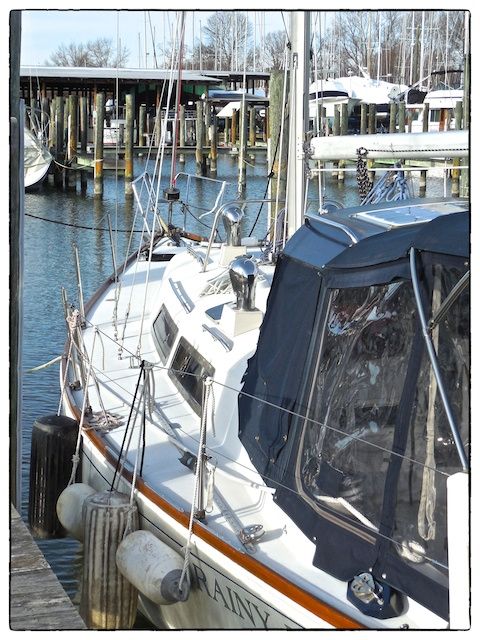 |
| S/V Rainy Days sits in her winter slip, completely insulated from world events. |

Thanks for following our blog!
No comments:
Post a Comment