Port Water Tank Replacement
--Blogpost written by Bob
Our port water tank was over 30 years old and was cracked beyond repair. It had been weld repaired twice previously but this time, it was cracked through the threads of the inlet connection as well as two other places. The (32-year old) 32-gallon tank had to be replaced.
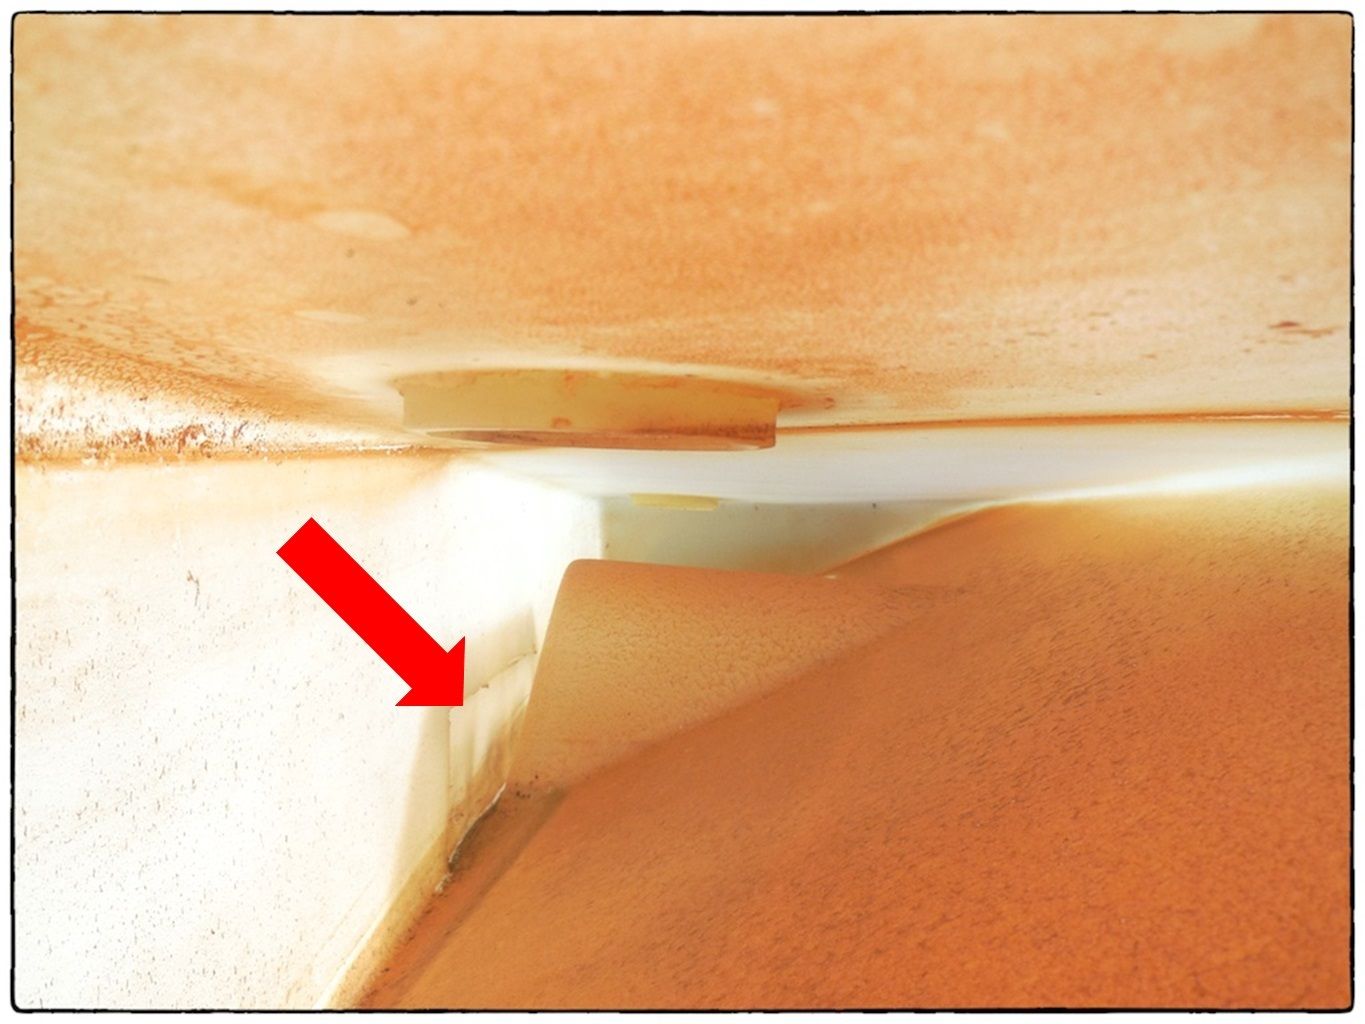 |
| A look inside the old tank with a red arrow that indicates the location of the cracks. It was also cracked through the threads of the inlet hose fitting. |
 |
| The old tank is on its way to being recycled. This should make a lot of plastic bottles. |
We have a total fresh water capacity of 104 gallons, spread across three tanks:
(1) A (leaking) 32-gallon tank under the port settee
(2) A 32-gallon tank under the starboard settee, and
(3) A 40-gallon tank under the v-berth.
The other two water tanks have never needed repair and are still fine by all appearance.
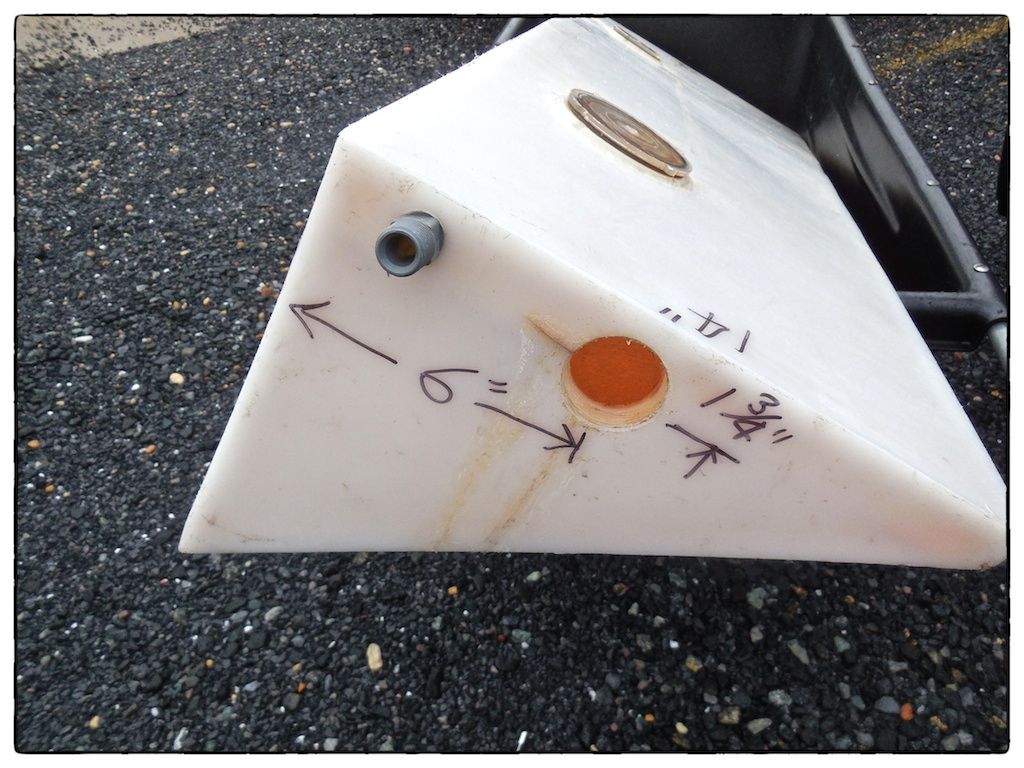
Kracor, who made the original tank, was able to come up with the original drawing and after confirming the outline dimensions and locations of the fittings, we placed an order for the tank. The tank cost was about $650 and the shipping cost was about $150. It took about 4 weeks for the tank to be manufactured and delivered.
The tank was manufactured by a process called rotational molding which is a thermoplastic process for producing hollow parts by placing powder or liquid resin into a hollow mold and then rotating the mold in an oven until the resin melts and coats the inside of the mold cavity.
The tank connections used to be made by tapping threads in the tank--nowadays, spun welded fittings are used to achieve the same end result in less time and they will probably last longer.
To replace the tank, the entire port settee had to be disassembled--all 8 cushions and the plywood deck below the cushions.
 |
| We thoroughly cleaned the area below the tank while it was removed. The cream colored shapes on the hull beneath the tank are expanded foam--this creates a nice uniform support for the tank. |
Of course, very few boat projects go without a couple glitches and this project was no exception. All the original vent lines used gray plastic (polybutylene) tubing with Qest fittings-I didn't save the fitting off the old tank. (Polybutylene was commonly used in interior house plumbing systems between 1978 and 1995 but is no longer used in this service because of lawsuits about damage caused by corrosion and leaks. Polybutylene was used through Rainy Days for fresh water but I have changed most of it to conventional water hoses, except for the tank vent lines.) Fortunately, I was able to pick up a new Qest nipple at a local hardware store. The second glitch was that the location of the vent connection on the tank was apparently a little off compared to the original tank--I had to enlarge the hole in the bulkhead to accommodate the new connection location. (Of course, my hole saws were at home, 30 minutes away.)
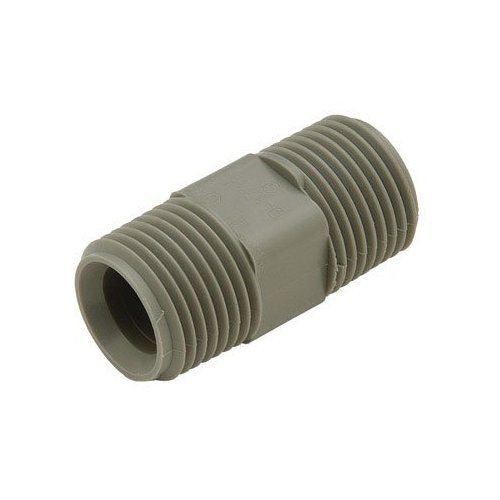 |
| The fact that I left this little (Qest nipple) fitting on the old tank caused some delays in installation of the new tank. |
The total cost of this project was about $850 and an elapsed time of about 5 weeks. It's one of those things that had to be done but it was not very glamorous or exciting. This completes project #192 and there are only 35 projects to go!
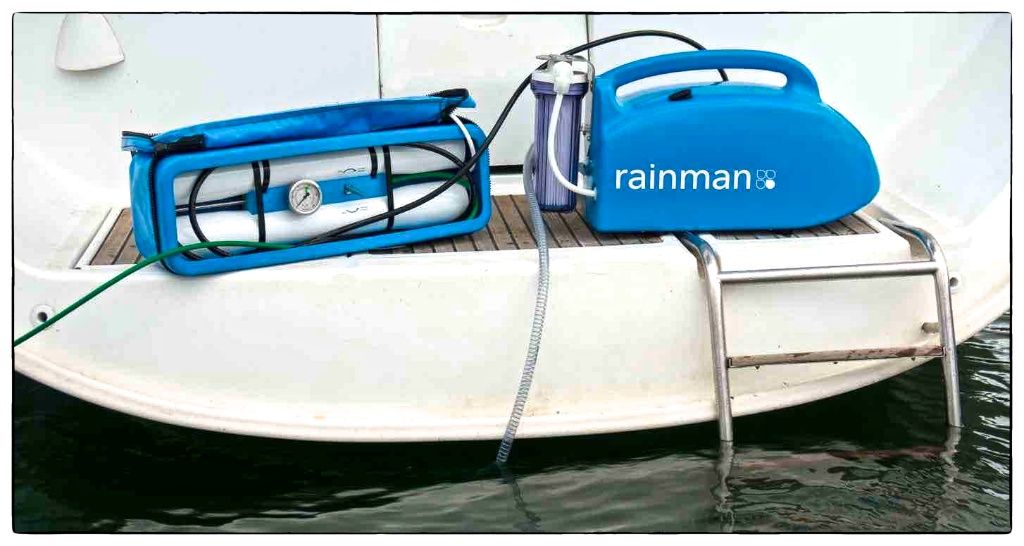 |
| The Rainman desalinator in use on the swim platform of a sailboat. (Photo courtesy of Rainman.) |
We are thinking about purchasing a Rainman-brand reverse osmosis watermaker but we will likely postpone this purchase until just before our second trip south in 2017. This watermaker is portable and doesn't have to be permanently installed--it is assembled on deck when water is needed and stored below when not in use. This will make filling our water tanks in the Bahamas faster and cheaper.
Thanks for following our blog!
No comments:
Post a Comment