Helm Area Storage Bins
--Blogpost written by Bob
As you may or may not recall from our blogpost on our outboard motor lift installation, instead of installing a relatively useless 4-inch round port (to cover the access hole for the bolting on the port side) we decided to install a (more useful) 6-inch x 6-inch x 3-inch deep storage bin on each side of the helm seat. The storage bins we used were part number 49000000 from SSI Custom Plastics. We designed and made a mesh-like retainer to cover the lower two-thirds of the bins. This is how the project went...
Taping the Holes
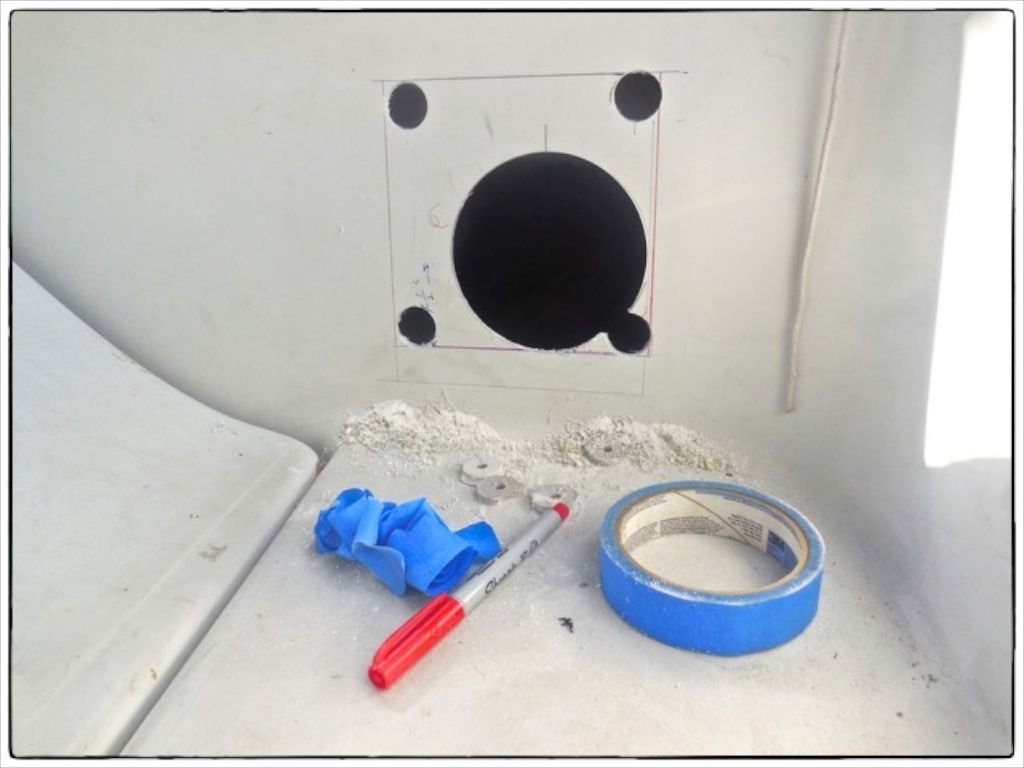
I used blue masking tape to mark the holes to be cut before marking them with a Sharpie pen--the tape comes off when the jigsaw vibrates against it. Some of the consideration for the location were (1) they must be within a nice flat area of the fiberglass panel, (2) be high enough that we wouldn't accidentally step into them, and (3) allowing enough room for the jigsaw all around the hole.
 |
I moved the taped outline a couple times to make sure that the square cutout for the storage bins would be in the ideal location. |
Cutting the Holes
On the port side I already had a 4-1/2-inch diameter hole cut for the round port--the new larger square hole encompassed the existing round access hole. I started by drilling 1-inch diameter holes at the corners to make the 1/2-inch radius corners for the bin holes.
 |
| The new cutout surrounds the 4-1/2-inch hole for the round port. The corner holes forming the radius corners were cut first. |
Fastening Hooks for the Mesh Retainer
I used SEADOG-brand gear hammock hooks, one on each side at the top of the mesh retainer and one in each lower corner.
 |
| One of the gear hammock hooks on the inside at the side of the bins. |
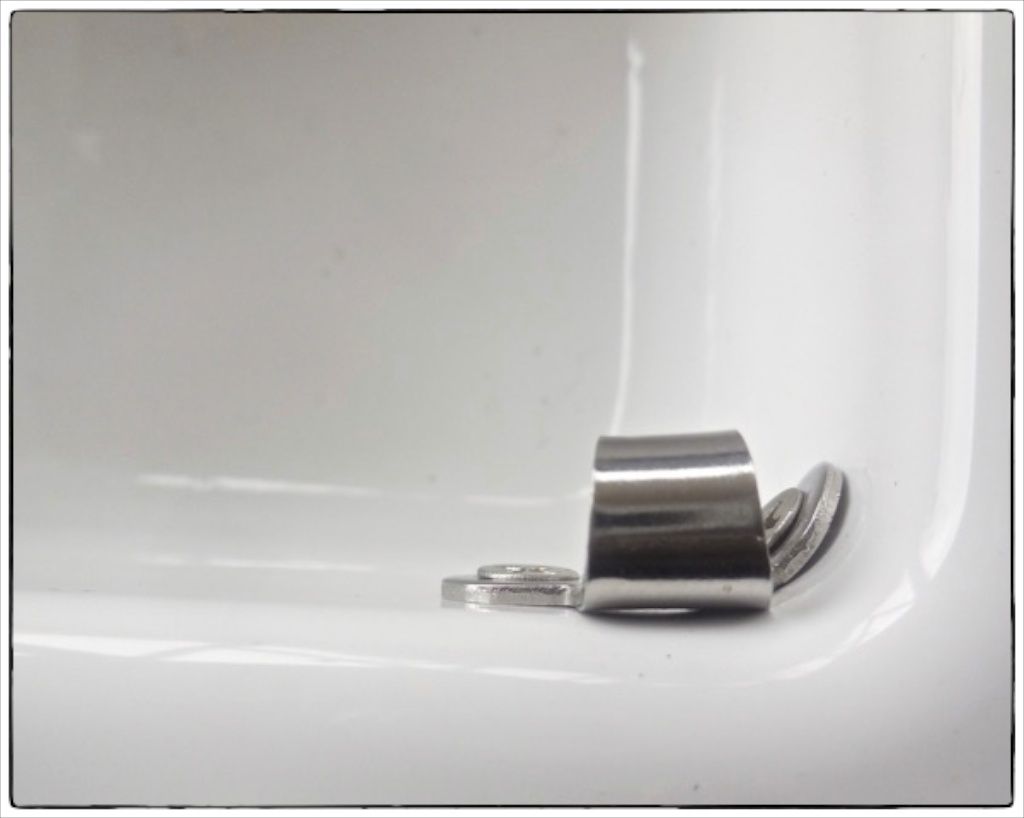 |
| I bent one leg of each of the lower corner hooks so that the space between the inside of the bin and the outside of the mesh retainer would be uniformly small. |
 |
| All four gear hammock hooks are installed on the inside of the plastic bin to define the perimeter of the mesh retainer. |
Making the Mesh Retainers
Maggie took responsibility for making the little mesh retainers. We used 3/16-inch black shock cord to define the perimeter of the mesh retainer. The mesh retainer was made with a loop around its perimeter to contain the shock cord but the loop was discontinued at the four points where the hooks were located.
The loop material for the black shock cord to run through was made from black rip-stop nylon (like spinnaker cloth). Maggie obtained this material from Jo-Anne's.
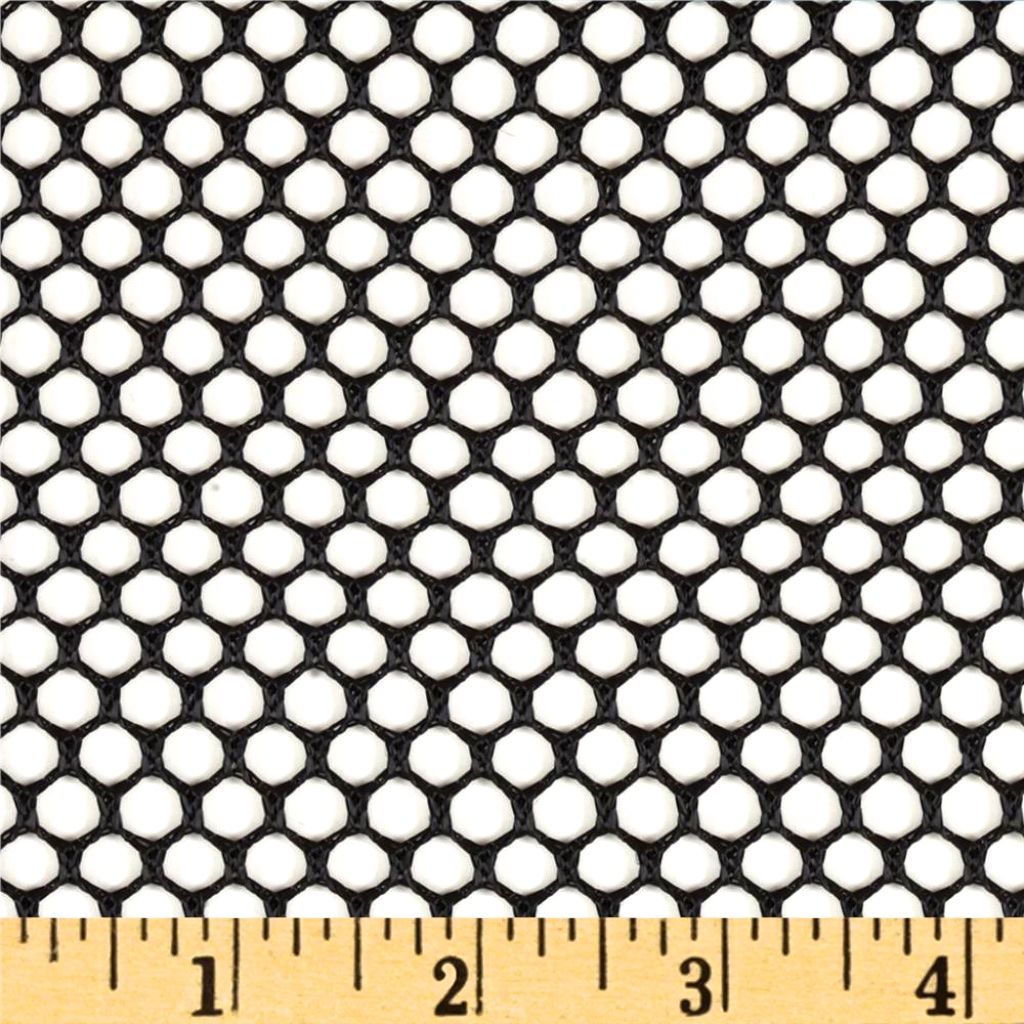 |
| We ordered two 8-inch by 8-inch swatches of Neptune Air Mesh in black to make the mesh portion of the retainers. Photo courtesy of Fabric.com. |
The loop material for the black shock cord to run through was made from black rip-stop nylon (like spinnaker cloth). Maggie obtained this material from Jo-Anne's.
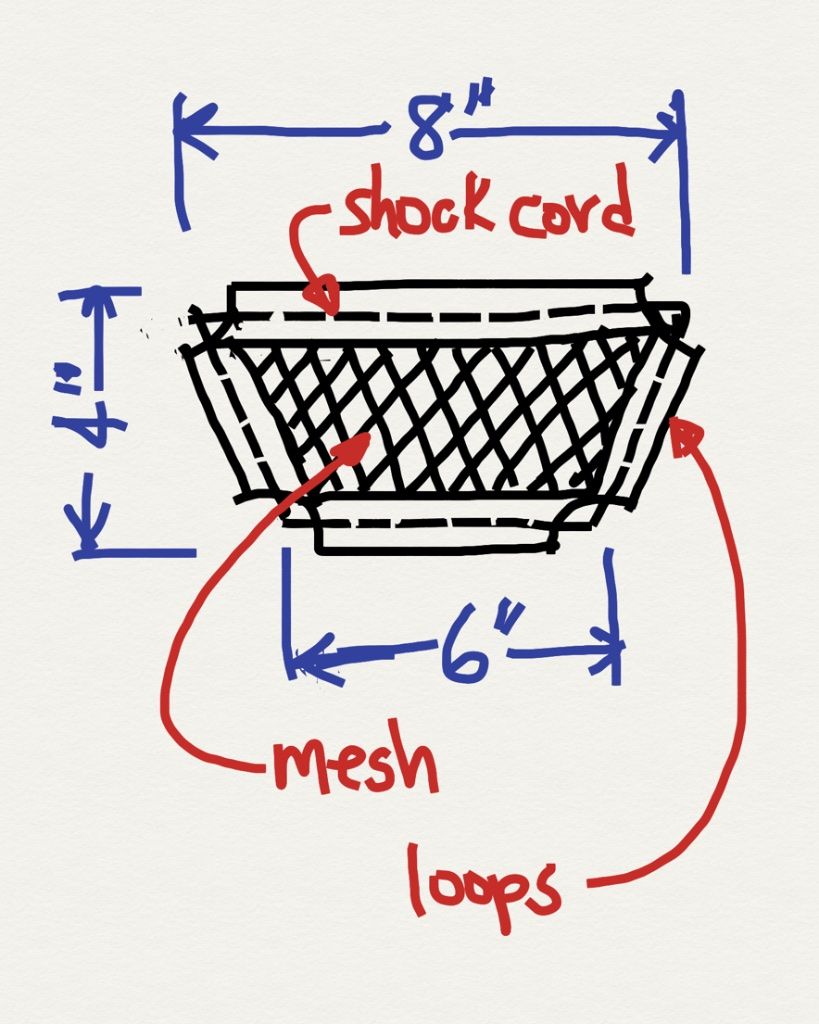 |
This illustration is the mesh retainer in the flat--it was wider at the top so that it could be pulled out to put things into it or take things out of it. |
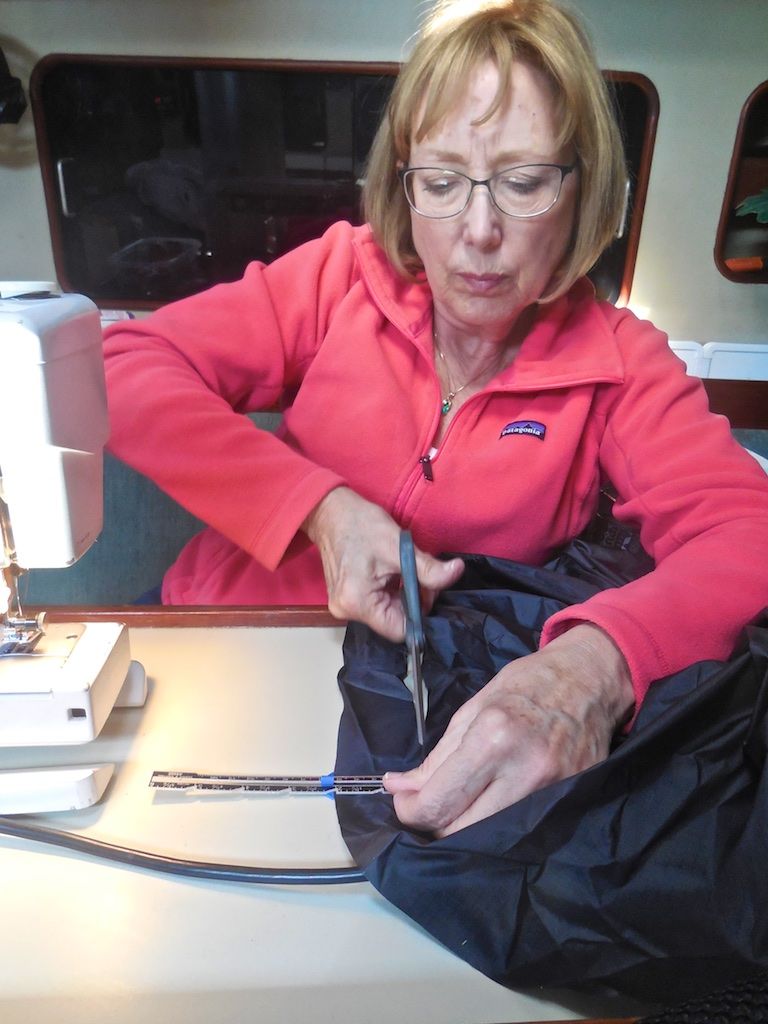 |
| Maggie cutting the black ripstop Nylon to use for the borders for the mesh retainers. |
Installing the Bins
With all hooks and mesh retainers installed, I slipped each bin in place marking four areas where I had to cut a little clearance notch for the nuts for the hammock hooks located on the outside of the body of the bin. The notches were cut with a sanding disk in a Dremel tool.
The bins mount with four self-tapping screws--one in each corner. Before deciding on the pilot hole size I experimented with holes drilled in the fiberglass dropouts. I also deburred the outer edge of the mounting holes with a countersink bit--this keeps the gelcoat from chipping off when the screw cuts into it.
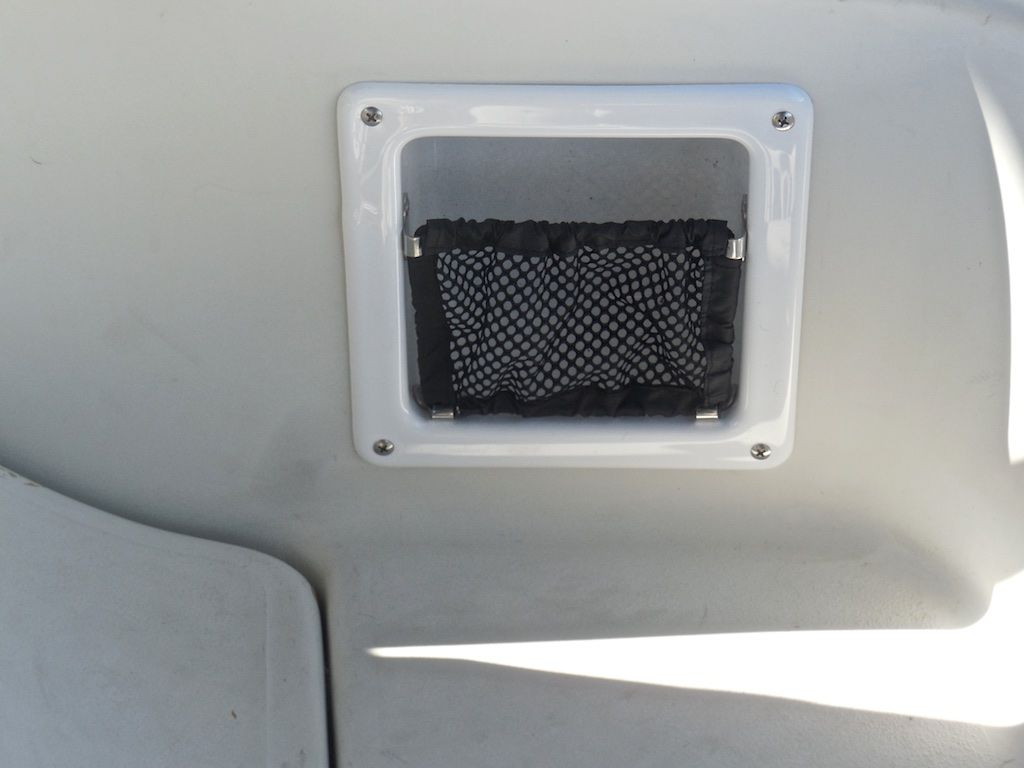 |
| The storage bins are now completely installed. This storage bin is on the port side. |
Summary
 |
| Putting the storage bins in perspective, they are small, but very useful for storing frequently used items like sunscreen and sunglasses. |
This project cost less than $150 and took about a week of elapsed time but maybe only 5 or 6 hours of actual work time.
Thanks for following our blog!
No comments:
Post a Comment