Self-tailing Jib Sheet Winches
--Blogpost written by Bob
As one of the recent upgrades we decided to undertake, we changed out our (original) Barient #28 jib sheet winches to (used) Barient #27 self-tailing winches. I found a pair of used Barient #27 self-tailing winches on eBay which were taken off a (storm damaged?) C&C 35 that was being parted out.
Normally we would prefer to increase the winch size when changing them but we believe our original winches were oversized for the application and there is very little difference between our original size 28 and the new size 27 winches.
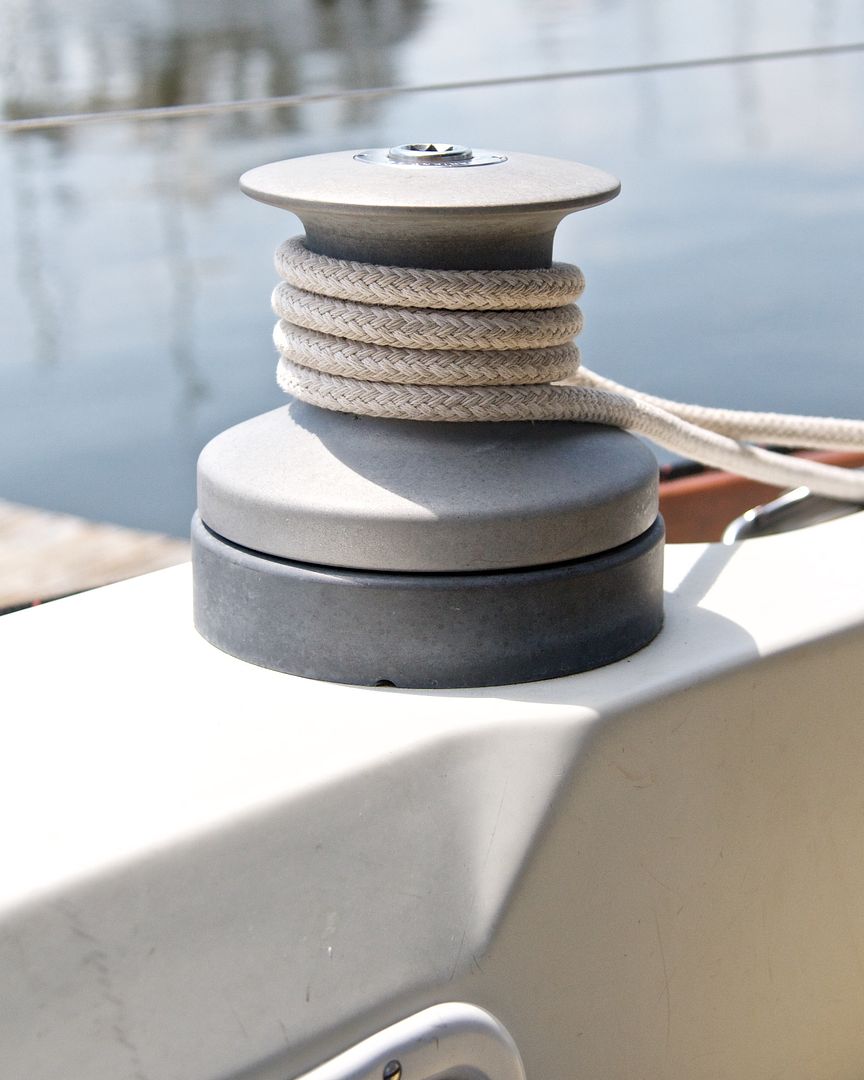 |
| This is one of our original Barient 28 winches. It is not self-tailing. |
Advantages of Self-tailing Winches
Most of the time with our old jib sheet winches, when we tacked Maggie would man the winch but when cranking in the jib tight, I would have to "tail" the winch for her while I was at the helm steering. "Tailing" the winch involves keeping tension on the line so that the winch can properly grip the line. With self-tailing winches, there is a mechanism on top of the winch which maintains the tension on the line--this saves about 1/2 crew member and makes the task of cranking in the jib a lot easier.
 |
| Close up view of self-tailing arm on top of new winches. |
In addition, the line does not have to be cleated since the self-tailing winch will continue to hold the line after tacking has been completed.
Removing the Old Winches
The original winches were mounted on the cockpit coaming using six 3/8-inch diameter bolts. After disassembling the top of each winch it took two of us about an hour to remove each winch--one of us in the cockpit and the other inside a locker. (We use our Bluetooth communications headsets to be able to communicate during this process.)
The old winches were sealed with dark gray butyl tape--this sealant was used all over C&Cs at the factory. The butyl tape seemed to spread into every little crevice and sealed out the rainwater very effectively.
There was 33 years worth of dirt accumulation under the winch base. I had to scrape this off and use a strong fiberglass cleaner to remove all the butyl tape and dirt.
Different Bolt Patterns
The new self-tailing winches have only five mounting bolts and a slightly smaller diameter bolt pattern than the original winches.
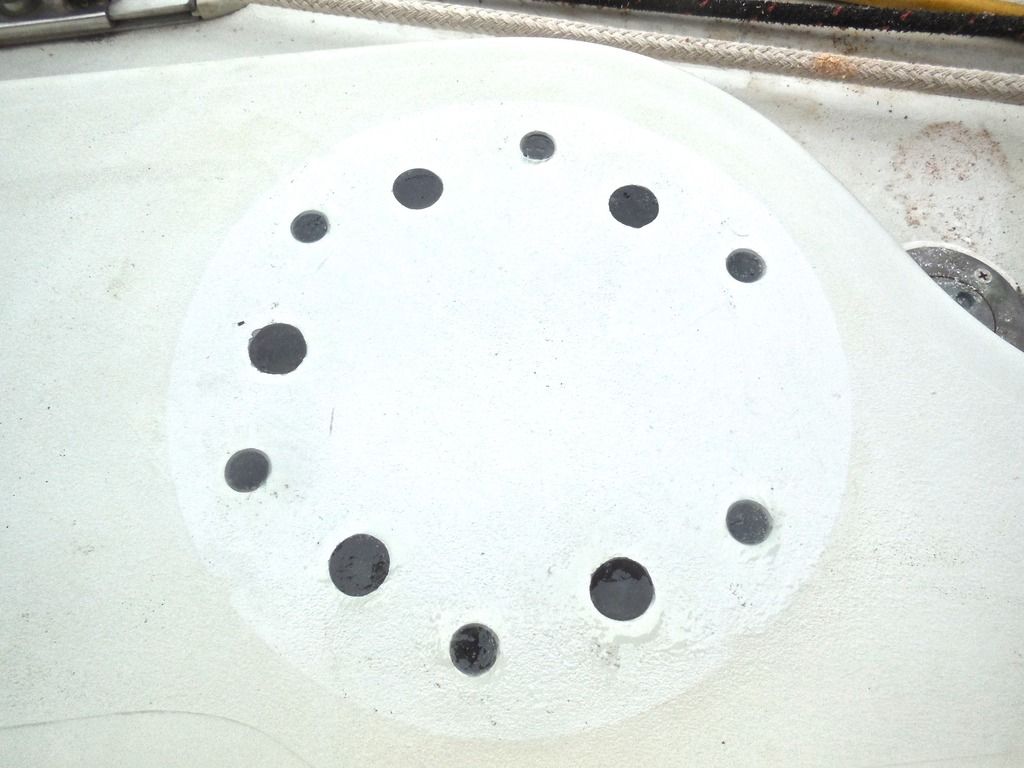 |
| This photograph shows the two different bolt patterns--the old and the new. The new pattern has 3/4-inch diameter holes for filling with epoxy whereas the old (smaller) holes were not oversized and filled with epoxy. |
Epoxy-lined Holes
Epoxy-lined holes were NOT used on the original winches. However, I found NO wet wood when I drilled out the holes prior to filling with epoxy--the butyl tape used to seal the flanges and bolt holes of the original winches did a good job of sealing over 33 years. (On C&Cs it is typical to have a hardwood board encapsulated in fiberglass below areas where winches are normally mounted.). This performance makes me wonder why I go to all the trouble of epoxy-lining the mounting holes.
For the five new mounting bolts, I drilled the holes through at 3/4-inch diameter. We then taped the underside with duct tape and filled the holes with epoxy. I used slow cure epoxy because I wanted some of the epoxy to soak into the embedded wood. The first application settled and it required a second epoxy application to make the holes flush with the surface of the coaming.
 |
| This photograph is looking up at the underside of the coaming where the holes have been taped with duct tape prior to filling the holes with epoxy from above. Prior to drilling the final holes through the epoxy, we pulled this tape off. |
Using the new winch flange as a template I drilled the final 3/8-inch diameter mounting holes through the 3/4-inch diameter epoxy-filled mounting holes, leaving 3/16-inch epoxy lining all around.
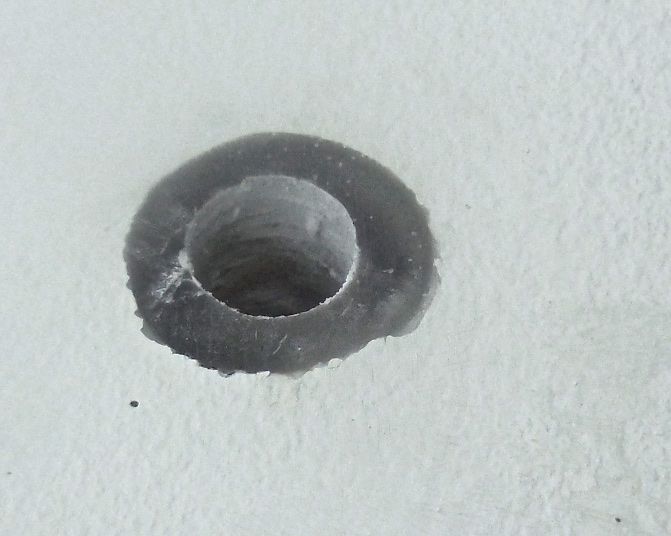 |
| A close up view of one of the epoxy-lined holes. The final thickness of the epoxy lining is approximately 3/16-inch. |
Installing New Winches
With a pencil I traced the outline of the new winches flange while positioned on the bolt pattern. I then applied 3/4-inch wide butyl tape to the upper surface of the cockpit coaming. I pushed a pencil tip through the butyl tape sealant so that I could align the winch base flanges and insert the new 3/8-inch diameter mounting bolts. We tightened the bolts as hard as we could using a 6-inch long wrench and the new butyl tape compressed nicely and evenly all around the perimeter. I cleaned off the excess butyl that oozed outward from the winch flange using a putty knife.
After they were bolted down, it was just a matter of lubricating them with winch grease and sliding the top of the winch down over the base. It was important to orient the self-tailing arms of each winch so that the jib sheet was directed into the cockpit when cranking.
Summary
Even getting used winches on eBay, this was an expensive project with a total cost of nearly $1,500. We are listing our old (non-self-tailing) winches for sale on eBay but will probably get less than $300 for the pair--this will help to offset some of the high cost of this project.
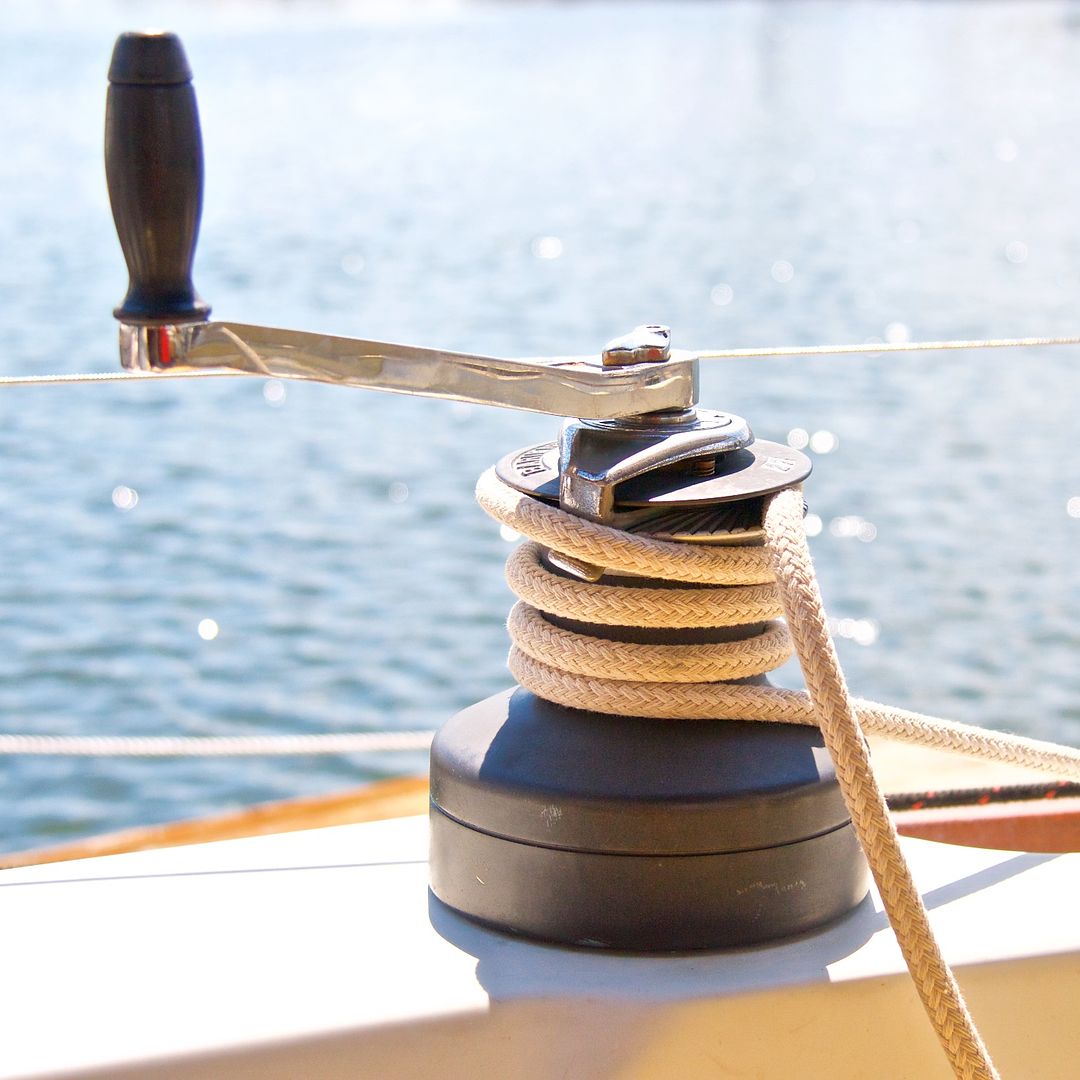 |
| One of our new self-tailing jib sheet winches--this one is on the starboard side. On the starboard side, the self-tailing arm had to be oriented about 45 degree forward of abeam while the port side had to be oriented about 45 degrees aft of abeam. |
We are quite pleased with the completion of this project, even though it was not originally on our project list.
Thanks for following our blog!
No comments:
Post a Comment